Posted on

4 Reasons I love Mini-Albums & My Wanderful Italy Hip Pics Book

I think I’m addicted to mini-albums! These fun little books have a way of making me happy 🙂

Recently, I made this mini-album on our trip to Italy and was thinking about the reasons why I like using mini-albums to capture my memories. So, I thought I’d share them with you…

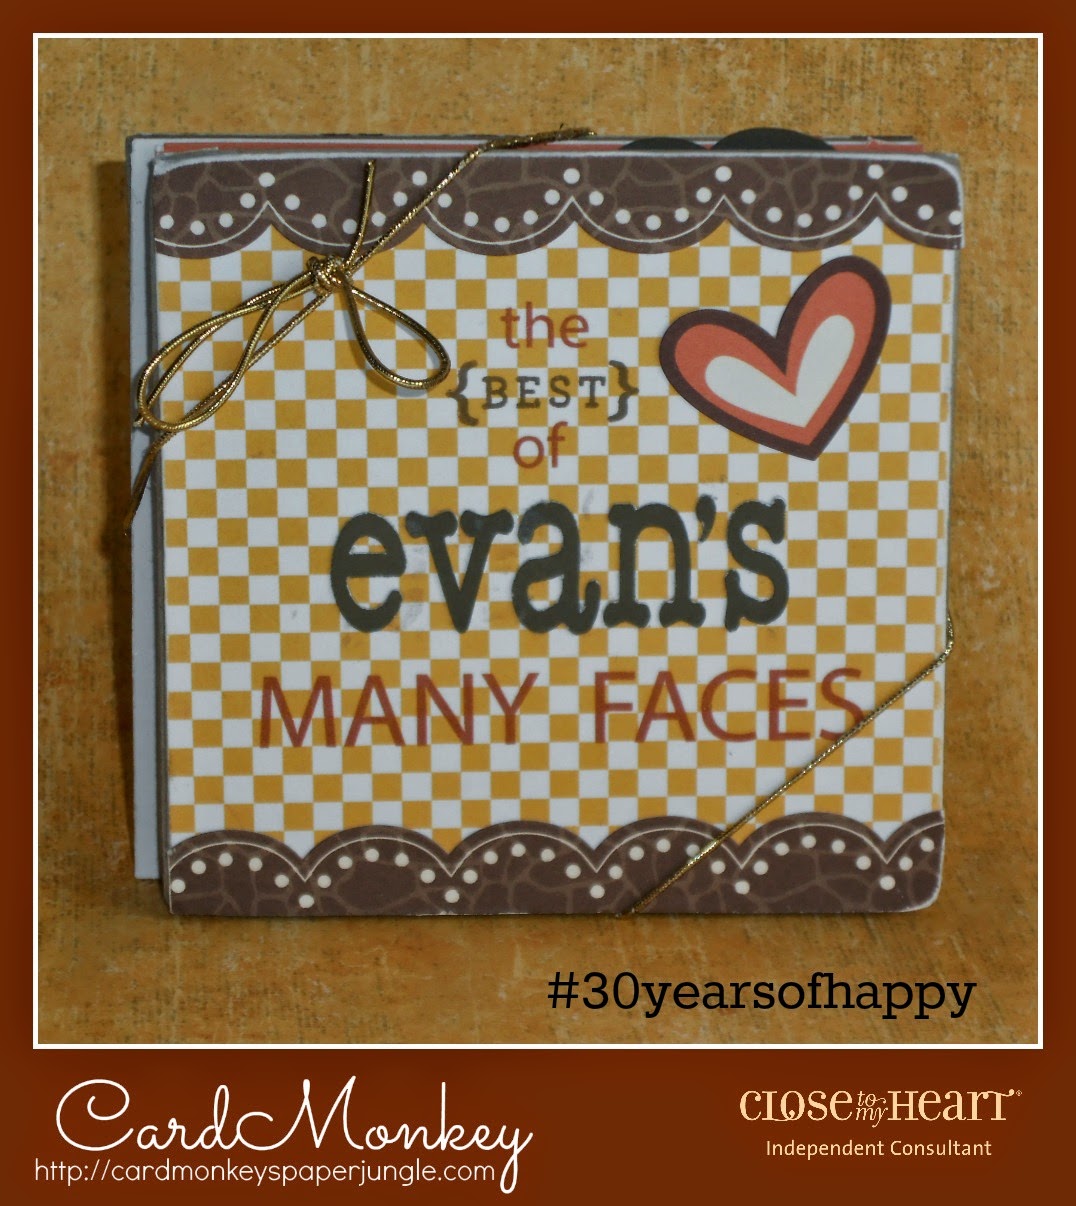
Before I jump into the reasons, let’s talk about what a mini-album is. Besides being smaller than a traditional album, my mini-albums typically have a more eclectic feel due to a variety of shapes, sizes and materials used.

My Mini-albums typically have a eclectic feel.

Today’s mini-albums are generally between 4 to 8 inches wide and tall and are usually stand alone projects with each one documents a single event or theme. Usually, the cover and pages are more coordinated than a traditional scrapbook album. Also, the pages may have more dimension and sometimes even have elements that extend beyond the page edges. 


Why do I love mini-albums? Let me count the ways….


#5 Reason I love Mini-Albums: They are FAST.

A mini-album can come together quickly if you use a ready-made album like this My Creations Hip Pics Album and coordinating paper & accessories like the Wanderful paper and complements.  

If you start with a Hip Pics album you have a huge jump start because the pages are pre-cut with 3-3/4″ square windows which are perfect for you 4″ x 6″ photos. Since they are square you can easily add landscape or portrait pictures! 

 Using coordinating papers and embellishments makes decorating the album speedy.  I pulled this album together in one evening. It was fun mixing and matching the Wanderful paper on the pages then adding stickers that helped tell the story of our trip. Once i had the pages done, I cut “Italy” using the Artbooking font for a cover title. Now I just need to add a little journaling to finish this trip keepsake.

#4 Reason I love Mini-Albums: They are SMALL.

The name says it all — these books are “mini”. Because of their size, you can throw them in your bag to show to family and friends. I love collecting my memories in family albums, but these 12″ x 12″ books are not portable. The mini-albums allow me to take the highlights with me. 

Also because the mini-albums are small, they can easily be digested in one sitting. Who wouldn’t enjoy flipping through this little booklet? No big time commitment like viewing a larger album requires.

#3 Reason I love Mini-Albums: They are PERSONAL.

Each mini-album I make is completely customized. The shape, size, colors and materials used varies depending on the look I want for that book. With a larger album, you may feel confined to make it consistent with other books on the shelf. But with a mini-album, you have complete creative freedom!

The kraft cover of this album gives it a worn look which makes me think of a well-traveled journal. Although I made this after we were home from our trip, it has the feel of something that was carried with us and created along the way.

#2 Reason I love Mini-Albums: They make great gifts!

Mini-albums are a great size for gift giving. You can give a completed album or one that is ready for the recipient to personalize. Everyone loves a handmade item and a scrapbook album is a great way to show someone you value their memories.

Here are just a few mini-album gift ideas:

  • Busy new mom: baby-themed min-album ready to add her own pictures and journaling 
  • Your mom or mother-in-law: grandchild/baby brag book
  • Graduate: keepsake of their senior year
  • Retiree: Collection of accomplishments, awards, projects and coworkers
  • Toddler: Pictures of family members that live at a distance
  • Alzheimer’s Patient: Reminders of important people in their lives
  • Family Members: Heritage book of records and older photos (scan and print copies)

Is there someone on your list who is hard to buy for? I bet you can think of a mini-album that they would love!

#1 Reason I love Mini-Albums: They are CUTE!

It all comes down to the “eye-candy”. Everyone smiles when they see these little books. They are like babies — all the features of a full grown album, but smaller sized and compacted. What could be cuter? 

Because each book is unique, they make great home decor items. A few albums on your coffee table make inviting conversation pieces. Or you can stand one on a shelf (open or closed) for a beautiful way to display your memories. 

Recipe:

My Creations Hip Pics Album (Z1956)

Wanderful Paper Packet (X7191B)

Wanderful Complements (X7191C)

Artbooking Cricut Collection (Z1906)

Black Arrow Washi Tape (Z2003)

Carnival Washi Tape Pack (Z3067)

So, what do you think of mini-albums? If you have made a mini-album, I’d love to see it! Please link a picture in the comments. If you have not made any yet, I’d encourage you to gather up a few pictures and your memories and give one a try.

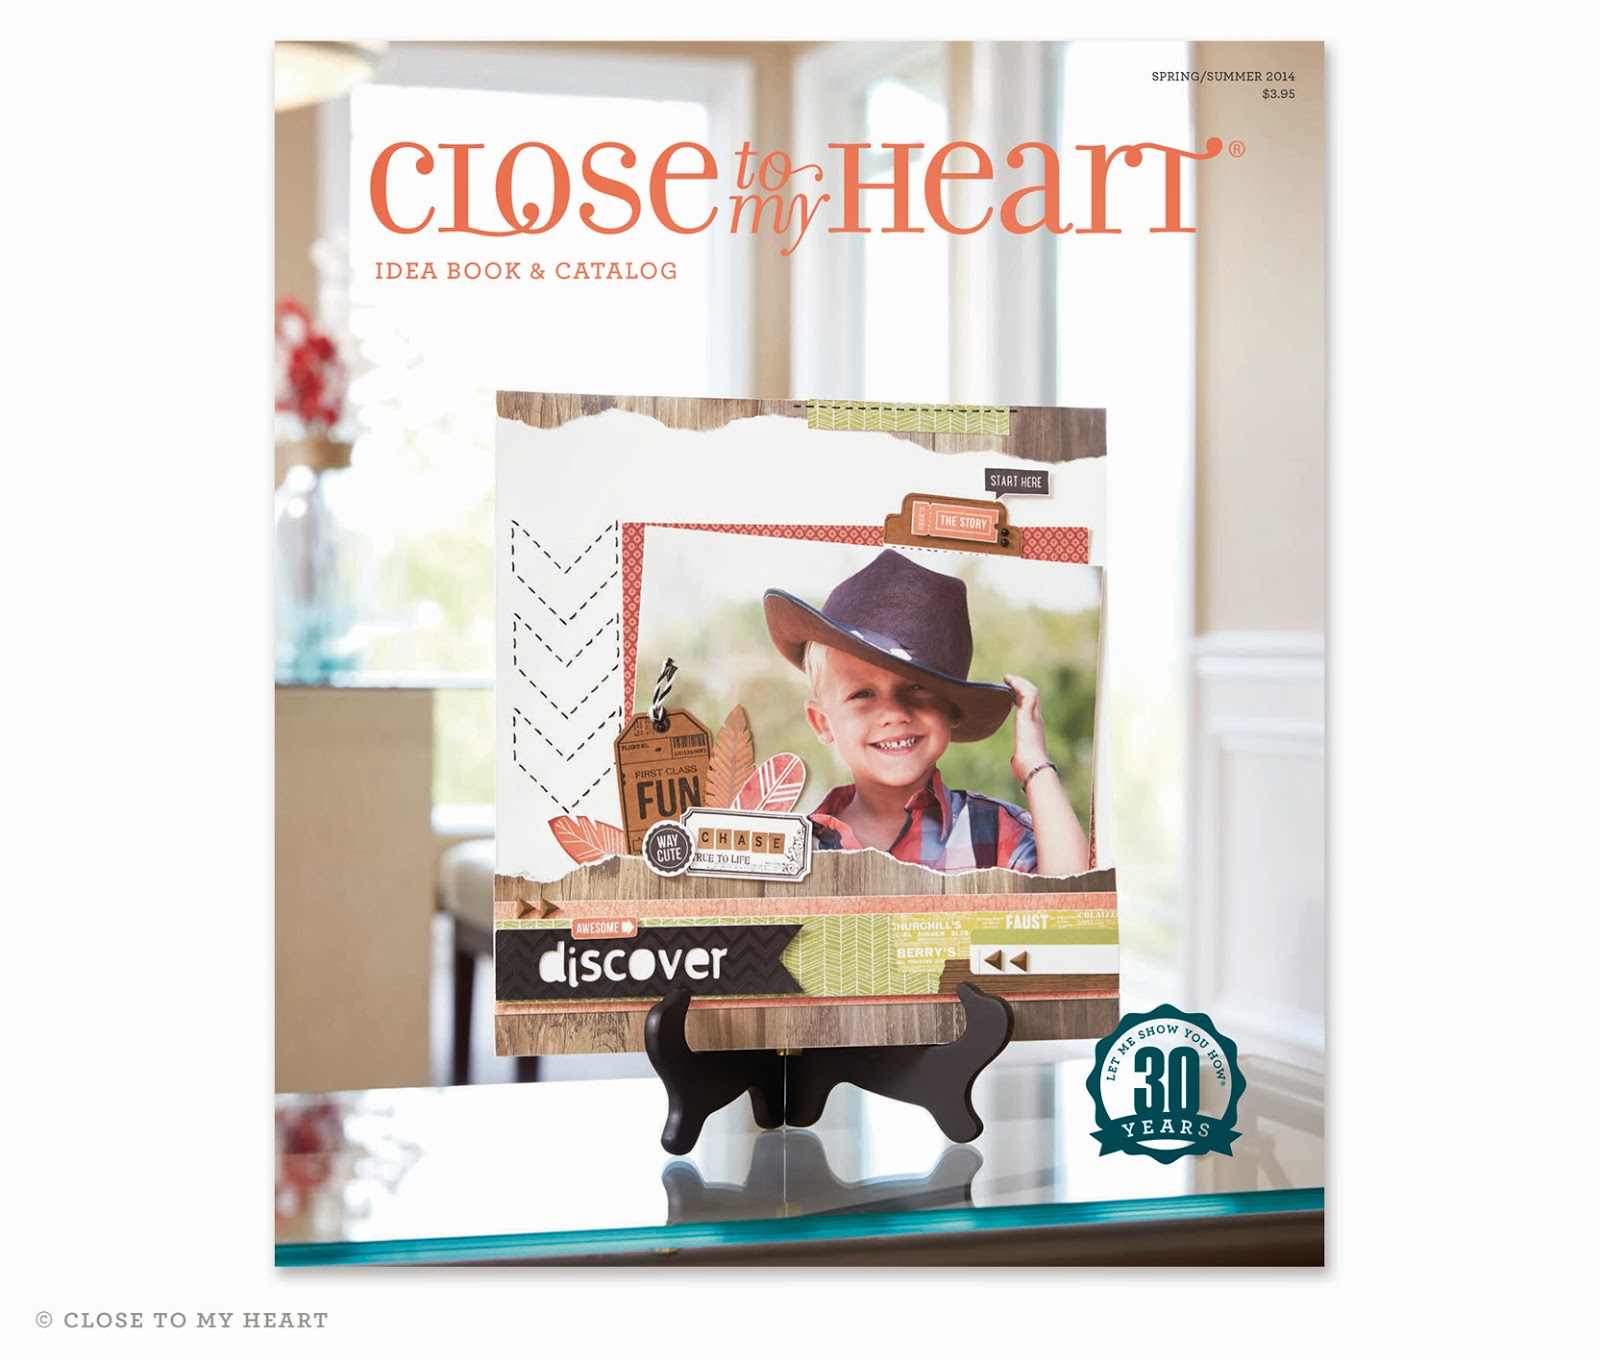
Don’t forget that are only a couple weeks left to order from the 2014 Annual Inspirations Idea Book? Many items are retiring on August 31, including the Wanderful collection I used to make this book.Be sure to place your order today to ensure best selection since the retiring items are now available only while supplies last

Happy Creating,

Rebecca

Posted on

#30yearsofhappy – Day 29

This is our 29th day of the #30yearsofhappy challenge. I’ve been so inspired by the projects shared by Ellen and Julia. Have you joined the challenge? We invite you to link pictures of your projects at the bottom of this post.

The {best} Mini-Album


Ellen (www.cardmonkeyspaperjungle.com) saved her best for last with this accordian mini-album made with Flip Flaps. Do you recognize the chubby face of her grandson? You can bet that this book will have a special place in her purse and will be brought out to show often!

Check out Ellen’s blog post for additional pictures and to learn how she built this amazing album.

Ready to get your own #30yearsofhappy stamp set? Click this link to go my CTMH website. Pick our ANY of our stamp sets with total retail of $30 or more and you will be prompted to add this set for FREE!

I hope you will join us on this 30 day challenge. How many projects can you make with this set in September? Add your projects using the link invitation below.

Make some time for creating today!

Rebecca

An InLinkz Link-up

Posted on

Chalk It Up Picture My Life Mini-Album

Today, I realized that I never shared on my blog this adorable mini-album that we made at the Close To My Heart convention this summer. As you will see it is really easy to make following just a few simple steps.

1. Select a Picture My Life Program

Pick a Picture My Life Program that goes along with the event or theme of your mini-album. This is probably the hardest step because there are so many great Picture My Life kits! The cards for my mini-album are from the Chalk it Up program.

2. Choose Specific Cards.

You can make your album as thick or thin as you like. Mine includes10 cards. You will probably want all of your cards to have the same orientation — landscape or portrait. But hey, you can do whatever you want. The album will be small so turning it sideways for some pages isn’t a big deal.

Choose one of the cards to be your cover. Close To My Heart provided convention attendees with the exclusive cover shown above. Isn’t that awesome? But don’t worry, there are still hundreds of title cards to pick from!

3. Personalize!

This is the fun part. Make the album uniquely your own by adding pictures, journaling, stamping and embellishments. I’ve added a few photo mats on the pages shown below. (Sorry, have not printed my convention photos yet.) In addition, I added some stamping, stickers from the Chalk It Up Assortment set and mini-sparkles.

You will find that some pages don’t need any embellishment or maybe just a sticker or two. 

4. Finish.

Punch holes along the left side of each card. Line up holes and thread a piece of ribbon through and tie in a knot. Make sure you leaves some slack in your ribbon. My first attempt was too tight and the album would not lay flat.

That’s all there is to making a Picture My Life mini-album. Close To My Heart has done most of the work for you by creating beautiful quality cards!

So, which Picture My Life set do you pick?

Just a reminder that you get the best deal when you order Picture My Life in August. For each program ordered, you can add a set of 10 page protectors for just $3!

See all the Picture My Life kits HERE>>

Got a mini to share? I’d love to see pictures. Post a link in the comments below.

Happy creating!

Rebecca

Posted on

Happy Day Sklark Artiste Mini-Album

I hope you are not tired of my mini-albums. I just LOVE them. It is a great way to document an time, event, person, etc. without having to conform to normal scrapbooking standards. They can be made any size with any number of pages using a variety of materials.

The base for today’s Skylark album is a chipboard sheet that comes with the Artbooking Cricut Collection.

This sheet includes six pages that coorespond to shapes on the cartridge (p. 60 of the handbook). This allows you to cut papers to fit the chipboard exactly making album creation quick and easy.

The first thing you need to do to create this album is to cut two of each page (front and back). Before you cut, you may want to think about what order you will put your pages and what papers would look best facing. If you are using coordinating papers, you can almost just randomly cut the pages from the solids and patterns in the pack. 

If you are going to do any stamping directly on the pages, you will get the best transfer of ink before attaching the papers to the chipboard. I like to use the Bonding Memories glue to attach the papers to the chipboard because you can get it all the way to the edges. This leaves no loose paper to curl up and bend or tear.

Here’s a peak at the inside of my album:

And the back cover:

Materials Used:

Skylark Paper Pack (X7177B)

Skylark Assortment (Z3000)

Lagoon Houndstooth Washi Tape (Z1850)

Clear Sparkles (Z1752)

Teal Shimmer Trim (Z1918)

Skylark Scrapbooking Workshop Stamp set (D1591)

Blue Ribbon Stamp Set (C1464)

Delicate Wings Stamp Set (W2028 – Hostess incentive)

If you liked this album, you may also be interested in this Babycakes album using the same chipbard base. 

This album is available as a pre-cut kit ready for assemblyHERE.

Keep Creating!

Rebecca

Posted on 4 Comments

“Owl You Need is Love” Lollydoole Mini-Album

 If you are familiar with the Close To My Heart Cricut cartridges, you may know that Artbooking contains pages for 10 themed mini-albums. However, you may not know that the Artiste cartridge also has a couple mini-albums. One of the most overlooked pages in the Artiste handbook is page 59 and I used the images on that page to create this whimsical Lollydoodle mini-album.

Here is an excerpt from the handbook showing all the pages of this layer album. 

The back cover in the lower right corner (shift – 3D Object) is the largest piece, so I started with it and used Fit to Page to determine the maximim size for my album. The largest size that the back cover can be cut on a 12″ x 12″ paper is 4.25″, so I then turned off Fit to Page and set the size dial to 4.25 for the remaining pages. 

The back cover, which I cut from Pear cardstock, is curved on the right size to create a flap that wraps around all of the pages to the front cover (see below) which I cut from Whispter cardstock. I closed the flap with a hook & loop dot.

Next, I cut each page of the album from a different paper in the pack. Since each page is a different width, you can layer the pages with the widest at the bottom so that when you open the front cover, you see this fun layered look. 

Once I had all my pages cut out, I decorated each one with pieces from the Lollydoole Stickease and remnants of the paper pack. There was just enough stickers to decorate the pages but leaving room for some pictures and journaling. 

Here’s what I did with each of the pages:

and the back cover:

Throughout the book, I popped a few of the stickers up with 3D foam tape. For larger stickers, you will want to “destick” them before mounting so that they don’t stick to the base page on the edges and centers where there is not foam. The trick is to dust them with baby powder and shake off the excess.

Materials used:

Lollydoodle paper pack (X7183B)

Lollydoodle Stickease (X7183C)

Flamingo Dots (Z1934)

Hook & Loop Dots (Z1805)

Artiste Cricut Collection (Z1790)

Paradise Baker’s Twine (Z702)

3D Foam Tape (Z1151)

Tape Runner

I hope this inspires you to make your own mini-album. You can do the same thing with any paper pack and coordinating embellishments. By the way, the twelve sheets of paper in our of our packs is more than enough to make two of these layered mini-albums.

Keep creating,

Rebecca

Posted on

“Daring Adventure” Timberline Kraft 3-Ring Binder Album

Have you made any of the mini-albums on the Artbooking Cricut cartridge yet? If not, you may not know how versatile they are.

Did you know:

  • The cartridge includes 10 albums, each with a different theme and size? 
  • You can mix and match pages from any that have the same vertical dimension?
  • Any of the pages that are 8″ tall will fit in our Kraft 3-ring binder?

For example, I made with the Timberline papers & Stickease plus a Kraft binder. Cutting the pages out on the Cricut and using the ready made stickers made this project crazy quick.

Mixing and matching the 8″ pages on the Artbooking cartridge adds interest asyou can see from the side view shown below.

I used images from pages 38, 39, 40, 41, 44, 45, 48, 49, 50 & 51 of the Artbooking handbook. These are the mini-albums that have 8″ as the first dimension. For all of the pages, I left the size dial set to 8″ (NO Real Dial Size) so that all of them cut to fit in the album perfectly.

Note that some of the page are half size which adds even more interest as you layer them together.

For some of the pages, I choose to cut titles from the many choices on the Artbooking cartridge. Be sure to leave room to add pictures and journaling.

This is in the corner of one of my favorite pages. I roughed up the edges of the cardstock with an edge distresser and mounted the tent on 3D foam tape for dimension. A little baby powder on the back of the sticker keeps it from sticking to the base page along the edges and center where there is not tape.

Remember, you can make an album like this with ANY papers. I choose Timberline and did a camping theme, but your choices are virtually unlimited. 

So pick a paper pack and gather up coordinating stickers and embellishments. Once you cut your pages, cut loose and get creative decorating your pages.

Don’t forget that the Artbooking cartridge also includes titles and other images to fit almost any theme. 

Have fun and keep creating!

Rebecca


Materials Used

My Creations Kraft
3-Ring Album (Z1871)

Timberline Paper Pack (X7182B)

Timberline Complements (X7182C)

Timberline Assortment (Z3005)

Color-Ready Trinkets
Wooden Shapes (Z1844)

Mini-Medley Accents
Wooden Collection (Z1837)

Single sheets of card-stock:
Ponderosa Pine, Lagoon, Goldenrod & Colonial White 

Posted on 2 Comments

Celebrate Spring & Summer with me on Tuesday!

UPDATE – DUE TO SNOW, I’VE RESCHEDULE THE PARTY TO TUESDAY, FEBRUARY 11.


It may still be winter outside and the groundhog may say 6 more weeks of cold, but I’m celebrating Spring and Summer this week! Are you with me?


2014 Spring/Summer Idea Book Introduction Party!

Tuesday, February 4 11, 7:00 pm*

124 Lamp Post Lane, Arnold, MO

*Be here by 7:00 sharp to enter a special “On Time” drawing.

Why come?


Reason #1 – Receive a FREE copy of the new Close To My Heart Idea Book! Retail value is $3.95, but it’s yours just for showing up.

Reason #2 – Touch & feel samples of the new products. Be among the first to see what the creative folks at Close To My Heart have dreamed up this time.

Reason #3 – Make two beautiful projects using the new Ariana paper. Bring a 4″x 3″ photo of something or someone(s) you love to complete the mini-layout.

Reason #4 – Place your first order of these exciting new products to enter a special new Idea Book Mystery Hostess drawing!

**Bring a friend to get a bonus gift**

Please RSVP if possible to help me with my preparations – just drop an email to rebecca@showmescrapping.com.

Posted on

Babycakes Mini Album Kit

I have a brand new kit in my Show Me Scrapping store! I am so excited about this project for three reasons: 1) It is super easy (thanks to the Cricut), 2) It is super cute and 3) It is super affordable!

This cute mini-album makes a perfect gift for a new Mom or Grandma. They will enjoy adding pictures to document their precious bundle of joy.

In this kit you will get all this for just $15:

  • Set of 6 chipboard pages
  • 12 pieces of pre-cut cardstock to cover the pages
  • Lots of coordinating die-cuts
  • Badge button for the cover
  • Rings
  • Fabric strips to tie on the rings

The only thing you need to complete it is adhesives and a little time. The pages are approximately 4″ square and the finished album is just under an inch thick.

  (The kit comes with one each of “Baby Boy” and “Baby Girl” die-cuts)

Order a kit >>>

Interested in making a similar kit but with a different theme? You can!

The set of six chipboard pages are available on my website (Z1791) or as part of the Artiste Cricut Collection. Cut your selected paper to fit the pages exactly using the “Family” key on the Artiste cartridge (p. 60 of the handbook). Cut two of each page to cover both sides. 

From there it is up to you. Add die cuts, stamping, stickers or what ever your heart desires to dress up your mini-album.

What a fun way to document the moments of your life!

Keep Creating,

Rebecca

Posted on 16 Comments

Festive Friday Blog Hop: September Edition

Welcome once again to the Festive Friday blog hop! On one Friday each month through December, you can hop through our blogs to holiday cards, layouts or home decor items using the amazing new products in the Autumn/Winter 2013 Idea Book. I hope you enjoy this paper “eye candy”! Just one more reason to love Fridays!

If you missed my post for the August edition, you can find it HERE. If you came here from Diane’s blog, The Happy Scrapbooker, then you are on the right track. Your hopping path is circular and you will visit each of us by following the links.

This month, I’ve got a fun Halloween mini-album to show you.

Everything in the album was cut using the Artbooking Cricut Cartridge (pages 54 and 55 of the handbook). I set the size dial to 5″ and everything was cut in proportion which made putting it together a snap!

To speed things up, I loaded all of the images I was cutting out onto mats in Cricut Craft Room and I saved the file to share with you. You just need four sheets of cardstock for the entire album. 

<Download File>

Here’s pictures of all of the pages:

Now it’s your turn…use the CCR file to create your own album. Please share a link to pictures in the comments. I’d love to see what you come up with.

Be sure to check back on October 18 for our next installment of the Festive Friday Blog Hop. But for now hop on over to Michelle’s Wandering Scissors blog, your next stop in today’s hop.

Keep Creating!

Photobucket

Posted on

Follow Your Heart Mini Album

Last month, I spent a fun-filled week in Orlando, FL attending the Close To My Heart Convention. Each year, this is a very special time for me for so many reasons – seeing old friends, listening to and learning from inspirational speakers, laughing with the corporate staff in their hilarious skits, hearing Jeannette’s answers to our questions and seeing all the great new products!

Another highlight of the convention is getting to create with some of the new materials myself. This year, we received supplies for a mini album, a set of cards, a base & bling necklace and two layouts. For the layout we received a exclusive stamp set and paper pack to go with the convention theme of VIVA!

Today, I’d like to show you pictures of the mini album. Stay tuned, I’ll post the other projects over the next few days. This album was cut entirely using the new Artbooking cricut cartridge. It also uses dimensional elements from the new Laughing Lola line and is held together with grey baker’s twine. There is a little stamping using a great new stamp set called Geometric Backgrounds.

I’m thinking of using this book to document the last school year. It was our first year home schooling and was at times challenging, but also a very rewarding experience. The bright colors and somewhat chaotic nature of this album captures the spirit of our year perfectly.

What would you use this book for?

Photobucket