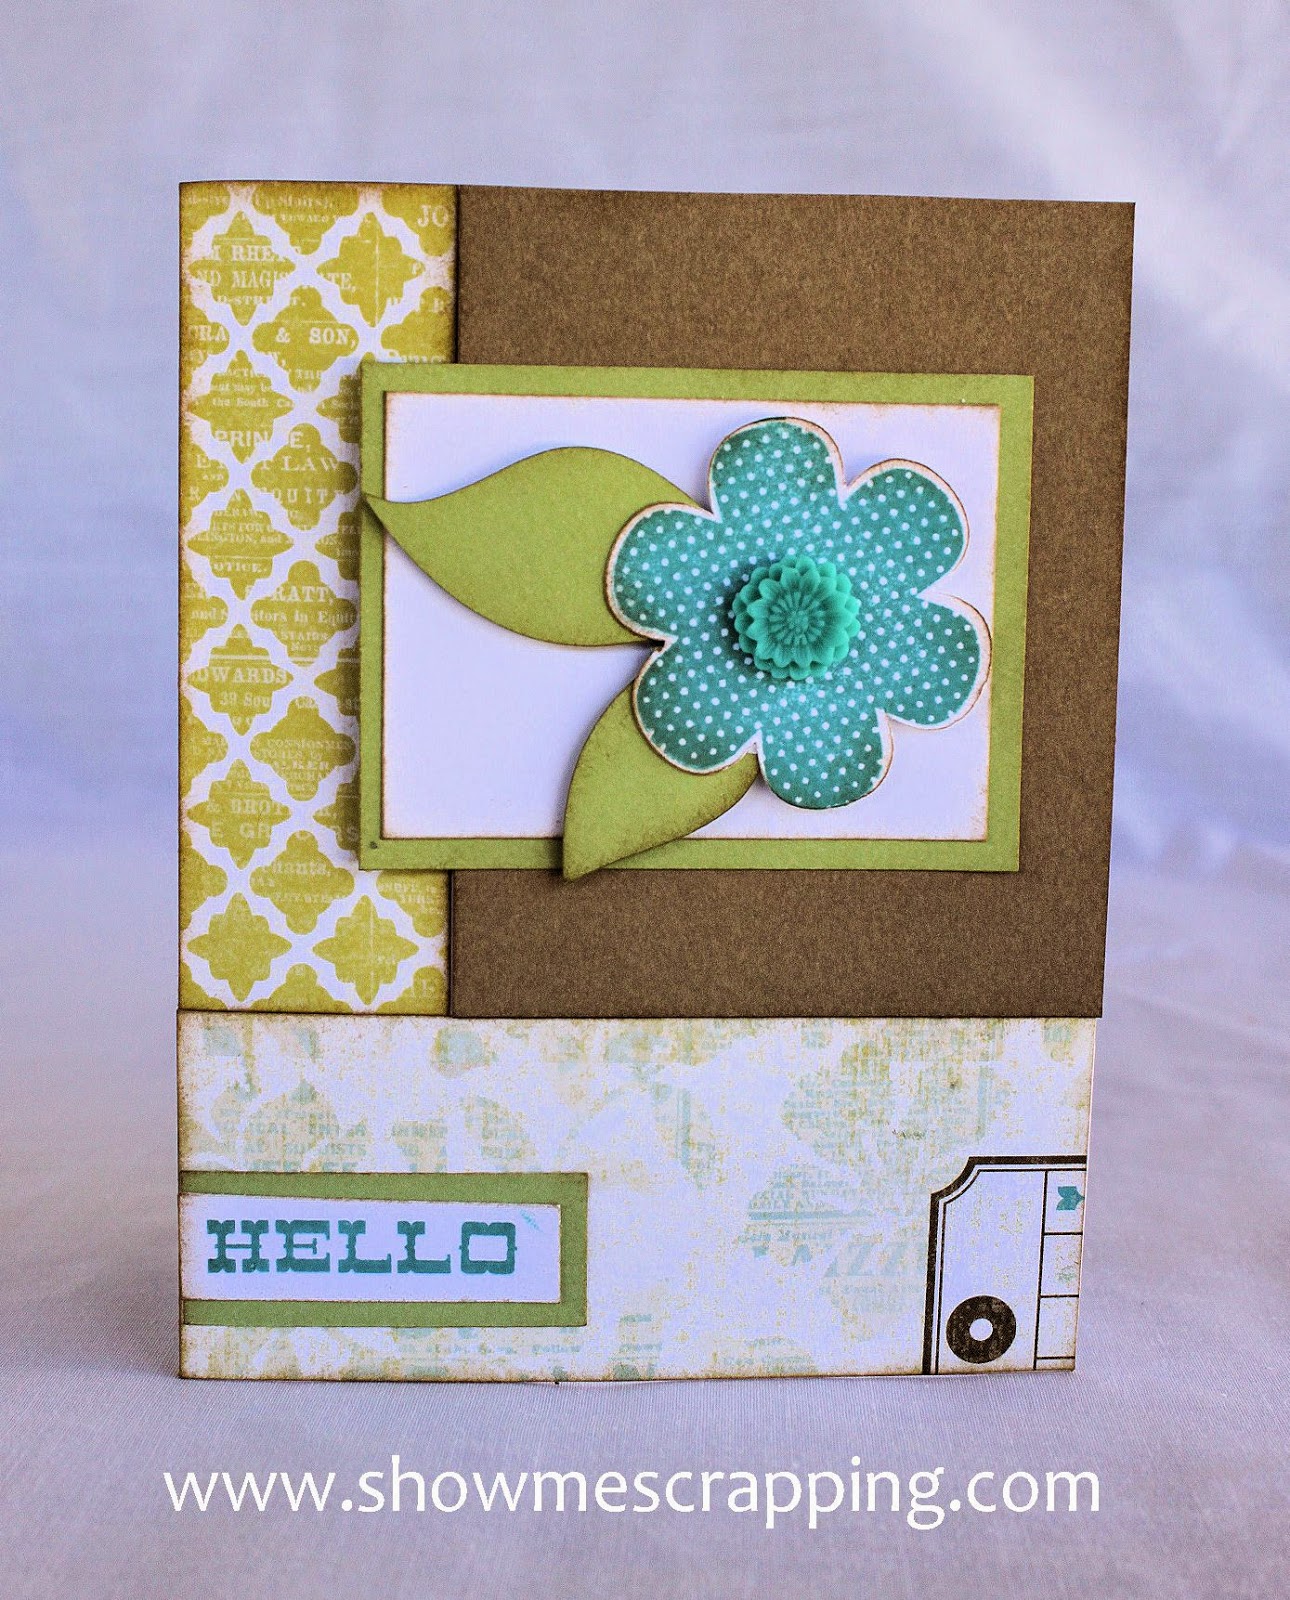
When my sister sent me these precious pictures of her family and I thought the soft Skylark papers were the perfect way to say “Hello” to my new nephew, Moses. I finally had a chance to get the put the layout together and I’m quite happy with how it turned out. The layout pattern is “Classic Look” from Imagine by Jeanette Lynton.
This layout uses the same stamp set (Hello Blooms) as the card I posted a couple days ago. I love stamps that are versatile to work with both cards and layouts. You may notice that the flower and leaf cluster in the bottom right is a replica of the flower on the card.

For the layout, I cut out a couple more flowers and leaves, but picked a different flower shape to add variety. Also, I made centers for these flowers by stamping 1/2″ circles and attached them with foam tape.

I love the zipstrips and use them for ribbons, borders, banners or arrows. They are the most economical embellishment since they come with the paper and, of course, they always coordinate perfectly.


Here are close ups of the two pages in the layout.


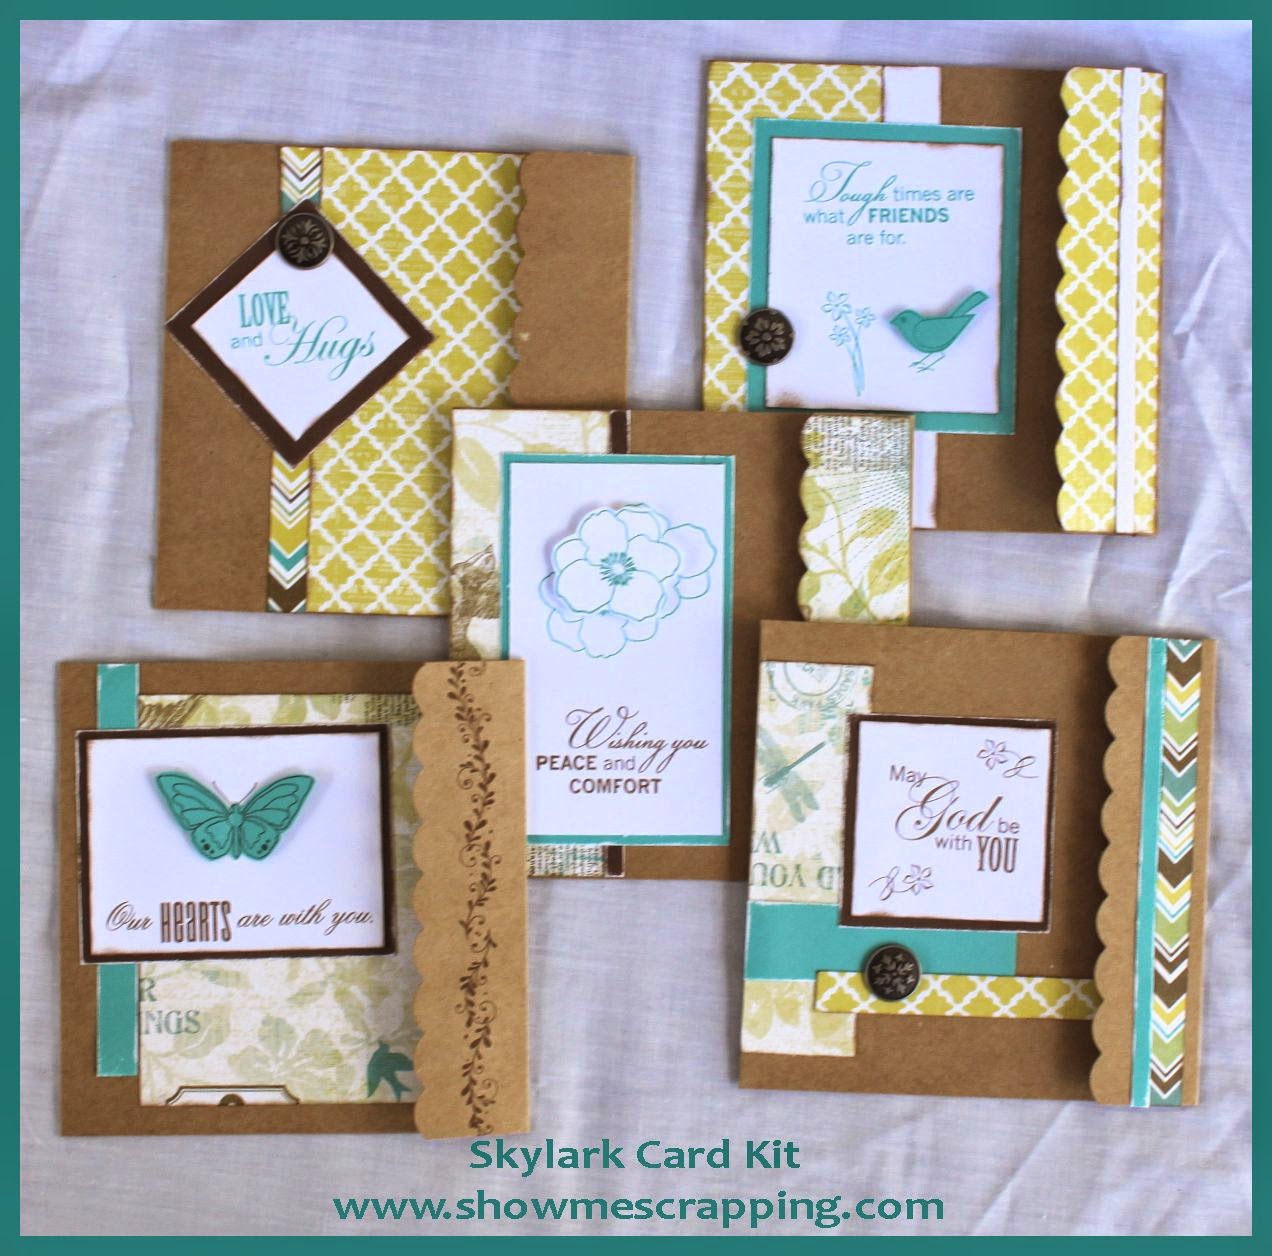
Skylark – July Collection of the Month
All month, I’m posting pictures of projects made with Skylark, my collection of the month. When you order products from this collection and show them off, you are eligible to win a size M stamp set of your choice.

There are three steps to be entered into the drawing:
1. Place an order of $25 or more that includes a product from the Skylark collection* on my website (www.rebeccabrown.ctmh.com)
2. Create a project that includes something from at least one of the products listed above.
3. Post a picture of your completed project on Facebook or Instagram with the hashtag #showmeskylark.
Enter as many unique projects on separate posts as you want. One winner will be chosen randomly from all qualifying projects posted as of August 31.
Keep creating!
Rebecca