Posted on

Vintage Enchantment: The Nevermore Collection

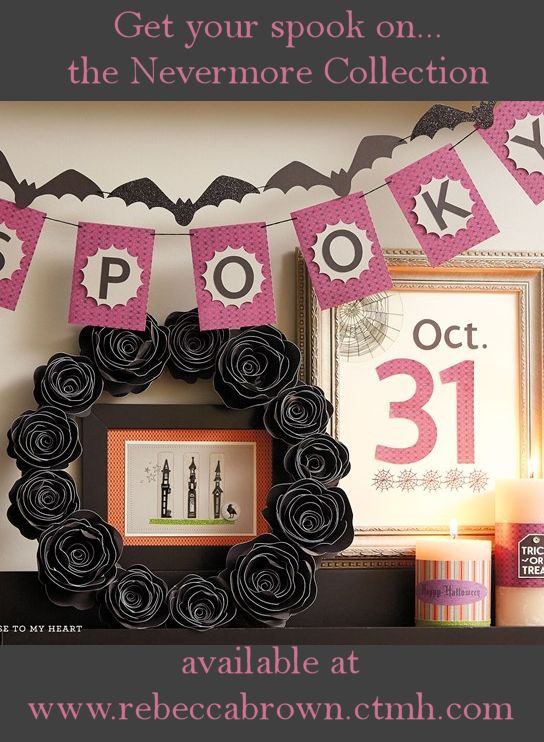
Throughout the month of September, I’ll be focusing on the Nevermore Collection.

To start off, here’s a project made by the amazing artists at Close To My Heart.

This layout has so many fun details. I love the layered tags which are are a repeated element with a few on the top left and the bottom right corners of the photo. This really frames the picture and keeps it the focus. 

The stitching is another great detail, but the “little monsters” in the foreground steal the show! These were stamped then colored with our new Watercolors. Here’s a closer look at these little cuties:

Want to scraplift? Here’s a list of products used.

Recipe:

C1630 My Acrylix Little Monsters

X7198B Nevermore Paper Packet

1388 Colonial White Cardstock

Z888 Black StazOn Ink Pad

Z2446 ShinHan Twin Touch Black Marker

X7198C Nevermore Complements

Z3083 Nevermore Assortment

Z3089 Grey Enamel Gems

Z3132 Watercolor Paints

Z3188 Paintbrush Set

Z3168 Cricut Artfully Sent Collection

Thread

You can make this and other Halloween projects using the Nevermore collection which includes a paper pack, Complements and Assessories pack. Each paper pack includes 12 sheets of paper: 6 double sided B&T prints and 6 coordinating solids.

Starting with the new Idea Books, Close To My Heart has redesigned the Complements packs. Instead of all of the pieces being of the same material, we now get a mix of stickers, kraft die-cuts and plastic vellum pieces. The picture below shows a sample, but the actual pack includes much more than what is shown.

The Nevermore Assortment pack includes 9 gems with detailed black and white images. These are adhesive-backed so are ready to finish off your projects. 

There are also a lot of new Halloween stamp sets that coordinate with the Nevermore collection. 

All of thes products can be found in my Close To My Heart shop.

Posted on

#30yearsofhappy – Day 4

September is National Stamping Month and Close To My Heart is celebrating all month long by giving away a fun stamp set with qualifying orders!  This special stamp set, #30yearsofhappy, was designed to celebrate our founder and CEO Jeanette Lynton’s 30th anniversary in the scrapbooking and stamping industry. To get this stamp set free, simply place an order on my Close To My Heart website which includes $30 in current retail-priced stamps.

This stamp set features 30 mini images and sentiments. Since there are 30 days in September, my friends and I thought it would be fun to present a project on our blogs using one of these stamps each day this month. Follow along as Ellen, Julia and I stamp our way through the month!

Are you up for a challenge? You are invited to join us! Scroll to the bottom of this post for an invitation to post a link to your project using the #30yearsofhappy stamp set.

WOW! You Did It Banner!

Today’s #30daysofhappy project uses the “You Did It” sentiment stamp (top left corner in the above picture). The banner uses the mini-banner chipboard pieces that come with the Art Philosopy Cricut cartridge. it is so easy to cut your favorite papers to fit the chipboard exactly since the shapes are on the cartridge! I used the black/glacier dotted paper from the Snowhaven pack.

The rosette on the last banner piece was made from two 6″ x 3/4″ strips of paper. I used the Scallop Border punch on one edge before scoring & folding them at the base of each of the scallops. To finish the rosette, I used attached the ends together to make a ring, then pressed the straight edge of the ring toward the center.

You may have noticed that I used Glacier baker’s twine and wondered where I found it. Well, I didn’t so I made some. First, I took a length of the black metallic baker’s twine and separated the strands. Keeping only the white ones, I rolled them back together. Then I ran the twisted strands over the Glacier ink pad a few times until they were the color I wanted. Viola – Glacier Baker’s Twine! You can use your ink pads to create any color of baker’s twine!

My supply list: Snowhaven paper, Neutral Metallic Baker’s Twine, Bitty Sparkles, Dimensional Elements Banners and Art Philosophy Cricut Cartridge.

Be sure to check back tomorrow, when Ellen at www.cardmonkeysjungle.com will share another project made using this fun stamp set.

Want to get your hands on one of this sets? Here’s how: Go to my CTMH website and pick out several stamp sets you love with total retail of $30 or more. This will be easy because there are so many great new sets to pick from! When you view your shopping cart, you will be prompted to add #30yearsofhappy for FREE!

In the meantime, keep creating!

Rebecca

An InLinkz Link-up

Posted on

June Happenings!

There are so many special purchases available to you on my sales website in June! All of them provide you with quality Close To My Heart products at great prices. You also have a chance to make a difference by supporting the American Red Cross with your purchase of “A True Thank You” stamp set and the USO with your purchase of “Courage” or “Home of the Brave” stamp sets.

I’ve summarized everything for you to review below. 

Start Shopping Now


Make It a Banner Day!
Get a FREE My Creations Mini Banner! 

It’s going to be a “banner” day! When you plan a $25 order that includes a qualifying stamp set, you’ll receive a My Creations mini banner for free (a $5.95 value)! The mini banner includes 10 chipboard pennants in 4 different shapes with 9 jump rings for hanging. Use the mini banner as a decoration for your parties and get-togethers this summer. Make it a “banner” day in June!


Relief for Oklahoma
Your purchase will support the Red Cross effort.

Close To My Heart is making an upcoming Autumn/Winter 2013 stamp set, A True Thank You, available immediately and will donate 100% of profits from sales of the set from May 23 through June 30 to the American Red Cross to aid the Oklahoma victims. 

Help us provide relief to those affected by the devastating Oklahoma tornadoes by purchasing A True Friend stamp set for $2.95 today!
Let’s Get Patriotic!
Purchase these special stamp sets to support the military.

Show your support of troops and country with new patriotic stamp sets – available only from June 1 – July 31, 2013! As a show of our support, Close To My Heart will donate $3 from each Courage stamp set and $5 from each Home of the Brave stamp set to the USO, the leading most recognized military-support and services organization in the country. Show your support today – stamp style!

Stamp of the Month

Each month you can purchase a new D-size stamp set, available for just one month, for only $5 when you place an order of $50 or more. That’s over 70% off retail!

The June 2013 stamp of the month is A Flowering Bunch


Click here for more information

Jump start the fun by creating the beautiful artwork pictured above. Click here for supply lists and assembly tips.

This stamp collection includes all of the images below:

The red outlines on the images indicate that these can be cut using the Cricut Artiste cartridge.


WHILE SUPPLIES LAST SALE

Discontinued items are available at deeply discounted prices. Check back often as new items are added frequently. Some don’t last long, so if you see something you want you better get it before it’s gone. Click HERE to start shopping.

Photobucket

Posted on 1 Comment

Artiste Key Notes #5–My Halloween Mantel

Today, I am showing off my beautiful banner that my daughter made for my mantel.  Big thank you goes to my sister-in-law, Stephanie, who shared the Cricut cut sizes that she used for her similar banner.

IMG_5798

Isn’t it cute? She made this using the fun Halloween images on page 77 of the Artiste Cricut cartridge handbook. Have I told you how much I love that the images on each key of this cartridge work together to create fun and unique projects?

p 77

Want to make one for yourself? A list of the cuts and a few hints are below. All papers listed are from the Moonlight paper pack. Please note that although the picture of the Spellbinder workshop was used as inspiration for this banner, Emily and Stephanie did not have access the instructions and they made a few modifications in the design. Their creation may have different measurement than that pattern.

Artiste Cricut Cuts:

Owl/leave B&T – Cut 2 of <Accent 1> at 8”

Striped B&T – Cut 2 of <Accent 1 (shift)> at 8”

Black check B&T – Cut 1 of <Accent 1> at 8”

Black cardstock – Cut 4 <Accent 2> at 2”; cut 3 <Accent 2 (shift)> at 5”; Cut 1 <Boo (shift)> at 2.25”, Cut 2 <Accent 4 (shift)> at 2.5”

Colonial White cardstock – Cut 5 circles (p. 48 <card>) at 3”

Goldrush cardstock – Cut 5 <3D Object (shift)> at 4” with real dial size selected

The rosettes under the spiders were a challenge at first, but we have a few tips to help you.

IMG_5799

We recommend first scoring the rosettes every 1/2”. We lined the score marks up with the groove in the paper trimmer and traced them with the bone folder to make nice straight lines.

IMG_5813

Then accordion fold (mountain/valley) the entire length.


IMG_5815

Each rosette will take two of the border strips which you will attach at the ends. Make sure that you position them together so that you don’t mess up the mountain/valley pattern of the folds. To secure them, we used tombow tape runner (for immediate stick) with a few dots of liquid glass (for permanent hold).

IMG_5816

Each rosette is now a ring of paper. Prepare a circle of paper (scrap approximately 2” diameter) for the base by filling it with several glue dots (immediate) plus some liquid glass (permanent). Set the ring on the table with the fancy side down. (Note: After taking this picture, we decided it was better to have the circle off to the side instead of setting in the middle of the ring. But I forgot to retake the picture.)

IMG_5817

Then flatten by squishing the top edge down on the table and toward the center. Lay the prepared base with sticky side down on top of the rosette. To keep it in position, set something on top to hold while the glue sets. We used a large My Acrylix block.

IMG_5819

The cut from the Goldrush paper may have seemed odd since we are not making the owl bag. Take another look at the picture…do you see them? That’s right, the “eyes” become the scalloped circle on each banner piece. How creative is that?

IMG_5800

I hope this project has inspired you. I’d love to see you creations – post a link to your picture in the comment section!

Posted on

On Your Marks (Markers)!

Get Set! Go!

Over a week ago, the postman brought these to my door:

Yippee Skippee! Yes, I have FINALLY have an assortment of the new alcohol markers! The last couple of days, I have finally had a chance to play with them a little.

Who says coloring is for kids? Here are a few of the things Emily & I have colored over the last few days.


Soon I’m planning to share with you some finished artwork as well as some tips learned in the process.


Until then, you can watch this video to learn about the smooth effect you can create with the new alcohol-based markers. Use the two complimentary colors to create one amazing piece of artwork!

Posted on

Potential

March has blown in! This morning, I’d like to share with you the new Stamp Of The Month, Potential. This stamp set has romantic flourishes and a encouraging sentiments. It is great to dress up cards or scrapbook pages.

Like the projects pictured above? Supply lists and directions are on the Close To My Heart website via this link.

Here’s a picture of all the great images you will get with this set.

You can only get this set during the month of March 2012. It is $17.95 or save over 70% and get it for just $5 when you spend $50.