Don’t you love these birdhouses made with the milk cartons? Wouldn’t it be fun to fill them with treats for a house warming gift.

What will you do with your cartons?

Don’t you love these birdhouses made with the milk cartons? Wouldn’t it be fun to fill them with treats for a house warming gift.
What will you do with your cartons?

I am so excited about the new products in the Spring/Summer 2013 Idea Book and I just can’t wait to start showing you! I’m not allowed to take pictures of the book and I just placed my first order on Tuesday, but there are a few images we’re allowed to post.
Here’s a peak of “For Always”, the paper we’ll be working with in March. Stay tuned for more details!


Can it get any more beautiful than that?
All of the B&T designs in this classy paper pack are black and white. Perfect for adding a splash of color of your choice. As you can see from the pictures above it is lovely with yellow, red, blues and purples. With this paper, making elegant cards and layouts will be a breeze.
Can’t wait to have it in my hands!

Get ready for Valentines Day with the January Stamp of the Month! For the card below I used B&T paper from the La Belle Vie paper and black tulle.

The roses were stamped on Colonial White Cardstock and colored with blush alcohol markers.
Here are some more great projects that used this stamp set:

Would you like to make the projects pictured above? Follow this link to the supply lists and notes.
Here’s a close of of all the images on this stamp set.

This stamp set is exclusively available during the month of January 2013.
It is just $17.95. Or if you place an order of $50, you can add it for just $5!
Click hereto start shopping.

The December Stamp of the Month can be used all year long. The images are just the right size for gift enclosure cards. I choose to made a Father’s Day and Mother’s Day 3″ x 3″ cards using Dakota and Moonlight papers, respectively.

Here’s a close of of all the images on this stamp set.

This cheerful D-size stamp set includes month after month of fresh, whimsical images for your seasonal and holiday projects all year. From Father’s Day to Thanksgiving, there is an image in the Year-Round Cheer stamp set that is perfect for the occasion you want to celebrate. You can snatch this treasure up for a mere $5 with your qualifying $50 order this month only, so be sure to get your order in!

In love with the artwork above created with this stamp set? Get ready to make it
yourself! Purchase the materials listed on my CTMH website (link) along with your Stamp of the Month to get started!
My newsletter is the best way for you to keep up with current specials and receive inspiration for your projects. You can join my newsletter distribution list by emailing me or clicking the link in the right column of this blog.
The November newsletter article below discusses how handmade gifts can mean more. Plus it is a whole lot of fun creating them 🙂 Happy Crafting!
Why Handmade Means More
Gifts from the Heart
 |
 |
| |
The holiday season is coming up fast — have you started your shopping yet? And what are you going to get for those few people on your list who are impossible to shop for? What do you give to that person that seems to have everything? If you’ve got some question marks on your list this year, try giving something handmade.
Why handmade? There are many reasons that a gift you make yourself is more meaningful than what you can get off the shelf:
There is no limit to the handmade gifts you can give this year. A beautiful card or scrapbook page may be just the right thing, or a decorated picture frame, jewelry box, or wall art. Let your creativity shine this holiday season and give something that means a little more — give something handmade.
Go here to see some great project ideas! »

Christmas gift idea!
I’ve been seeing lots of great uses for vinyl on Pinterest and have been very intrigued. But I have to admit I was a little nervous about giving it a try. Until now! Last week, I found a great price on vinyl and decided to try it out on some tumblers from the dollar store.

My daughter and I had a great time making one for each family member. These cups are for our “home all day” days. So instead of having a counter full of empty glasses, I’m hoping that there will just be these three to wash at the end of the day.
All of the letters and designs are from the Art Philosophy Cricut cartridge. The letters were cut at 1.25″ and the designs are 2″.
I found the vinyl much easier to work with than I expected. We did not change any of the settings on the Cricut from what I use for cardstock. We also chose designs that were fairly simple. After cutting out Emily’s name, we elected to not use the font with the little cut outs on the others since those sticky little circles were tricky to separate from the rest of the letter.
We did not use transfer paper for this project because we were not that worried about making them perfect. We just eyeballed the alignment and called it good enough. If needed, you can gently pull them up and reposition.
I was a little worried about how they would hold up to washing. We’ve hand washed them a few times and so far the vinyl is sticking tight.
This was a great starter vinyl project and we have definitely caught the vinyl bug. We are looking around for other things to decorate! I’ll post pictures if we do.
Hope this has inspired you to take the leap into vinyl!

We are getting in the Halloween spirit at our house. Earlier this week, I posted pictures of the Halloween banner my daughter made for our mantle. Well, she’s added another item to the display. Last weekend, Emily worked with her cousins to decorated this paper-mache house using Moonlight paper and dimensional elements and the Wicked stamp set.

I especially like how they made the door look like it is falling off it’s hinges. The knocker is from the Haunted Assortment.

 |
| Our Halloween Mantle |
I am so happy that my daughter and nieces have caught the creative bug. I look forward to spending time with this next generation creating. What about you? Does your family like to craft together?
Today, I am showing off my beautiful banner that my daughter made for my mantel. Big thank you goes to my sister-in-law, Stephanie, who shared the Cricut cut sizes that she used for her similar banner.

Isn’t it cute? She made this using the fun Halloween images on page 77 of the Artiste Cricut cartridge handbook. Have I told you how much I love that the images on each key of this cartridge work together to create fun and unique projects?

Want to make one for yourself? A list of the cuts and a few hints are below. All papers listed are from the Moonlight paper pack. Please note that although the picture of the Spellbinder workshop was used as inspiration for this banner, Emily and Stephanie did not have access the instructions and they made a few modifications in the design. Their creation may have different measurement than that pattern.
Artiste Cricut Cuts:
Owl/leave B&T – Cut 2 of <Accent 1> at 8”
Striped B&T – Cut 2 of <Accent 1 (shift)> at 8”
Black check B&T – Cut 1 of <Accent 1> at 8”
Black cardstock – Cut 4 <Accent 2> at 2”; cut 3 <Accent 2 (shift)> at 5”; Cut 1 <Boo (shift)> at 2.25”, Cut 2 <Accent 4 (shift)> at 2.5”
Colonial White cardstock – Cut 5 circles (p. 48 <card>) at 3”
Goldrush cardstock – Cut 5 <3D Object (shift)> at 4” with real dial size selected
The rosettes under the spiders were a challenge at first, but we have a few tips to help you.

We recommend first scoring the rosettes every 1/2”. We lined the score marks up with the groove in the paper trimmer and traced them with the bone folder to make nice straight lines.

Then accordion fold (mountain/valley) the entire length.

Each rosette will take two of the border strips which you will attach at the ends. Make sure that you position them together so that you don’t mess up the mountain/valley pattern of the folds. To secure them, we used tombow tape runner (for immediate stick) with a few dots of liquid glass (for permanent hold).

Each rosette is now a ring of paper. Prepare a circle of paper (scrap approximately 2” diameter) for the base by filling it with several glue dots (immediate) plus some liquid glass (permanent). Set the ring on the table with the fancy side down. (Note: After taking this picture, we decided it was better to have the circle off to the side instead of setting in the middle of the ring. But I forgot to retake the picture.)

Then flatten by squishing the top edge down on the table and toward the center. Lay the prepared base with sticky side down on top of the rosette. To keep it in position, set something on top to hold while the glue sets. We used a large My Acrylix block.

The cut from the Goldrush paper may have seemed odd since we are not making the owl bag. Take another look at the picture…do you see them? That’s right, the “eyes” become the scalloped circle on each banner piece. How creative is that?

I hope this project has inspired you. I’d love to see you creations – post a link to your picture in the comment section!
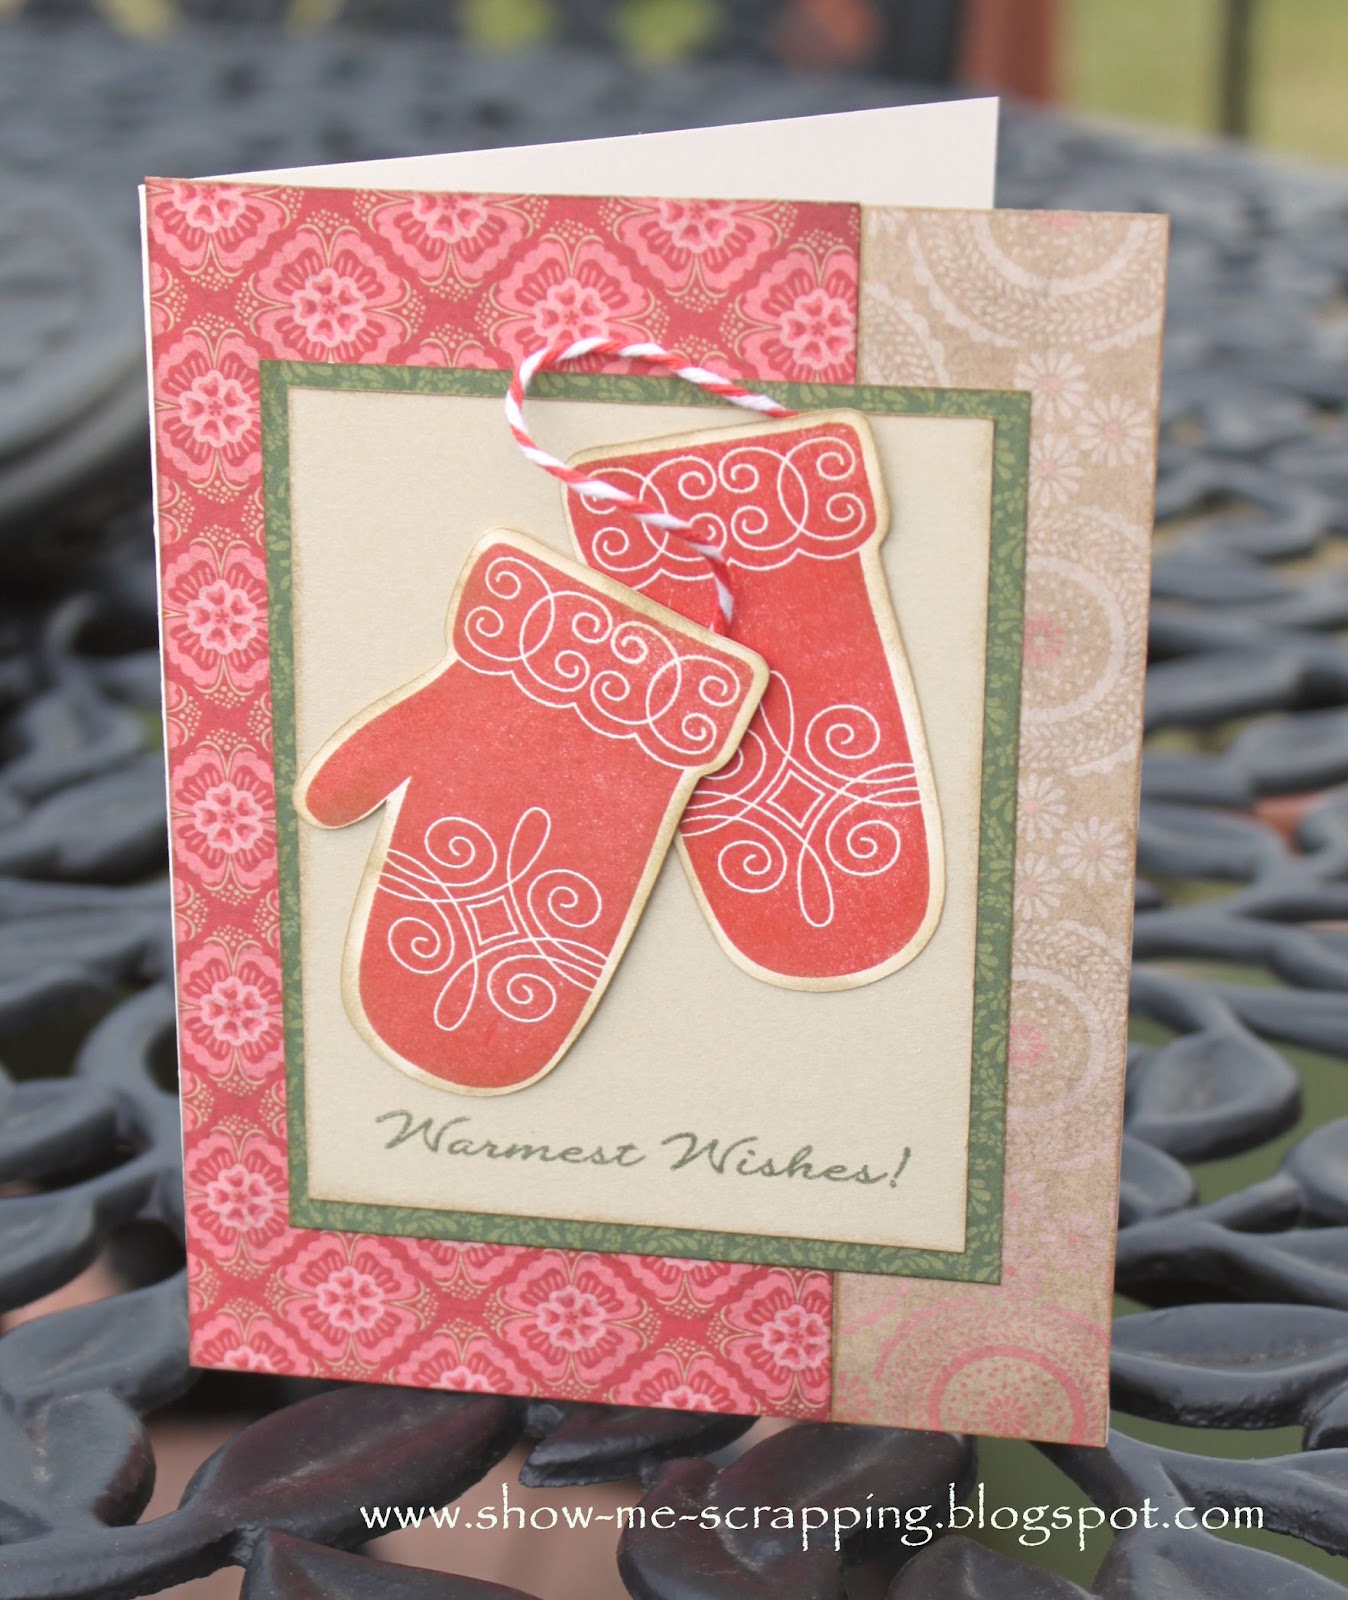
‘Tis the season for holiday stamping! Deck your cards and scrapbook layouts with decorative Christmas images from the My Acrylix® Very Merry Christmas stamp set many of which coordinate with Cricut® Artiste shapes!
Cut out your Cricut® shape, stamp the image from the Very Merry Christmas stamp set, and you have a beautiful decoration for any page, card, or home décor item. Remember that it can be yours for just $5 with a qualifying $50 purchase. Stamp some Christmas cheer into your holiday season this year!

I made the card above in a jiffy by cutting out the mittens on the Cricut. It is just one of the stamps that coordinate with images on the Artiste Cricut cartridge. The paper is from the Pears & Partridge pack.
Here’s some more inspirational artwork the CTMH talent made with this stamp set.

Would you like to make the projects pictured above? Follow this link to the supply lists and directions.
Here’s a close of of all the images on this stamp set. The red lines around an image means that it is a shape on the Artiste Cricut cartridge.

This stamp set is only available during the month of October 2012. Order yours today for $17.95 or just $5 with an order of $50.
Another great video from My Craft Channel’s series Clearly the Best. In this one, Monica & Kristine give tips for stamping on multiple surfaces with several fun project ideas.