Posted on

Schools out for me — time for some Year-End Scrapbooking!

Happy Holidays! I just finished grading my last final and reporting the semester grades. So the Christmas Break is here for me! I’m excited to have a couple weeks to enjoy time with family, friends and my scrapbooking supplies 😉

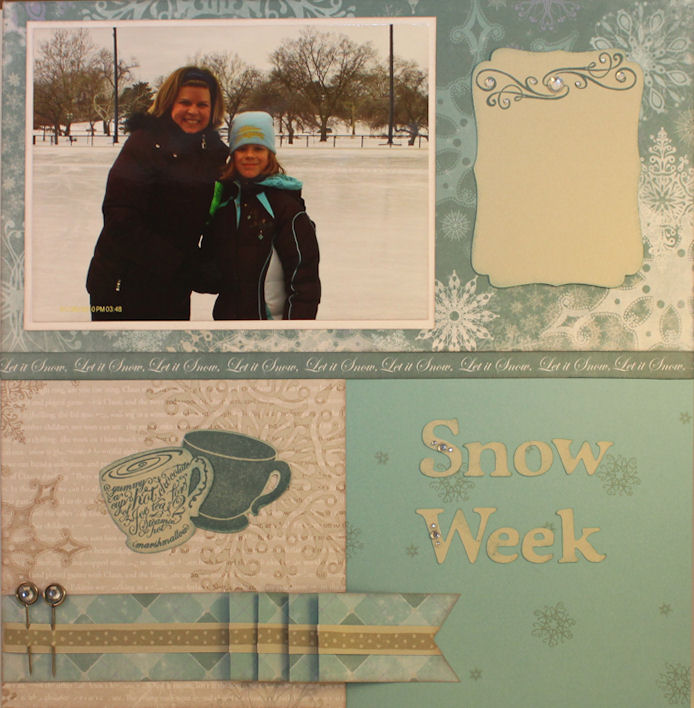
What kinds of things do you think of scrapbooking around this time? I think of special Christmas cards, photos of my family opening gifts, the Christmas tree, family gatherings, and the kids playing in the snow.

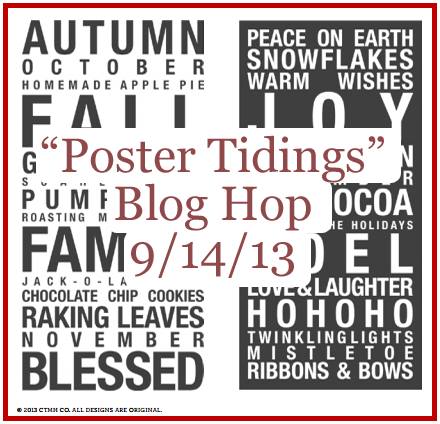
The month of the December also has me thinking of all kinds of
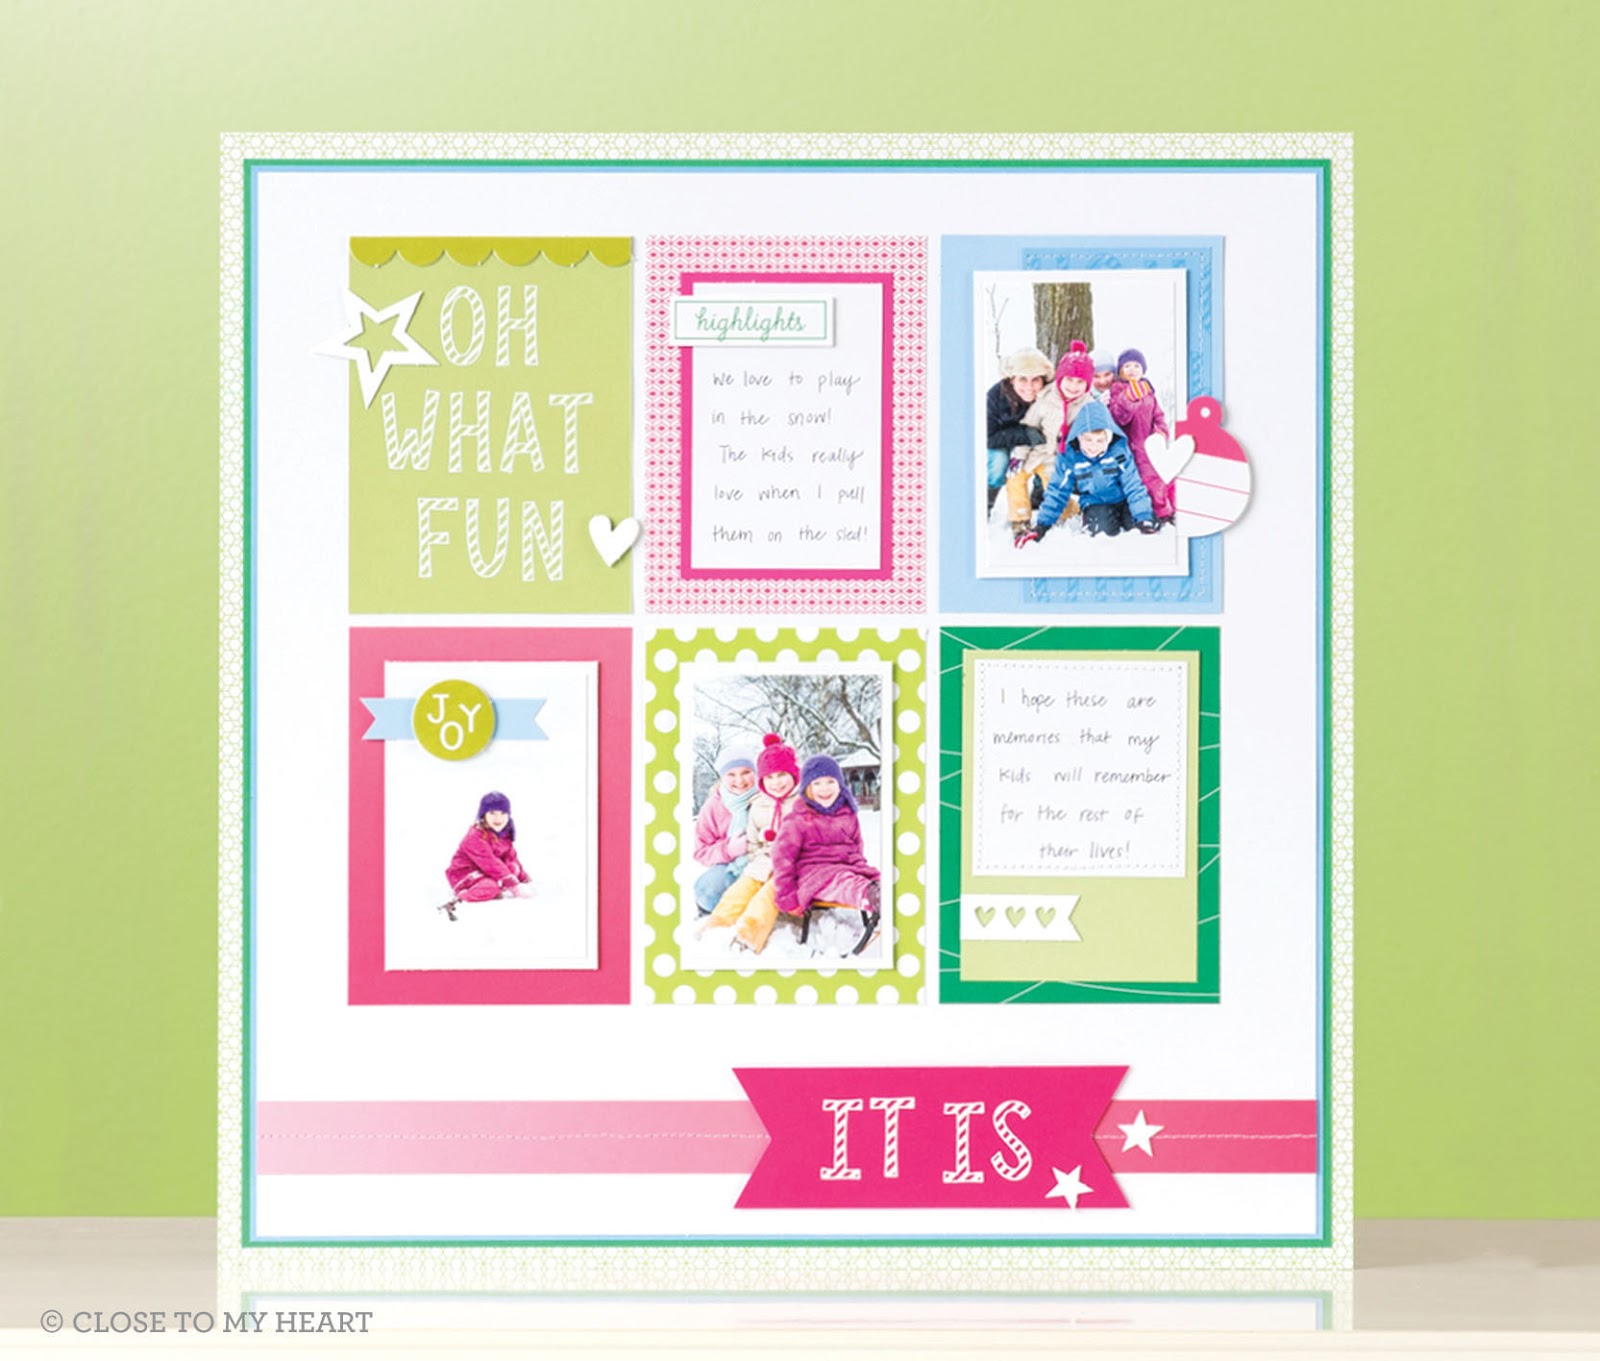
keepsake cards and gifts I can make for my family and friends. I love both making and receiving home-made gift. What is so great about December’s Stamp of the
Month collection is it can be used to make customized scrapbook pages or
Christmas cards. The festive letters are fun to spell out names, phrases, and
lot’s of Happy Holiday wishes.

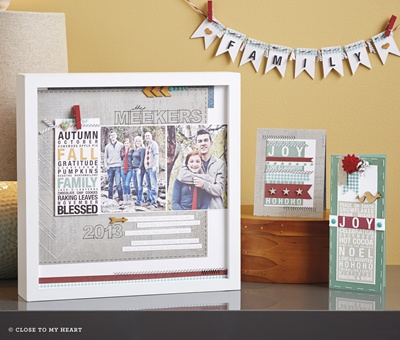
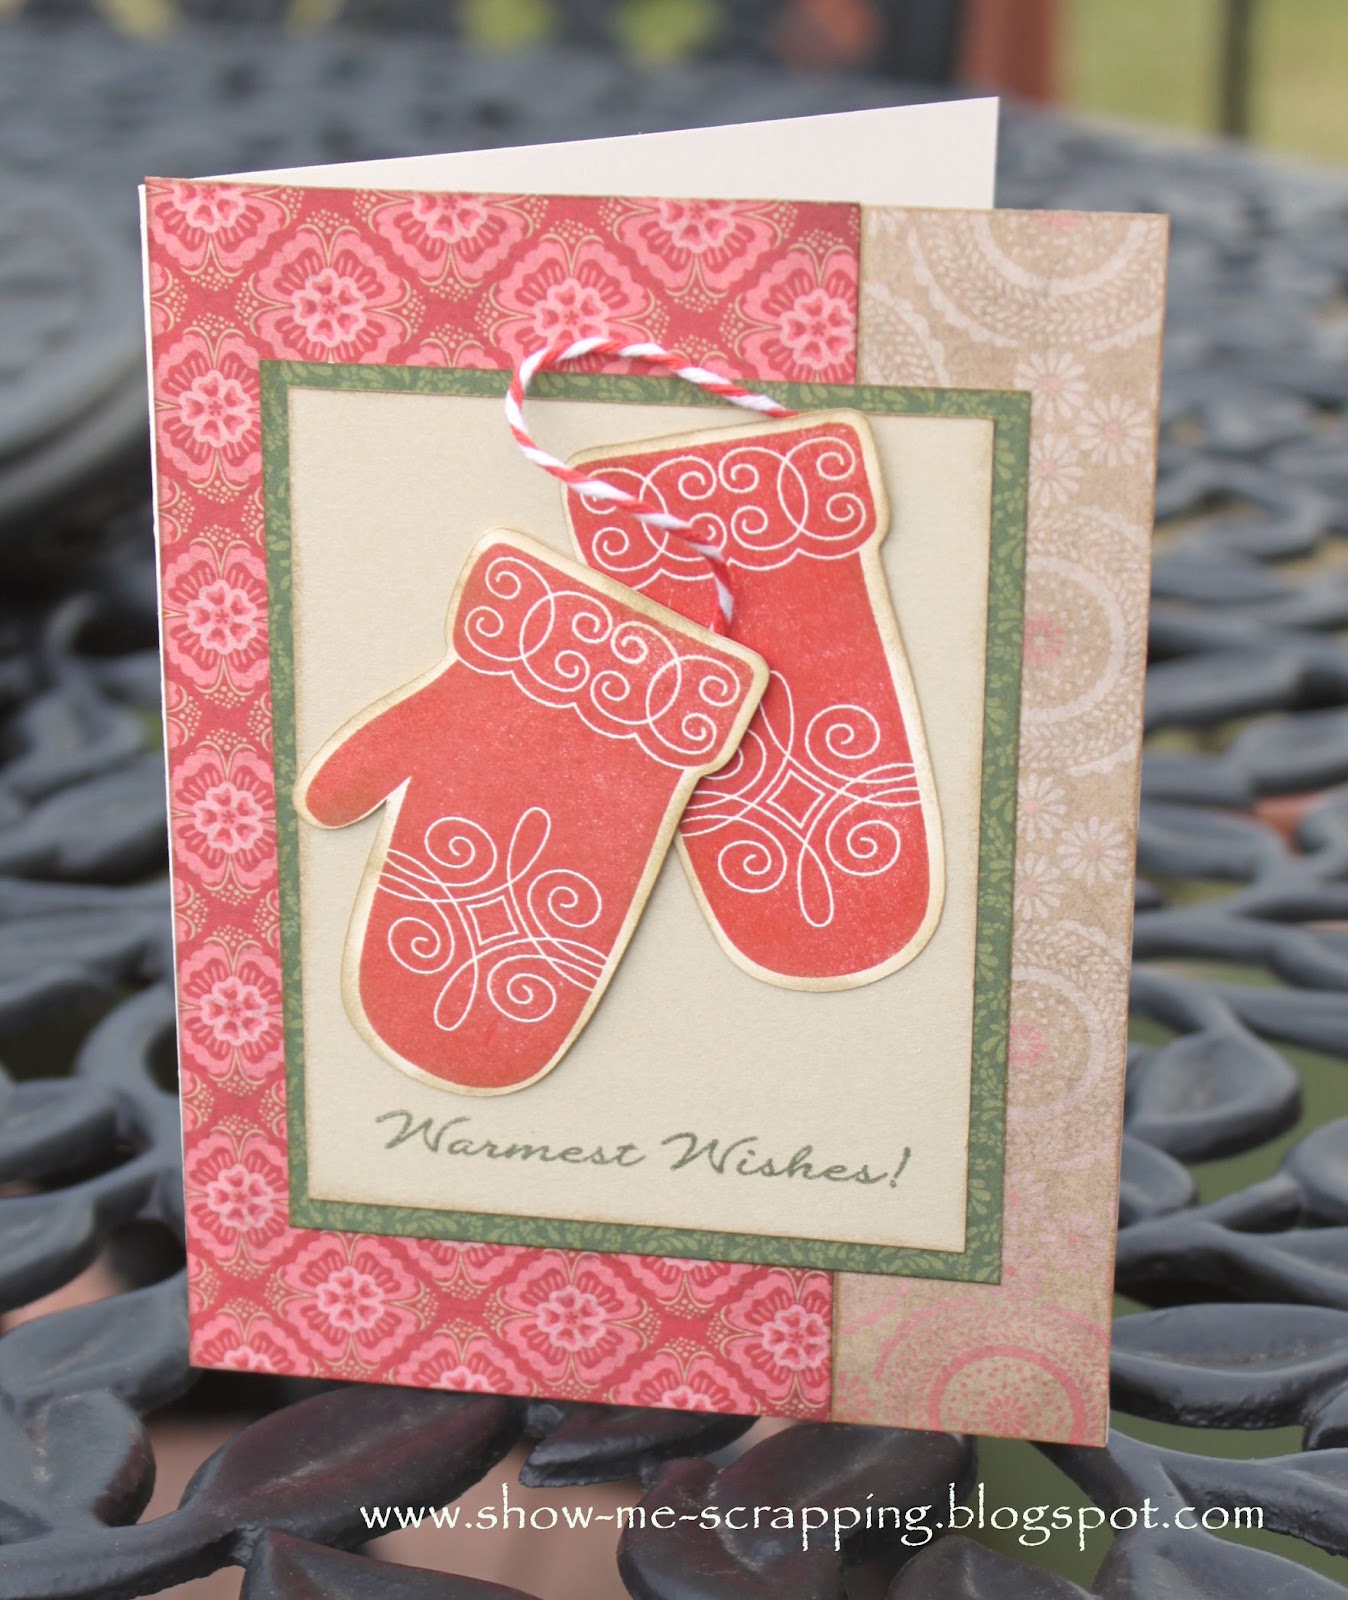
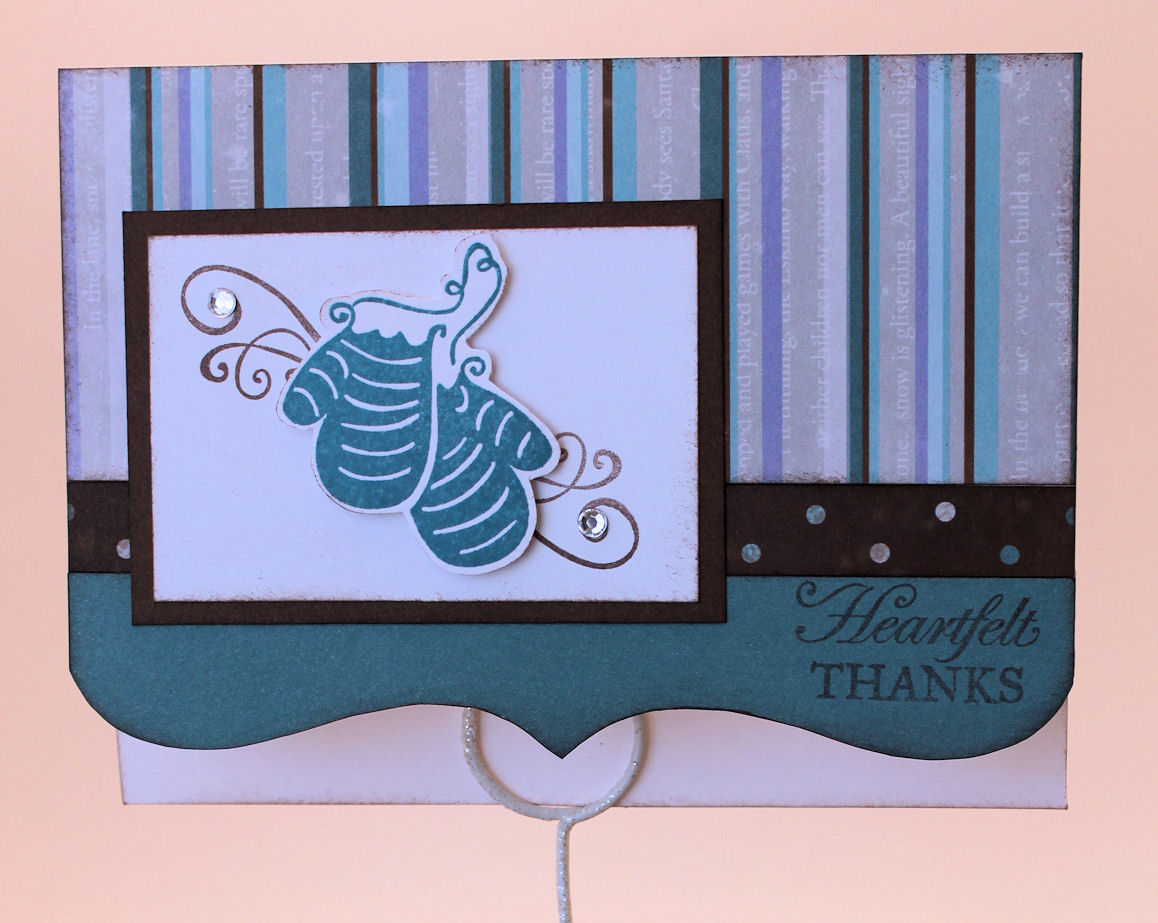
Don’t you love how professional and amazing these projects are? These were created by the artists at Close To My Heart, but I can help you “scraplift” them using this month’s Stamp of the Month! Or you could easily modify them to fit your needs. 

If you’re wondering if you can squeeze
another purchase into your holiday budget, you definitely can with the special
deal we’re offering on this stamp set. You can get the full December Stamp of the Month, Candy Cane Alphabet,  or
either the regular price of $18.95 OR you can get it for just $5 with any $50
purchase!

Start Shopping>>

I’m sure you will have so many photos by the end of this month.
Scrapbooking is the ultimate way to preserve these precious moments so that you
can look back on them as the years go by. 2018 is coming to an end, so get
those memories safely kept before the start of the new year! 

Happy Holidays to
you all!

Rebecca

Posted on 4 Comments

Poster Tidings Blog Hop

Welcome to our September Stamp of the month Blog Hop! This month’s stamp from Close To My Heart is “Poster Tidings” and is available exclusively through your Close To My Heart consultant from September 1 – 30, 2013. This month, you can receive this stamp set for $5 with a qualifying purchase of $50.

If you don’t already have a Consultant that you are currently working with, please contact one of the Consultants in our hop with any questions you have!

If you have just hopped onto my blog, please start at the beginning at Darla’s blog – Crafting is Contagious. If you have come from Scraper’s Therapy with Amber, then you are in the right place!

Now, without further ado….here’s my project:

I have been wanting to get out my embossing powders and this large Christmas stamp gave me the perfect opportunity. If you have never worked with embossing powder, you are really missing out on some crafty fun! I like to think of it as grown-up glitter!

To emboss an image, first you stamp the image with Versamark ink which is colorless, but sticky. Can you see the faint outline of the stamped image in the lower right side of the picture below? That is what it looks like when you stamp with Versamark. Not too exciting, right?

But wait! Sprinkle on a little Silver Embossing Powder and shake it off — just like you used to do with glitter. Viola! You now have a silver outline of the stamped image. 

But wait there’s more! The final step is where the magic really happens. All those little specks of powder melt and merge together when you blow it with a craft heater. The grainy image becomes smooth and shiny. Isn’t that fun?

I finished the card off with a flower and baker’s twine from the Ruby Mini-Medley Assortment and a little Silver Shimmer Trim.

Your next stop on our “Poster Tidings” hop is 4 Hearts Scrapbooking with Jennifer.

Here’s the entire lineup in case you get lost along the way:

  1. Darla at Crafting is Contagious
  2. Amber at Scrapper’s Therapy 
  3. Rebecca at Show Me Scrapping (you are HERE)
  4. Jennifer at 4 Hearts Scrapbooking
  5. Janna at The Creative Princess
  6. Pam at Pam’s Crafty Creations
  7. Michelle at My Creations With Michelle

Thanks for hopping along with us. We hope we were able to inspire you.

Keep Creating!

Rebecca

Posted on

Poster Tidings

Have you seen the trendy subway art technique? It is a fun way to put together several related words and phrases. You’re going to love the September Stamp of the Month, Poster Tidings! It gives you a quick way to create Fall and Winter subway art.

Watch adorable pieces of art come to life with this unique stamp set and fun embellishments.

Here’s a still shot of some of the projects featured in the video. You can find supply lists and helpful hints on my website under promotions (LINK).

Here’s a pictures showing the two large stamps included in the set. As you saw in the video, you can either use all the words on your project or use a little creative cutting and pasting to show your favorites. Which words will you choose?

Remember this set is only available during September 2013. You can purchase it for $17.95 or with a $50 purchase, it is just $5!

Start shopping>>

Posted on

Snow Cute!

PicMonkey Collage

It snowed this morning, but not enough to accumulate. But it put me in the mood for a snowman. So I made these tasty little guys. Each one is the wrapper for a snack size candy bar. Perfect for stockings, a classroom of kids, scouts, etc.

These are loosely based on these cute little Rolo guys by Debby posted on her blog: http://www.debbysstampinspot.com/2012/12/rolo-snowmen.html.

Materials:

  • Fun/Snack sized Candy Bars (approx. 0.6 oz each)
  • Stretch gloves (I found two pair for $.97 at Walmart — that’s enough for 20 snowmen!)
  • Daisy White Card Stock
  • Black permanent pen
  • Orange Marker

Cut a piece of cardstock 3″ x 4″. Score a fold line approximately 3/4″ from each of the shorter sides. Draw a snowman face and buttons in the center. Color the carrot nose with the orange marker.

IMG_6398

Wrap around a candy bar folding on the score lines. It will have a mailbox shape as shown below.

IMG_6406

Cut the fingers/thumb off each glove to make hats for the snowmen. Use the body of the glove to make scarves – approximately 1/2″ x 3″. The picture below shows how to cut five hats and scarves from one glove.

IMG_6402

Role the edge of each hat slightly and slide on the top of the snowmen. Tie the scarves around the snowmen between the face and buttons.

IMG_6395

Let It Snow!

Rebecca

Posted on

Very Merry Christmas – October Stamp of the Month

‘Tis the season for holiday stamping! Deck your cards and scrapbook layouts with decorative Christmas images from the My Acrylix® Very Merry Christmas stamp set many of which coordinate with Cricut® Artiste shapes!

Cut out your Cricut® shape, stamp the image from the Very Merry Christmas stamp set, and you have a beautiful decoration for any page, card, or home décor item. Remember that it can be yours for just $5 with a qualifying $50 purchase. Stamp some Christmas cheer into your holiday season this year!

I made the card above in a jiffy by cutting out the mittens on the Cricut. It is just one of the stamps that coordinate with images on the Artiste Cricut cartridge. The paper is from the Pears & Partridge pack.

Here’s some more inspirational artwork the CTMH talent made with this stamp set.

Would you like to make the projects pictured above? Follow this link to the supply lists and directions.

Here’s a close of of all the images on this stamp set. The red lines around an image means that it is a shape on the Artiste Cricut cartridge.

This stamp set is only available during the month of October 2012. Order yours today for $17.95 or just $5 with an order of $50.

Click here to start shopping now!

Posted on

Wonderland: Get it before it melts!

Last weekend, I made a couple of Thank You cards using the Wonderland paper. They turned out so cute, I thought I’d share them with you.

All of the stamping is from the Wonderland Workshop On The Go set. I dressed the cards up with a few of the sparkles that also came with the Workshop.

Wonderland is my absolute favorite paper in the Autumn/Winter Idea Book and I’m so sad that it is going away at the end of January. The Wonderland paper pack and workshop are currently available on my shopping website.

Have a beautiful winter wonderland day!

Posted on

Welcome to Wonderland!

Today, I want to show you a couple layouts I made using the Wonderland papers. I just love the colors of this paper. Blue has always been my favorite color. The blue and brown combination for winter papers is somewhat suprising but it works.

My first layout is from last January. If you live near St. Louis, you may remember that last year was a record setter for snow days from school. (Especially for a the district my daughter attends). One week school was canceled on Monday, and Tuesday, and … Although the streets near our house were cleared early in the week, some of the rural roads remained trecherous for the buses.

I had planned to be off work on Friday so I told my daughter that is she was still off school on Friday we’d do something together. After a week of being cooped up indoors, she choose ice skating. We bundled up and headed to Steinberg Ice Rinkin Forest Park. Neither of us are great skaters, but we had fun trying. It felt so good to be outside!

Even though I deviated from the Workshop On The Go pattern somewhat to accomodate my pictures, I did use several techniques including the paper “ribbon” and putting sparkles in the foundry pin head shown below.

Close up of some stamping and bling:

This one-page summer layout also uses paper from the Wonderland pack.

Three of the Background and Texture designs have snowflakes, but the other three do not which makes them very versatile. Here’s a shot of all of the papers in the packet.

This is the paper we will be using for the next scrapbooking night on Friday, January 13 from 6:30 – 11:30

To attend you must preorder either the Wonderland Workshop On The Go ($29.95) or the Wonderland Level 2 Paper Packet ($9.95). The Workshop On The Go includes the Level 2 paper packet, two extra pieces of cardstock, coordinating stamp set,accessories, and instructional booklet for the layout pictured below.

I used some of the techniques for my layouts, but modified them somewhat for the number and size of pictures I wanted to include. I can help you do the same. So mark your calendar, gather up a few winter pictures and send me an email to sign up.

Deadline for registration is January 4. Please drop me an emailif you have any questions.

Can’t make it on January 13? You can still order and complete the workshop remotely.