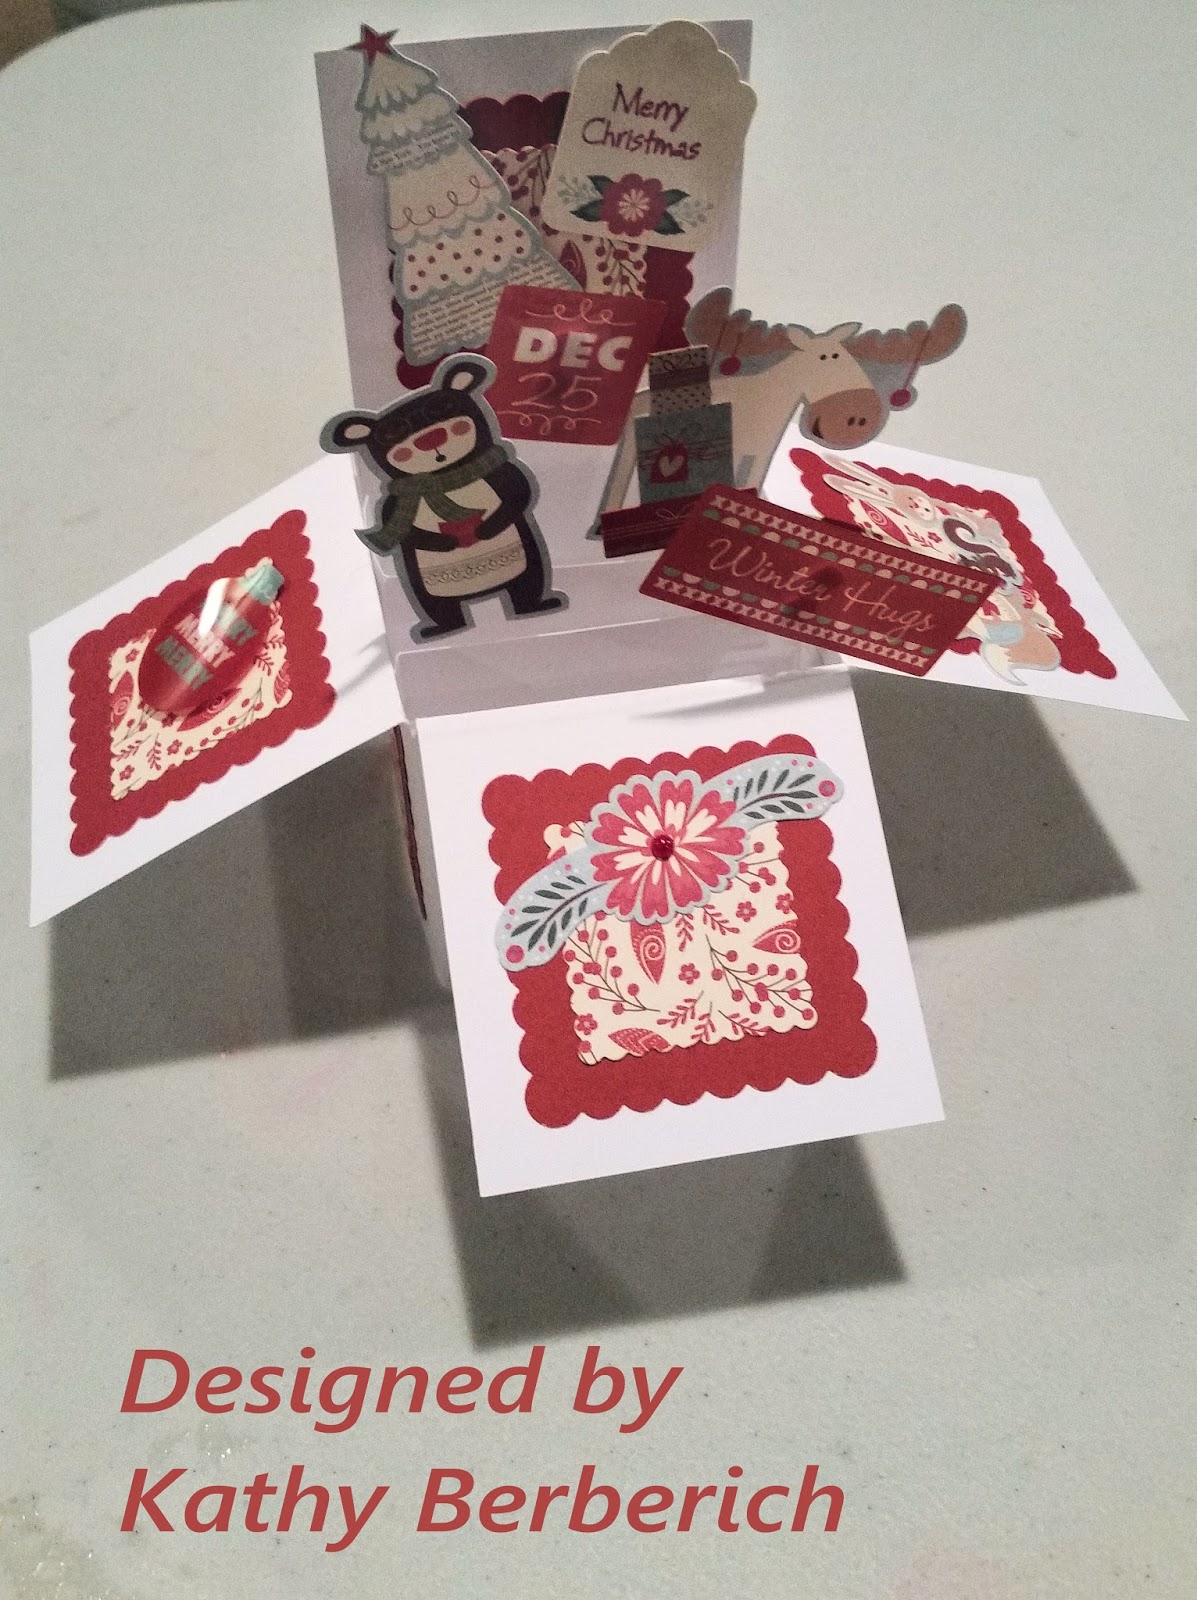
Last year, my friend Kathy gave me this adorable pop up box card.
I loved it so much that I’ve had it on my desk for the last six months! In fact, it was the inspiration for this whole workshop and will be the second project we will do. Your workshop kit will include the box card base and all of the materials needed to assemble the card.
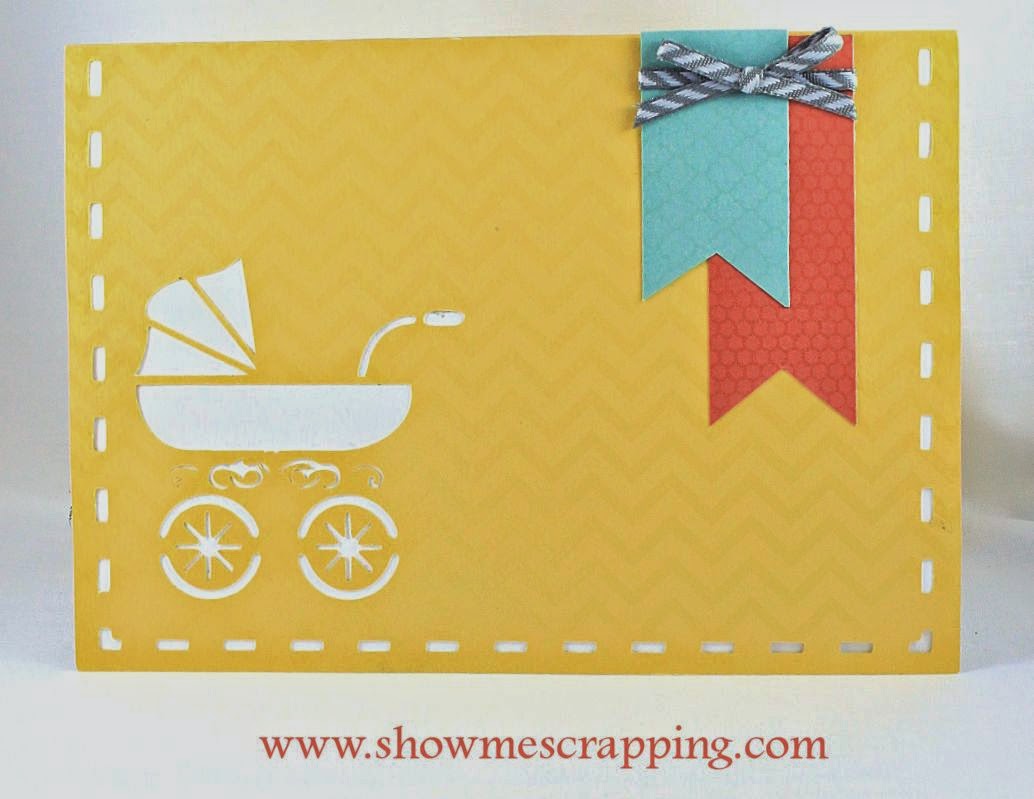
Here’s a card I’ve been meaning to share for awhile. Can you think of a cuter way to welcome a new baby than this card made using the Artfully Sent Cricut cartridge? If you have been a little intimidated by the pop up cards on this cartridge, relax! They really are easy to put together — the assembly booklet will help if you need a little help.
Outside of Baby Pop Up Card
The outside of this card is oh so sweet with the baby carriage and faux stitching. But the inside is where it really pops. Literally! When you open the card, cute building blocks pop up spelling “Baby”.
Inside of Baby Pop Up Card
2019 Update: Our retired Cricut image collections are now available to purchase using my special Cricut link! The Artfully Sent Cricut collection was first released by Close To My Heart in 2014 in a physical cartridge bundle. It retired a few years later without being offered as a digital-only collection. This made all of these great images unavailable to anyone who was unfortunate enough to miss out on this cartridge while it was available.
This fall (2019), Close To My Heart began a new partnership with Cricut which allows all of our image collections, including retired collections like Artfully Sent, to be purchased using special links only available from Close To My Heart consultants! This is an exciting development because many of you missed these collection the first time around.
Note that the Artfully Sent images are also available in Cricut Access or can be purchased individually in Design Space for $1.99 for each project and $6.99 for the font. However, the best value is to purchase the full collection which includes all 700 individual images (projects plus font) for just $49.95. You can subscribe to Access or purchase the full collection on Cricut.com. (If you use the Cricut link in this post for your purchases, I’ll earn a small commission. Thank You!)
This card is found on page 23 of the handbook. The outer skin of the card is made with the “Pop-Up” function or F1 if you are using a Universal Mat. The inside is the same function with shift. All the cute baby close are found on the “Icon” function or F2.
To make a 5″ x 7″ card, set the size to 5″ as directed on the handbook page and everything will be cut to scale. If you are using an Explore machine, all of these pieces can be added to your project as one grouped image. Be sure to adjust the size before you ungroup. The correct size is 10″ tall (twice the height of the folded card) and 7″ wide.
The handy Assembly booklet that comes with the cartridge helps you see how the pieces go together.
The trickiest part is folding the liner in step 2 above. I found it easiest to fold the whole liner in half as if it was a flat card. Then reverse the center crease for the four sections with the letters so that the fold is sticking out. Then it will be easier to make the folds at the top and bottom of the blocks with the letters.
Here’s what the card looks like from the side once the folds are completed and the liner attached to the card base.
I cut the card base and the baby clothes from our Paper Fundamentals. This paper pulls double duty because the front and back of the paper are different. One side has a white geometric pattern and a shiny resist pattern is on the other. This allowed me to create two different looks for the clothing pieces cut from the same paper by simply turning one of them over.
The word Baby is cut from the inner liner of the card. I simply cut squares from the left over fndamental papers and attached them to the back of the blocks before connecting the liner to the skin of the card.
I hope this post helped take a little of the myster out of making a pop up card using the Artfully Sent cartridge. There are 50 pop up cards on the cartridge in total!
If you do not yet own the Artfully Sent cartridge, I’d love to help you get one in your hands. You can order it directly from my website — or contact me about setting up a party. You are already 2/3 of the way to earning free product!
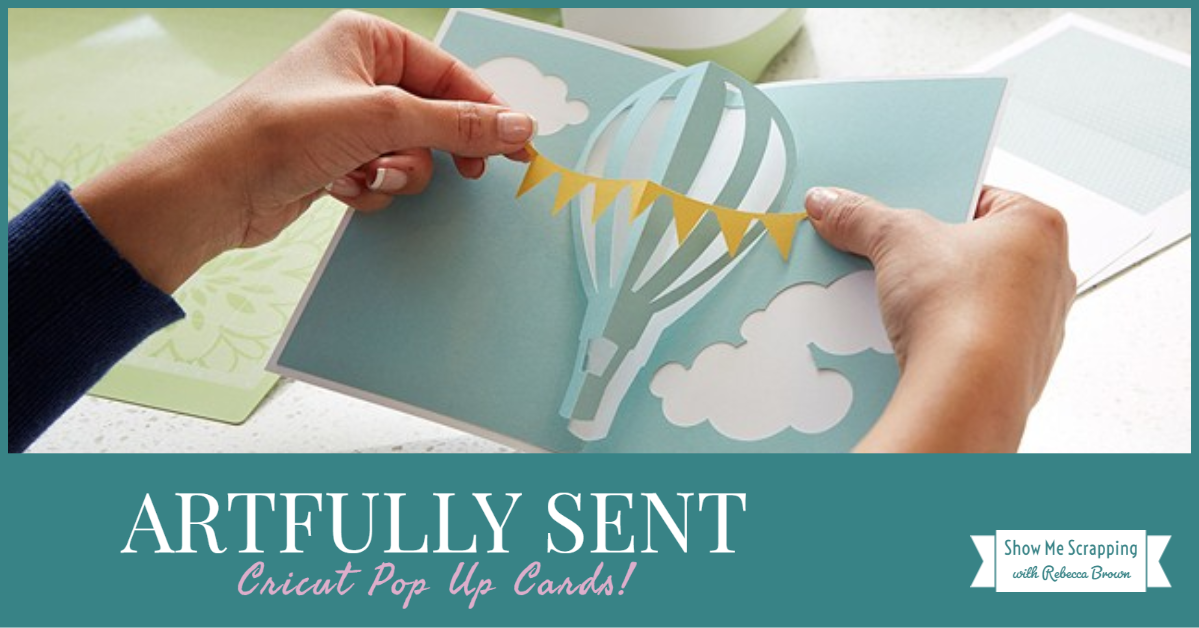
I’m so excited that the Artfully Sent Cricut cartridge is finally available and can’t wait to have it in my hands. For now, I thought it would be helpful to share with you some details about how to make the various types of cards on this cartridge. Today, I’m going to to start with my favorite, the pop-up cards.
2019 Update: Our retired Cricut image collections are now available to purchase using my special Cricut link! The Artfully Sent Cricut collection was first released by Close To My Heart in 2014 in a physical cartridge bundle. It retired a few years later without being offered as a digital-only collection. This made all of these great images unavailable to anyone who was unfortunate enough to miss out on this cartridge while it was available.
This fall (2019), Close To My Heart began a new partnership with Cricut which allows all of our image collections, including retired collections like Artfully Sent, to be purchased using special links only available from Close To My Heart consultants! This is an exciting development because many of you missed these collection the first time around.
Note that the Artfully Sent images are also available in Cricut Access or can be purchased individually in Design Space for $1.99 for each project and $6.99 for the font. However, the best value is to purchase the full collection which includes all 700 individual images (projects plus font) for just $49.95. You can subscribe to Access or purchase the full collection on Cricut.com. (If you use the Cricut link in this post for your purchases, I’ll earn a small commission. Thank You!)
This week, I’m writing a series of posts showcasing all the types of cards available on this cartridge, plus the envelopes and font. Click the links below to learn more! I’ll update the list after the remaining posts in this series are available.
Here are thumbnails of each of the Pop-up projects on Artfully Sent.
Sizing
There are 50 of these interactive cards. Each card has multiple layers that will be grouped when you add it to your Design Space canvas. They are designed to be cut as 5″ x 7″ cards, so be sure to adjust the size for the base (10″ x 7″) before you ungroup them. Of course you can resize to get larger or smaller cards. If you want different proportions, you will need to disconnect length and width (open the padlock) to get the correct sizing.
If you are using an Expression or other cartridge-driven Cricut machine, you will set the height to 7″ and everything for the card will cut in proportion.
Layers
Each card is made up of several layers to create a fun interactive card. Let’s explore these layers for a general pop-up card. Note that each card is different and not all will have all of these layers or be created exactly the same way.
BASE
You will first cut the card base using the “pop-up” function key. These bases may have a sentiment, shape or border cut directly into them to add to the design.
LINER
For each pre-designed card, you can cut the inner lining using the “pop-up” function and the shift key. Most of these liners have images cut into them that will pop up once you score and fold them.
TIC MARKS (UPDATE: score marks for Design Space machines)
Once you cut the pieces, you will find small tic marks that indicate where to fold. I suggest that you line these up and score using the grove on your paper trimmer before folding. This insures that you have a nice, neat straight folded line.
FOLDING ORDER
It is very important that you score and fold these lines in the right order. First, score the center card crease only on the outer edges, skipping the center tab portion. Use the tic marks for accuracy.
Next, score the folds at the upper and lower edge of the tabs. These folds are where the long tab slits end as shown below.
Sharply crease the main and tab folds — the main fold will close the card and the tab folds will be the opposite direction. As you close the card, guide the center of the tab to find its natural center and sharply crease that fold as well.
Now you can attach the liner inside the card base. When you open the card, the tab should pop upwards and outwards away from the card base.
Some of the folds are more complicated, like this Christmas Tree card. In this case, the score lines for each pop-up element are not in a straight line. You will need to score each branch separately. Using the tic marks will really help you figure out where to place the folds.
PERFORATIONS
For some more intricate designs, a series of tic marks or perforations are placed close together to act as guides to make it easier to score and crease these detailed pieces. Perforations are also used when the fold is close to an edge to prevent tears.
ICONS
Most pop-up cards require four cuts: a base, liner and 2 icons. The icons will includes sentiments and images that coordinate with the base and liner. These images will not have tic marks so that you have flexibility to use it in other places on the card. However, these images may need to be scored and folded to use as intended on a pop-up card. Suggestion: cut multiples of these images to decorate the front of the card!
Here’s a video with more information about the fun pop-up cards in the Artfully Sent collection.
I hope this Pop-up card overview has been helpful. I’ll be posting information about the other types of cards on the cartridge soon.
Are you ready to get your hands (and Cricut machine) on this collection? Hop on over to Cricut using my special link to view and purchase from the Close To My Heart Cricut library!
Once again, I turned to silver embossing powder. Love this stuff! It really made Santa and his sleigh pop off the Ruby paper.
I really wanted to make the sleigh fly and decided to use a pop-up card from the Artiste Cricut cartridge. First, I cut the “LOVE” card insert on page 51 of the handbook (Shift, Accent) from the dotted B&T paper.
Then I covered the word LOVE with the stamped cardstock. Here’s a view from the side.
To see more projects using Holiday Gift Guide products, visit my fellow CTMH consultants participating in this hop by clicking on the photos below.
This blog hop is open for members of the CTMH Blog Boosters. Please do not enter if you are not a member of the group. If you are a consultant, you can join the group on facebook. If you are interested in becoming a consultant, I’d love to help get you started!