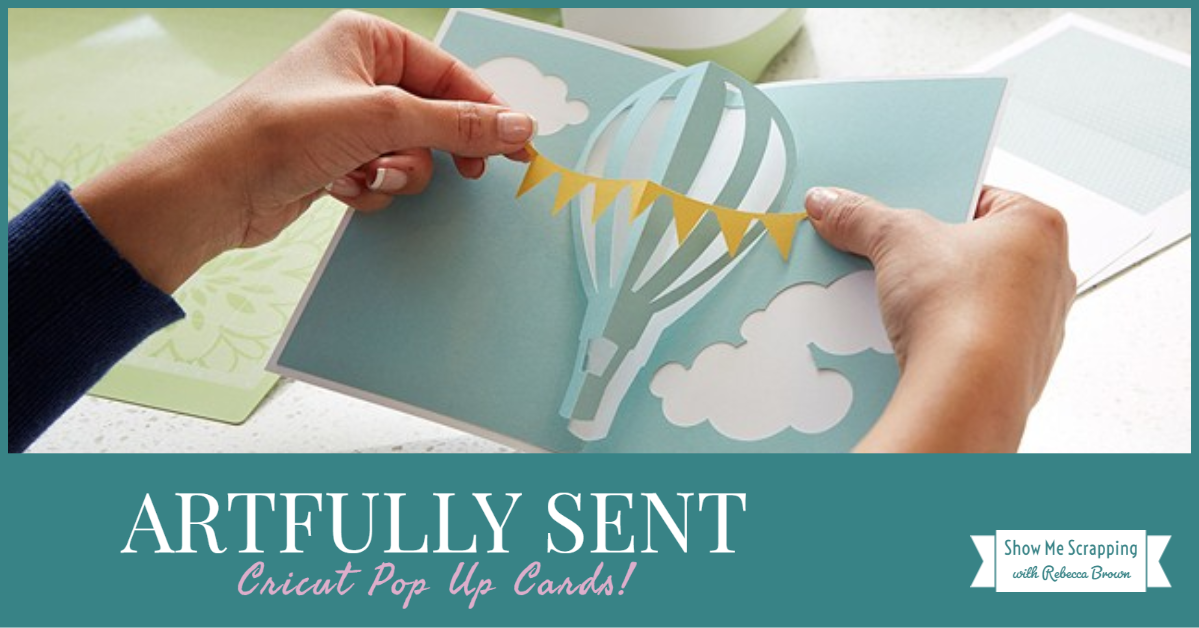
I’m so excited that the Artfully Sent Cricut cartridge is finally available and can’t wait to have it in my hands. For now, I thought it would be helpful to share with you some details about how to make the various types of cards on this cartridge. Today, I’m going to to start with my favorite, the pop-up cards.

2019 Update: Our retired Cricut image collections are now available to purchase using my special Cricut link! The Artfully Sent Cricut collection was first released by Close To My Heart in 2014 in a physical cartridge bundle. It retired a few years later without being offered as a digital-only collection. This made all of these great images unavailable to anyone who was unfortunate enough to miss out on this cartridge while it was available.
This fall (2019), Close To My Heart began a new partnership with Cricut which allows all of our image collections, including retired collections like Artfully Sent, to be purchased using special links only available from Close To My Heart consultants! This is an exciting development because many of you missed these collection the first time around.
Browse all Close To My Heart image collections>>
Note that the Artfully Sent images are also available in Cricut Access or can be purchased individually in Design Space for $1.99 for each project and $6.99 for the font. However, the best value is to purchase the full collection which includes all 700 individual images (projects plus font) for just $49.95. You can subscribe to Access or purchase the full collection on Cricut.com. (If you use the Cricut link in this post for your purchases, I’ll earn a small commission. Thank You!)
This week, I’m writing a series of posts showcasing all the types of cards available on this cartridge, plus the envelopes and font. Click the links below to learn more! I’ll update the list after the remaining posts in this series are available.
- Build-a-Scene Cards>>
- Sentiment Cards>>
- Sleeve and Overlay Cards>>
- Pocket Cards>>
- Font>>
- Envelopes>>
So many options
Here are thumbnails of each of the Pop-up projects on Artfully Sent.

Sizing
There are 50 of these interactive cards. Each card has multiple layers that will be grouped when you add it to your Design Space canvas. They are designed to be cut as 5″ x 7″ cards, so be sure to adjust the size for the base (10″ x 7″) before you ungroup them. Of course you can resize to get larger or smaller cards. If you want different proportions, you will need to disconnect length and width (open the padlock) to get the correct sizing.

If you are using an Expression or other cartridge-driven Cricut machine, you will set the height to 7″ and everything for the card will cut in proportion.
Layers
Each card is made up of several layers to create a fun interactive card. Let’s explore these layers for a general pop-up card. Note that each card is different and not all will have all of these layers or be created exactly the same way.
BASE
You will first cut the card base using the “pop-up” function key. These bases may have a sentiment, shape or border cut directly into them to add to the design.

LINER
For each pre-designed card, you can cut the inner lining using the “pop-up” function and the shift key. Most of these liners have images cut into them that will pop up once you score and fold them.

TIC MARKS (UPDATE: score marks for Design Space machines)
Once you cut the pieces, you will find small tic marks that indicate where to fold. I suggest that you line these up and score using the grove on your paper trimmer before folding. This insures that you have a nice, neat straight folded line.

FOLDING ORDER
It is very important that you score and fold these lines in the right order. First, score the center card crease only on the outer edges, skipping the center tab portion. Use the tic marks for accuracy.

Next, score the folds at the upper and lower edge of the tabs. These folds are where the long tab slits end as shown below.

Sharply crease the main and tab folds — the main fold will close the card and the tab folds will be the opposite direction. As you close the card, guide the center of the tab to find its natural center and sharply crease that fold as well.

Now you can attach the liner inside the card base. When you open the card, the tab should pop upwards and outwards away from the card base.
Some of the folds are more complicated, like this Christmas Tree card. In this case, the score lines for each pop-up element are not in a straight line. You will need to score each branch separately. Using the tic marks will really help you figure out where to place the folds.

PERFORATIONS
For some more intricate designs, a series of tic marks or perforations are placed close together to act as guides to make it easier to score and crease these detailed pieces. Perforations are also used when the fold is close to an edge to prevent tears.

ICONS
Most pop-up cards require four cuts: a base, liner and 2 icons. The icons will includes sentiments and images that coordinate with the base and liner. These images will not have tic marks so that you have flexibility to use it in other places on the card. However, these images may need to be scored and folded to use as intended on a pop-up card. Suggestion: cut multiples of these images to decorate the front of the card!
Here’s a video with more information about the fun pop-up cards in the Artfully Sent collection.
I hope this Pop-up card overview has been helpful. I’ll be posting information about the other types of cards on the cartridge soon.
Are you ready to get your hands (and Cricut machine) on this collection? Hop on over to Cricut using my special link to view and purchase from the Close To My Heart Cricut library!
Browse all Close To My Heart image collections>>
Inspired? Get out your Cricut and your Artfully Sent cartridge and start creating.
As always, keep creating!
Rebecca
