Posted on

Mirror, Mirror… Evil Queen Layout (Free Design Space Project)

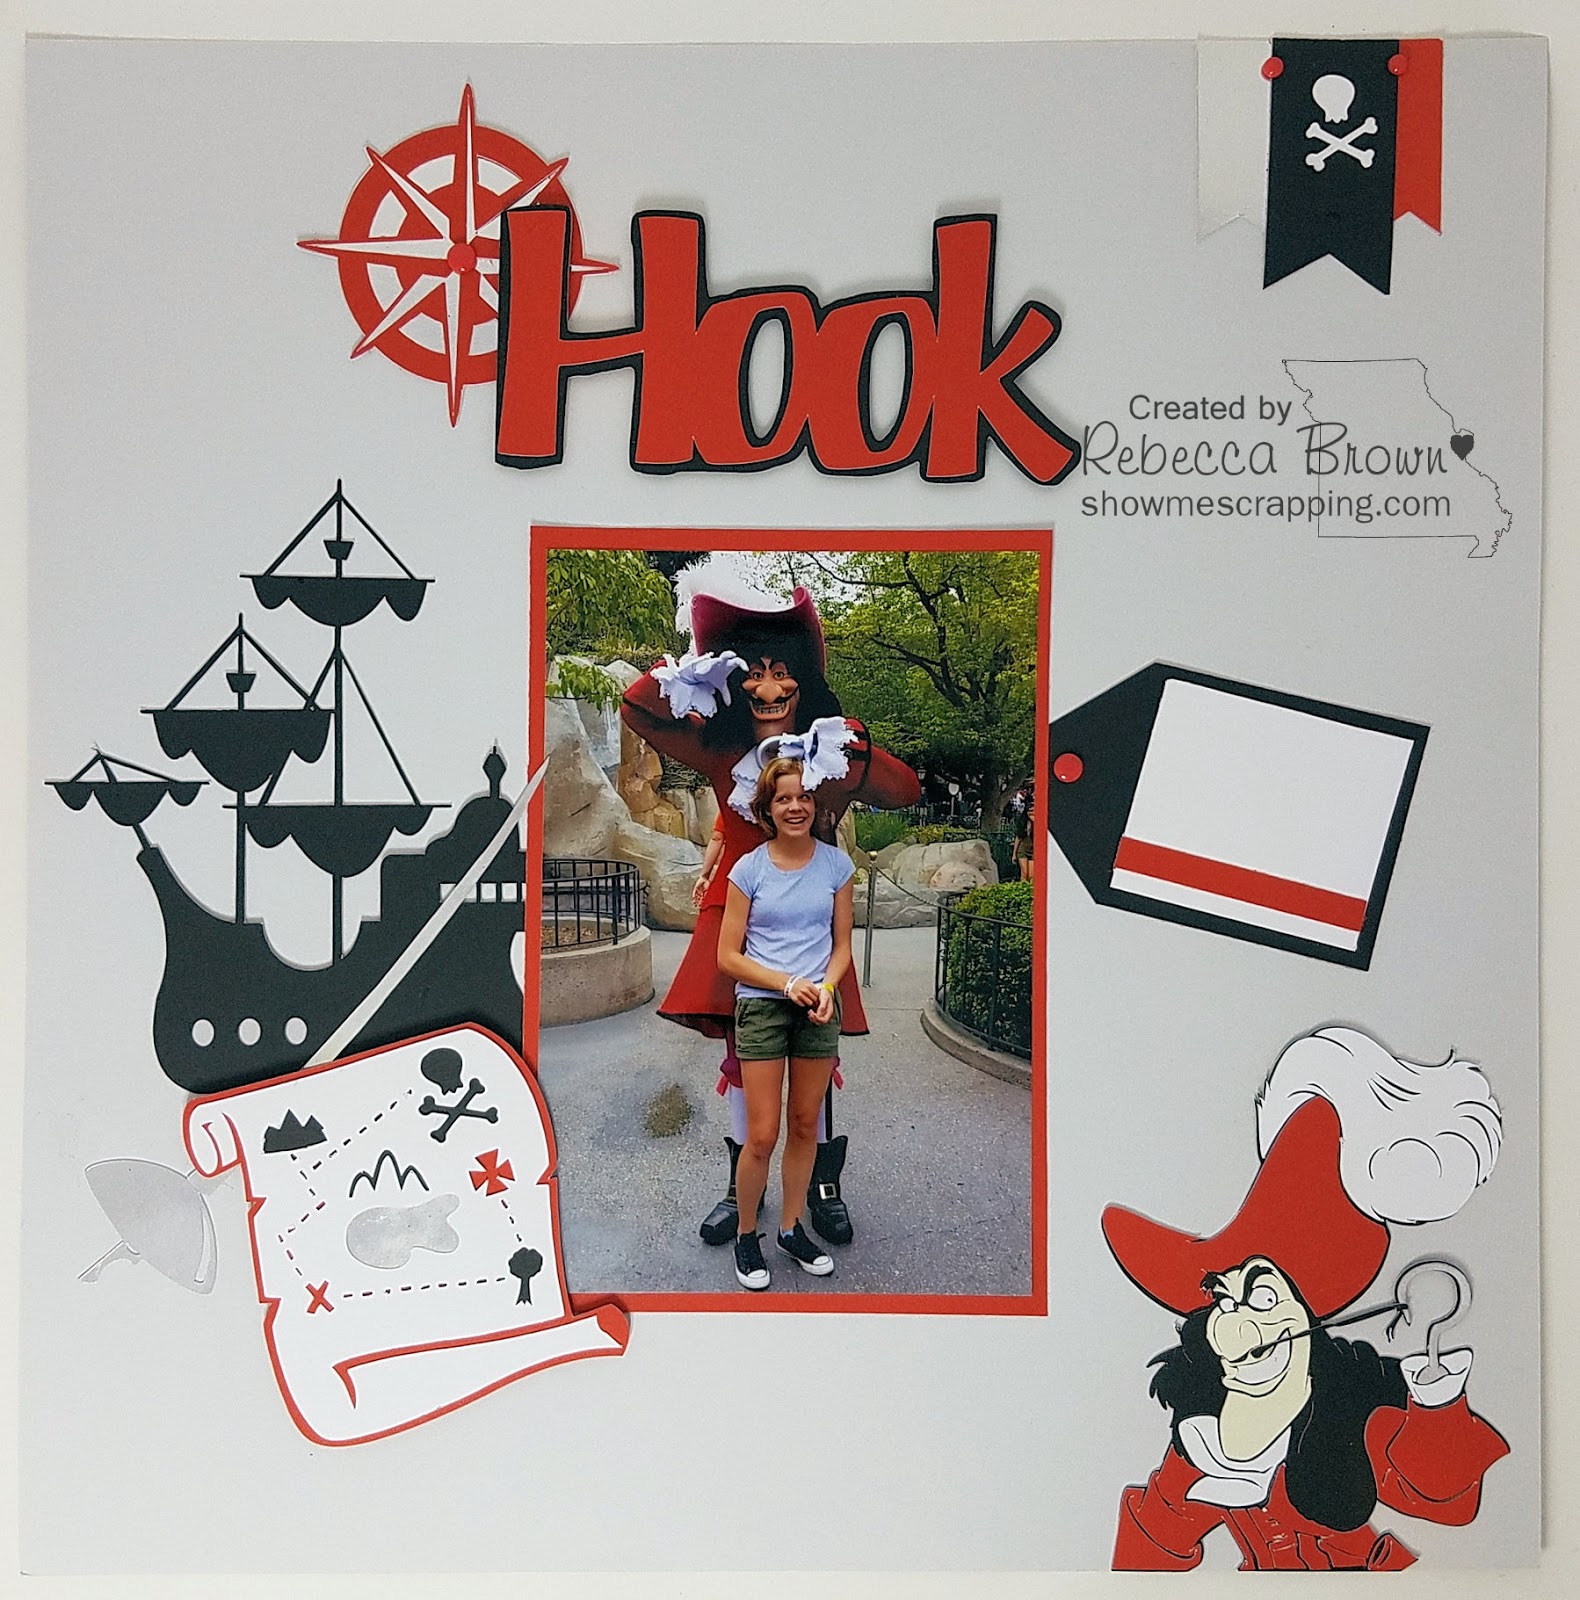
Anyone else missing getting out and going places? Today, I was thinking of one of my favorite places to visit and thought I’d share this layout from our trip to Disneyland a few years ago. 


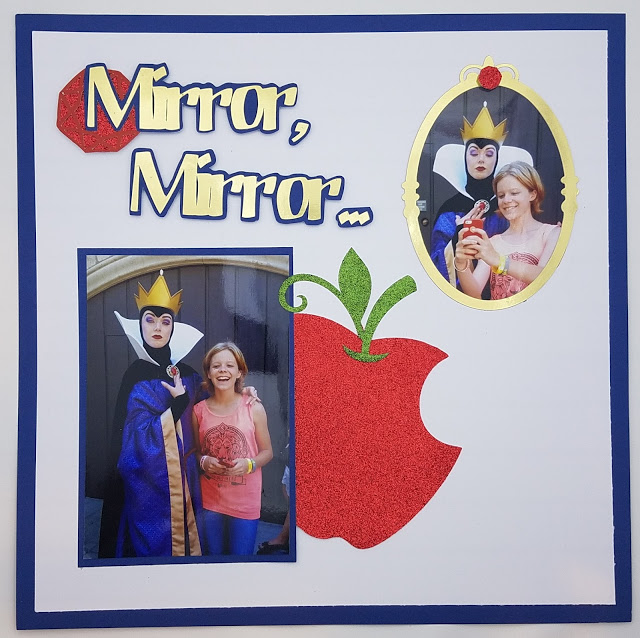
These pictures bring back the memories of this trip. My daughter was totally into taking selfies at the time and collected them with each character she met on the trip. The exchange happening in these pictures was priceless. The Evil Queen, being from Once Upon a Time,  had never seen a cell phone of course and was very interested in the miniature “mirror”.  It was a moment of Disney magic that still makes me laugh when I see these photos.

To make this layout special enough for these special photos, I used red and green glitter paper (retired) and gold foil paper. I love how well these specialty papers cut on the Cricut. Be sure to use the custom material settings to get the best results. 

Want to make this project? Click the link below to open the Design Space file. 

I used images from Lyrical Letters 2 and Disney Princess Happily Ever After.  Open Design Space project>>

Keep creating,

Rebecca

Posted on

Disney World Captain Hook Scrapbook Page (Free Design Space File!)

Over the last year or so, I’ve realized that I use most of my creative time to work on projects for my business. My old scrapbooks have been somewhat neglected. When I have worked on my personal pages, it is often when my energy and creative juices are depleted. The goal is often to just “get it done” and as a result the pages are over-simple.

So, I’ve decided to be sure to have a little time carved out each week to focus on a project or two JUST FOR FUN!  This page is a result. Note that NONE of the images are from my beloved Close To My Heart cartridges — gasp! Instead, I pulled from the Disney Classics cartridge to create this Captain Hook themed layout. (However, I did use CTMH cardstock of course and also our Silver Foil Paper.)

Want to make this project? Click here to open project in Design Space.

Are you like me and need to start making time for your personal projects? Maybe you don’t have a scrapbooking business distracting you, but I bet you have other things that fill up your days. I started with Close To My Heart for this very reason — I was not finding time to scrapbook and thought that doing it as a job would force me to make time. I had found that I needed regular creative time to handle the stresses of life. My plan has worked well for me most of the time, but I still have to be careful to carve out time for my personal projects.

I’d love to hear from you! In the comments, I’d love to hear your struggles with making time for your hobbies — scrapbooking or other. If you are inspired to mark off some creative time, please share what you are working on!

Keep creating!

Rebecca

Posted on

Kraft Cards Mini-Album – Convention Project #3

Here’s a picture of the final project we made at convention.

This accordian mini-album is actually three of the new 6″ square kraft cards. As you can see in the picture below, each of these cards has a scalloped flap in the front. To attach the cards together, the flaps for two of the cards are glued to the back of the next card in the book.

Once you have the cards attached, you need to refold to make an accordian. Now it is time to decorate!

By the way, the stamp set was our gift at the convention banquet. Unfortunately (for you), it is not available for sell. Given how much I love all things Disney, I have lots of plans for this set.

Throughout this album we attached Decor Journaling Spots. These packets come in a package of 12 (two each of 6 colors). I have plenty left over for another project.

Many of the shapes used in this album were cut using the new Cricut cartridge including the quote box below. See how perfectly the frame on the stamp fits on the paper? Ingeneous!

We also used the new Alphabets Cork to put 2011 on the front and to add the words DREAM, WISH and ASPIRE on internal pages. To make these letters pop off the kraft paper, we first sponged them with Cocoa ink.

I hope you have enjoyed my tour of convention projects. If you have any questions about the supply list or techniques used, just drop me an email.