Posted on

Brushed Virtual Facebook Workshop Project Photos Release!

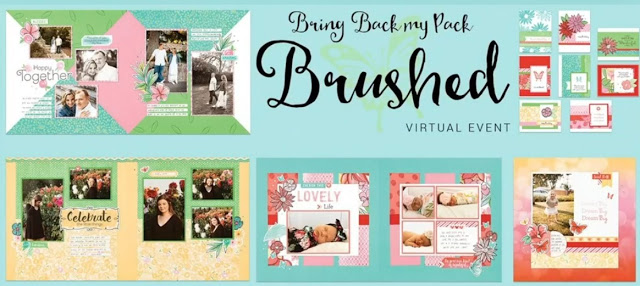
The Brushed workshop event is fast approaching. The projects have been announced, so it is time to prepare for this live event.

Earlier this week, I posted the schedule for upcoming live workshops that will take place on the Close To My Heart Facebook page. That schedule includes the June 30 Brushed workshop where well make both scrapbook pages and cards. These beautiful projects are use a variety of products and techniques. 
The workshop will include seven 12″ x 12″ pages (1 single page and 3 double page layouts) that are appropriate for a variety of photos. I could see these used for photos from spring or summer, birthday or any happy occaions.

,

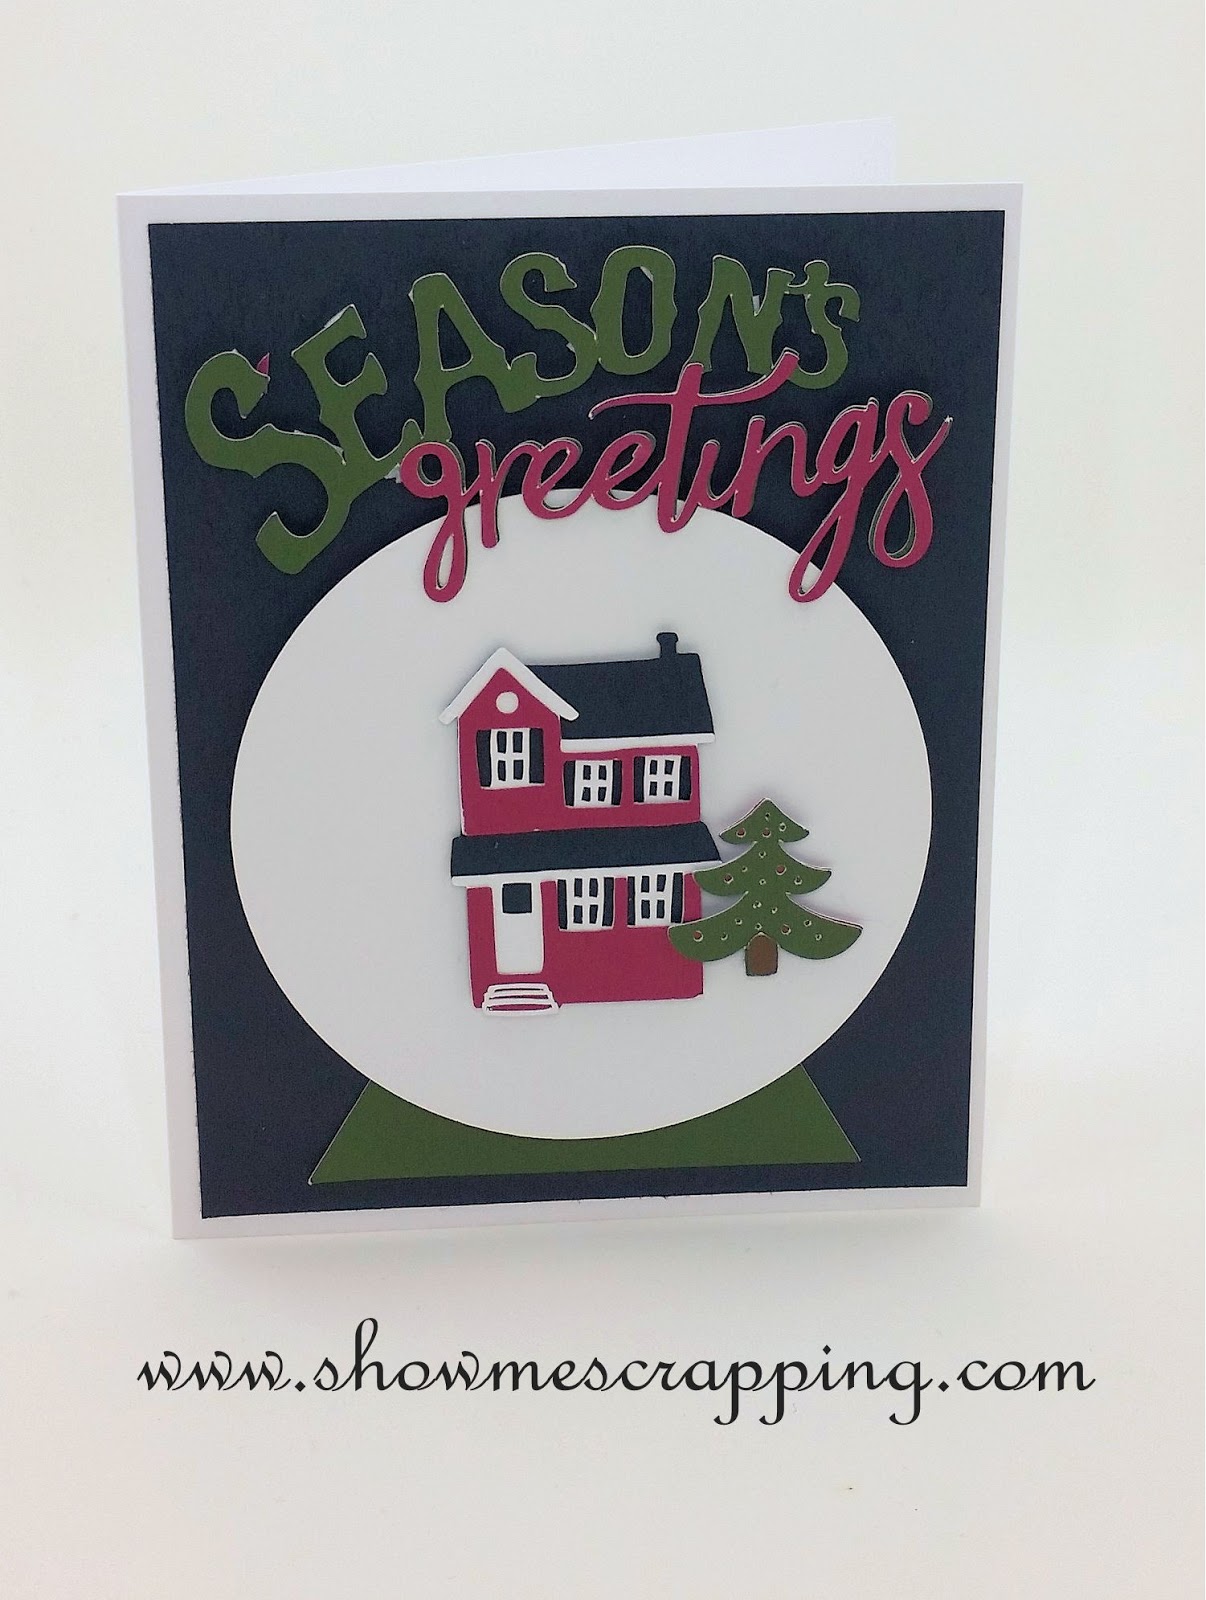
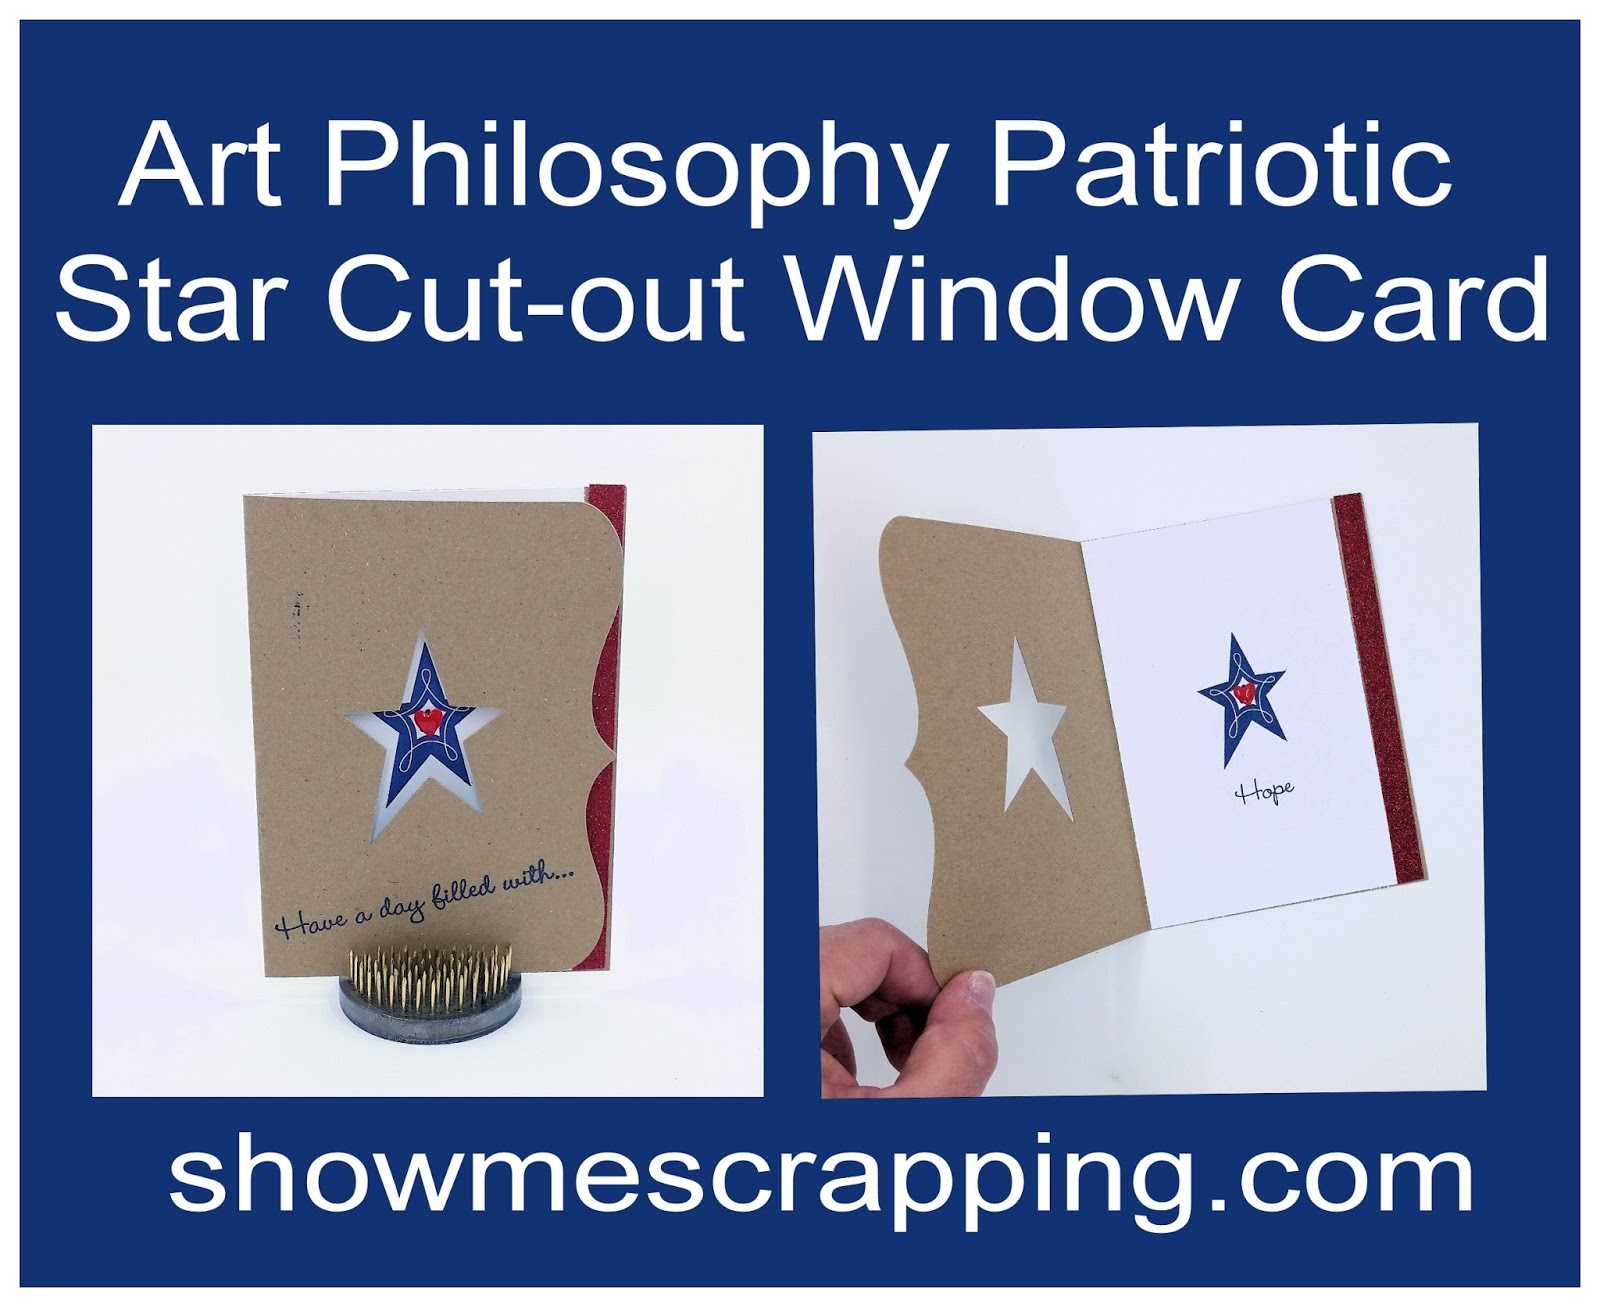
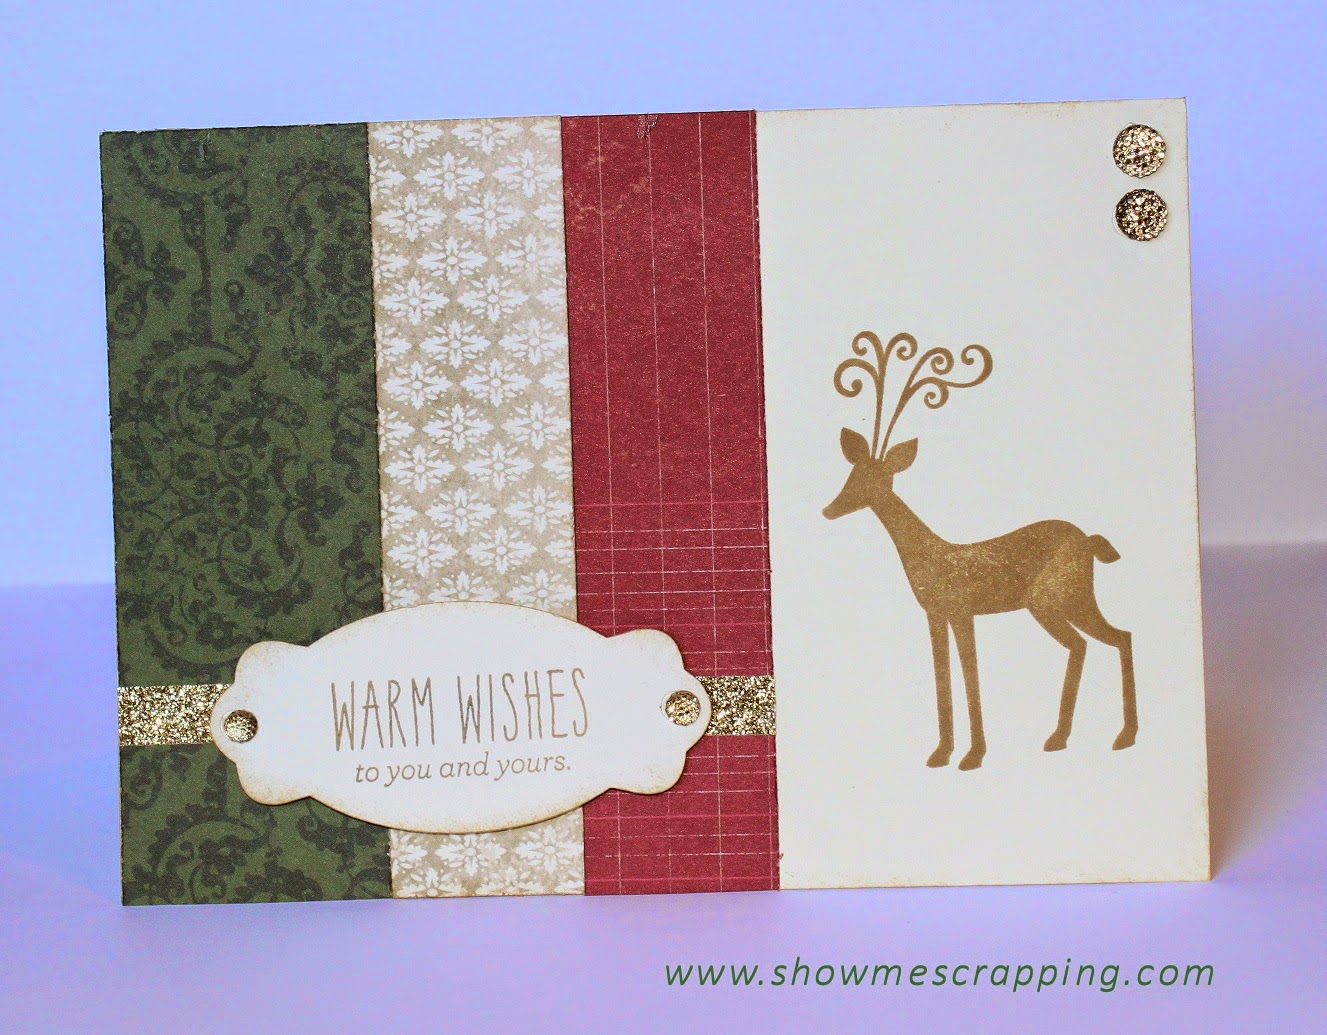
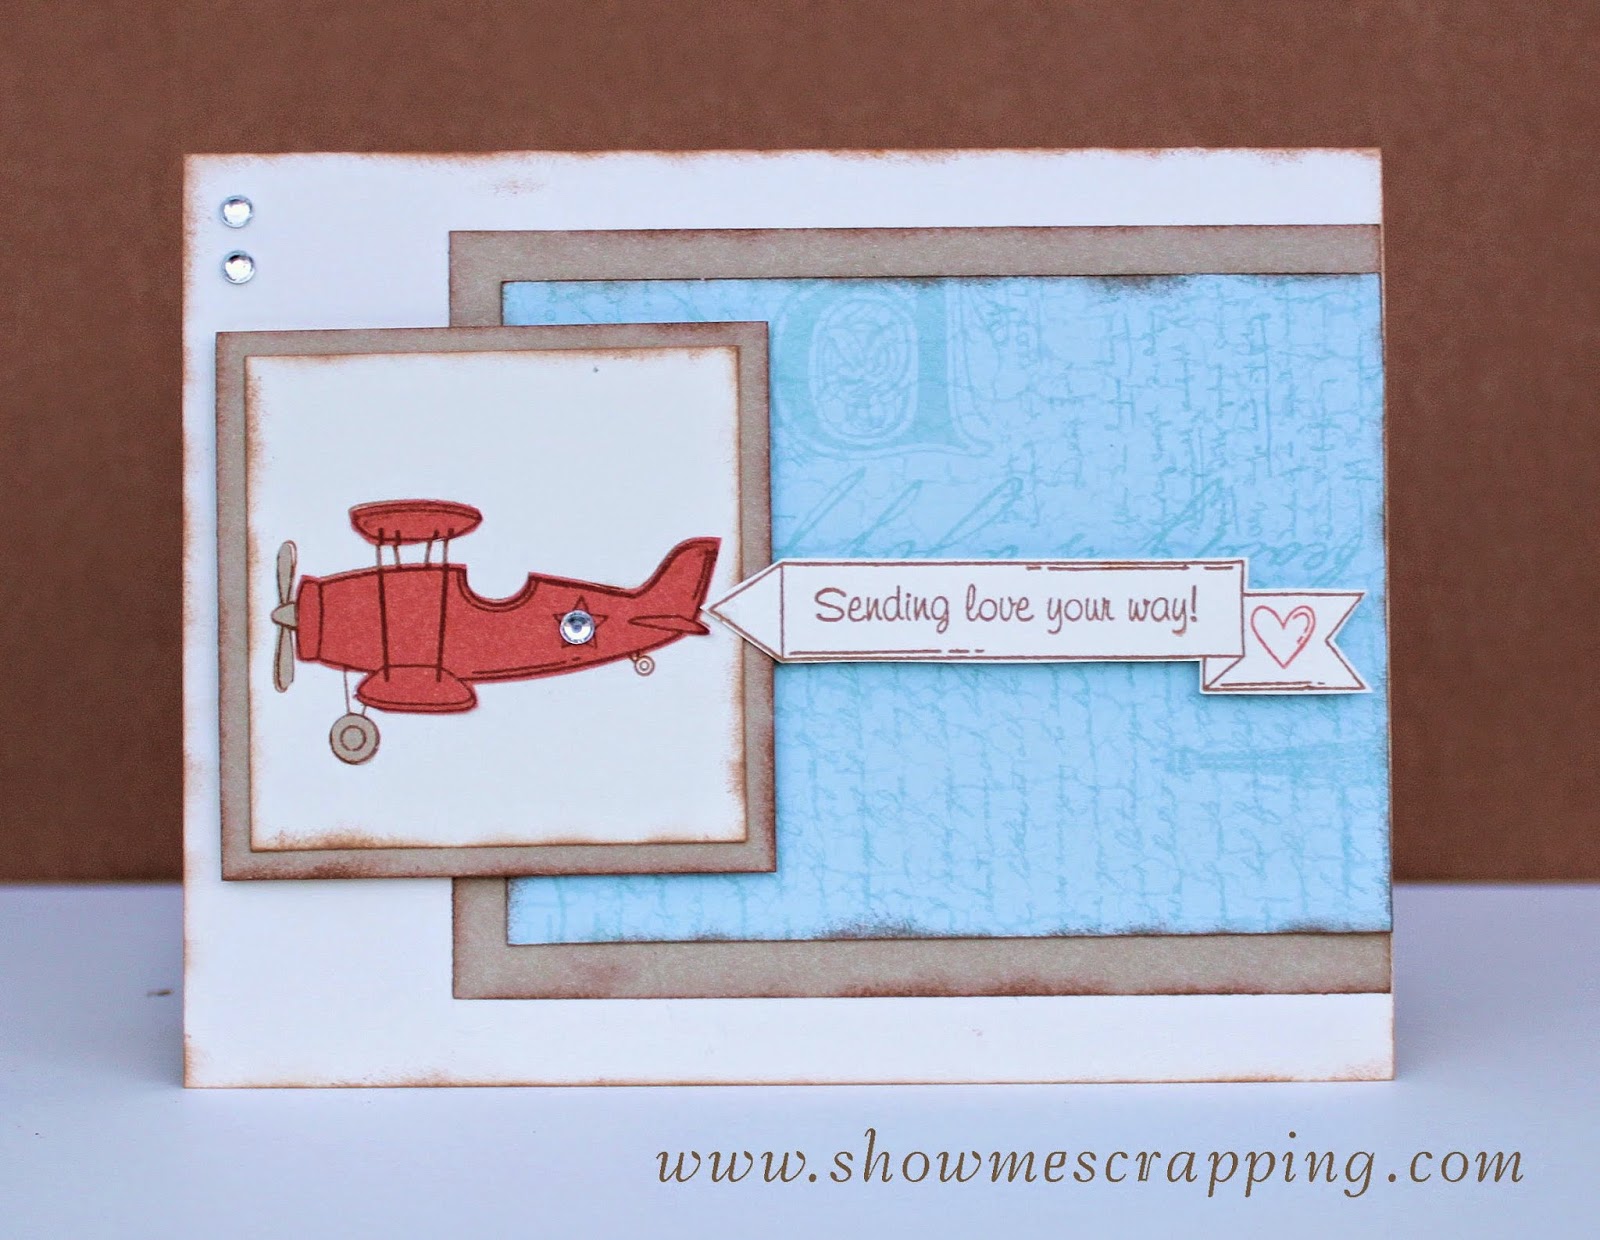
We will also be making eight lovely cards. Sentiments include “Happy Birthday”, “My thoughts are happiest with you in them”, “This is your special day”, “You are loved” and “Always be your own kind of wonderful”. 

This FUN & FREE virtual craft event will happen on June 30th at 3 pm CST on the Close To My Heart Facebook page.  Note that Close To My Heart will have prize drawings during the event. Be sure to click “going” on the Event Page for a chance to win.
The basic supplies you need are from the Brushed collection:
  • Brushed Paper Packet + Sticker Sheet
  • Brushed Coordinating Cardstock
  • Your Own Kind of Wonderful Stamp Set
  • A Budding Friendship Stamp Set
All four of these items are conveniently included in the Brushed Product Bundle at 20% off retail price.
In additon to the items in the bundle, you’ll also need the following materials and supplies on hand:
You will also need a variety of blocks, your favorite adhesives (I suggest including some 3-D foam tape to add dimention) and basic tools like a paper trimmer, scissors and ruler.
***INK UPDATE: Due to Covid-19, production of our ink has been delayed. If any of the recommended stamp pads are out of stock, other coordinating colors will work. Smoothie can be replaced with Pixie, Candy Apple or Raspberry. Lagoon can be replaced with Glacier. Another option for all stamped flowers is to use scraps of Pixie and Smoothie cardstock. stamp just the outline flowers in Black ink on the colored cardstock. This technique is used on some cards, but could be applied to all of them.
Directions for thes projects will be posted a day or two before the event. I can’t wait to craft with you!
Rebecca
Posted on 2 Comments

City Sidewalks Snow Globe Card

As we near the middle of November, it’s time to get started on Christmas cards! I made the card below with images from the new City Sidewalks Cricut collection.

This card was inspired by my friend Julie’s snow globe card that you can see by clicking HERE.

For my card, I used Design Space basic shapes to cut the snow globe (circle) and base (triangle). The remaining images are from City Sidewalks. To make the card more dimensional without getting too thick to mail, I used the thin 3D foam tape. 

The City Sidewalks cartridge has lots of great Christmas images that mix tradition with whimsy. Over the next few days I’ll be sharing a few more projects I made that I hope will inspire you.

Here’s a look at everything you get on this “virtual” cartridge:

Note that the City Sidewalks is virtual and will only work machines that use Design Space (all variations of the Explore). Also, keep in mind that this “cartridge” is only available through December 31 and you can buy yours on my shopping website

Posted on

Art Philosophy Cricut Star Cut-out Window Card

Tired of the same boring flat cards? You can easily turn any Cricut shape into a Window Card using the Slice feature in Design Space.

The card I made uses a blank card base and star from the Art Philosophy Cricut cartridge. This cartridge is amazing with 700 images including two complete fonts, tons of basic images, cards and fun stuff like 3D roses and borders. 

If you don’t have it, order yours today because it is retiring at the end of the month! 

As Independence Day approaches this year, it seems like there are a lot of reasons to have fear and doubt. But I choose to have HOPE! We live in an amazing country filled with incredible people. Will you join me? As this card says, I wish for you to “Have a day filled with….Hope!”

To make this card, I “sliced” together a scalloped card base and the star image to create a window. The stamping is from one of the stamp sets from the Art Philosophy Collection. 

You could use this same technique with the heart, leaf or other images on the stamp set. In fact, you can do this with any Cricut image. Watch this video to see how surprisingly simple it is to create these custom window cards. 

In addition to Art Philosophy, the Artiste and Artfully Sent Cricut cartridge collections are also retiring on July 31. Each of these collections include the cartridge, handbook, 3 coordinating stamp sets and 24 sheets of cardstock! These are my go-to cartridges!

We will also be saying good-bye to a lot of stamp sets that coordinate with the Cricut cartridges and tons of other paper-crafting goodies that are available only while supplies last.

Shop all the retiring products>>

Posted on

Happy Father’s Day Artiste Shirt & Tie Card

This weekend we will be honoring our Fathers!

Father's Day Card

You still have time to make this card before Sunday thanks to the Artiste Cricut cartridge. The card, tie and pocket are on page 75 of the handbook. I cut my card at 4.25” tall and it fits in a standard A2 envelope.

Image

Here’s what the card base looks like when you cut it out. It is a top-fold card, so you are looking at the front of the card with the card back above it upside down.

Father's Day Card - piece

To assemble, the first thing you will do is fold the base in half on the horizontal score line. You will notice two slits at the top of the card separating the collar from the shirt. Fold these down at an angle on the score lines.

Father's Day Card - fold2

Father's Day Card - fold3

Use a little adhesive to secure collar.  The stamping on the pocket is from D1560 Holiday Tags. I absolutely love this stamp set because it covers pretty much every holiday and has the great frames that can be cut using the Artiste cartridge.

***Important note: Both this stamp set and the Artiste cartridge will retire on July 31***

A nice finishing detail is the stitching which was drawn with a journaling pen. The tie and knot was cut from retired paper pack Timberline.

 Father's Day Card - detail

Happy Father’s Day!

Rebecca

Posted on

Just a Quick Note…

Who do you know that would enjoy a quick note from you? Does someone have a birthday coming up or about to transition to a new phase of their life? Or maybe you are just feeling the need to connect and let them know you are thinking of them.

April 2015 SOTM Card

Regardless of the reason, April’s stamp of the month will say what needs to be said. Along with phrases for just about any occasion, it includes a classic typewriter and pointing hand.

D1504

The vintage look of this card is achieved by combining the old-fashioned typewriter stamped image with the neutral prints from the Yuletide Carol papers. Yes, I used Christmas paper for this card!

Since the focal point of this card is a stamped image, it needed variety in dimension and texture. I dimension by using 3D foam tape under the typewriter and adding baker’s twine and triangle studs.

April 2015 SOTM Details

The twine and studs also added some interesting textures while keeping a consistent look by using similar colors as the papers.

Recipe:

Yuletide Carol Paper (X7187B)

Durables Triangle Studs (Z1928)

Baker’s Twine Neutral Metallic Assortment (Z1921)

Typed Note – April 2015 Stamp of the month (S1504)

Here’s a couple more inspiring projects using the current stamp of the month from the artists at Close To My Heart:

1504-sotm-card

1504-sotm-playing-cards

Remember this set is only available during April 2015; there are just a few days left! Click here to learn how you can get this it for just $5!

Keep creating!

Rebecca

Posted on

Christmas Time is Finally Here!

We just made the final (fingers crossed!) run to Target and the grocery store. The gifts are nearly wrapped and we are getting ready to head to our church for the Christmas Eve service. We are packing our car so that we can leave directly from there to go to our extended family Christmas celebration.

Warm Wishes Card: Yuletide Cardstock, D1613 Best Christmas stamp set, Art Philosophy Cricut cartridge,
gold shimmer trim, gold bling gems, 
Peace & Joy Card: Yuletide Cardstock, D1613 Best Christmas stamp set, Art Philosophy
Cricut cartridge, gold shimmer trim, gold bling gems, 
Winter Cheer Card: Yuletide Cardstock, D1613 Best Christmas stamp set, Art Philosophy
Cricut cartridge, gold shimmer trim, gold bling gems, 

It is now time to relax and enjoy time with family and friends. May you feel at peace and blessed this Christmas Eve.

Rebecca

Posted on

New Balloon Ride Card Kit!

Do you know someone who could use a lift? The cards from this new Show Me Scrapping kit will raise their spirits!

These cards are made with the beautiful Balloon Ride papers. The kit includes all the materials needed to make twelve cards — four each of the three designs shown below.

The cards use a simple cutting pattern, but are dressed up with paper piecing and edge ink distressing. They are finished with a touch of bling.

Kit includes:

  • 12 Colonial White Cards & Envelopes
  • 3 sheets of Balloon Ride B&T paper plus 3 sheets of solid cardstock
  • Sparkles & Flourishes to decorate the cards
  • Full color instructions

This kit is exclusively available from Show Me Scrapping and can be ordered on my shopping page

If you are in the St. Louis area, you can pick up and save shipping AND you are invited to attend one of my April Balloon Ride workshops at my house in Arnold, MO. Click here for dates and additional information.

Posted on 12 Comments

Scandinavian Wishes Ornament Card

Today, I have another Christmas project to share with you as part of the Holidays From The Heart Blog Hop. This little layered  card was really quick thanks to the Art Philosophy Cricut cartridge.

For this card, I used papers from the new Sparkle & Shine pack from the Holidays from the Heart Gift Guide. These items just became available for purchase yesterday. I love the details of this particular paper and I thought that it was a great match for the detailed ornament on the Scandinavian Wishes stamp set.

You may know that the October Stamp of the Month, Scandinavian Wishes, coordinates with the Art Philosophy Cricut Cartridge. Each of the shapes with a red outline are shapes that can be cut out. The stamp carrier sheet tells you what page in the handbook to find the image and what size to set the dial on. 

When I turned to page 33, I noticed that in addition to the ornament shape, there is also a decorative layer in the top right corner with the ornament shape in the top right corner.

I cut the layer out at 4″ from Slate cardstock, it was just smaller than the 2″ ornament I cut from White Daisy cardstock. Finally, I cut the scalloped square card at 4″ from a sheet of B&T from the new Sparkle and Shine paper pack.

Here’s a peek at the inside of the card:

Even though it is only the middle of October, the holidays are coming quickly. Now is the time to get your holiday projects started. The new Holidays from the Heart mini-catalog has lots of fun new products. You can view it online HERE.


To see more projects using Holiday Gift Guide products, visit my fellow CTMH consultants participating in this hop by clicking on the photos below. 


This blog hop is open for members of the CTMH Blog Boosters. Please do not enter if you are not a member of the group. If you are a consultant, you can join the group on facebook. If you are interested in becoming a consultant, I’d love to help get you started!


Keep creating,


Photobucket

Posted on

Chocolate Affair Spin Card

Tonight I got inspired to make another card with the A Chocolate Affair stamp set, the August Stamp of the Month. I was talking with a friend about the new Spin Cards and it occurred to me how cute it would be to put the sentiment on one side of the spinner and the chocolate image on the other.

Here’s what I came up with…

Inside of Card

To cover the card with Desert Sand, I turned to Cricut Craft Room. I combined a couple banner images and a square to create a template to cut the paper exactly the size needed for the card! This was a great improvement over the prior spin cards I made that had rough edges around the cut out. 

I added just a touch of Huntington paper to dress up the front of the card.

You may also notice that I stamped a CHOCOLATE border above and below the window. The stamp set does not include the word chocolate alone, but I created it by cutting (GASP!) the “Chocolate Understands” stamp. Allowing yourself to cut the images on your stamps apart will open a whole new world of creative possibilities. After you are done, just reassemble on the carrier sheet. In future projects you can use all or just some of the pieces.

I also cut apart the the three chocolate candies stamp. You can see the original cluster on the inside of the card. I cut them apart and lined them up to create the border across the top of the card.

Cut stamp on the block
Chocolate Candy Border using Cut Stamps

Don’t forget the “A Chocolate Affair” stamp set is only available through August 31. Get yours today for $17.95 or FREE with a $50 order. Visit my Close To My Heart website to start shopping now (www.rebeccabrown.ctmh.com).

I hope this post has inspired you to create something today!

Photobucket