Posted on

Totes Adorable Cropping Organization is HERE! (Limited shipment has arrived)

I’m so excited to announce that we have a brand new rolling tote and matching shoulder bag. These new additions to Close To My Heart’s storag line are not only functional but fashionable!

The rolling tote has multiple pockets designed to store your score board, paper trimmer, adhesives and more. The spacious center compartment is a perfect fit for our organizers!

These totes are designed to hold everything you need to take to your next cropping event! 

These are now available to order on my shopping website. However, only a small shipment has arrived, so we expect these to sell out soon. More are on their way, but if you want to be one of the first to have one of these deluxe bags, get your order in quickly!

Posted on

Decluttering, Donating and free workshop directions

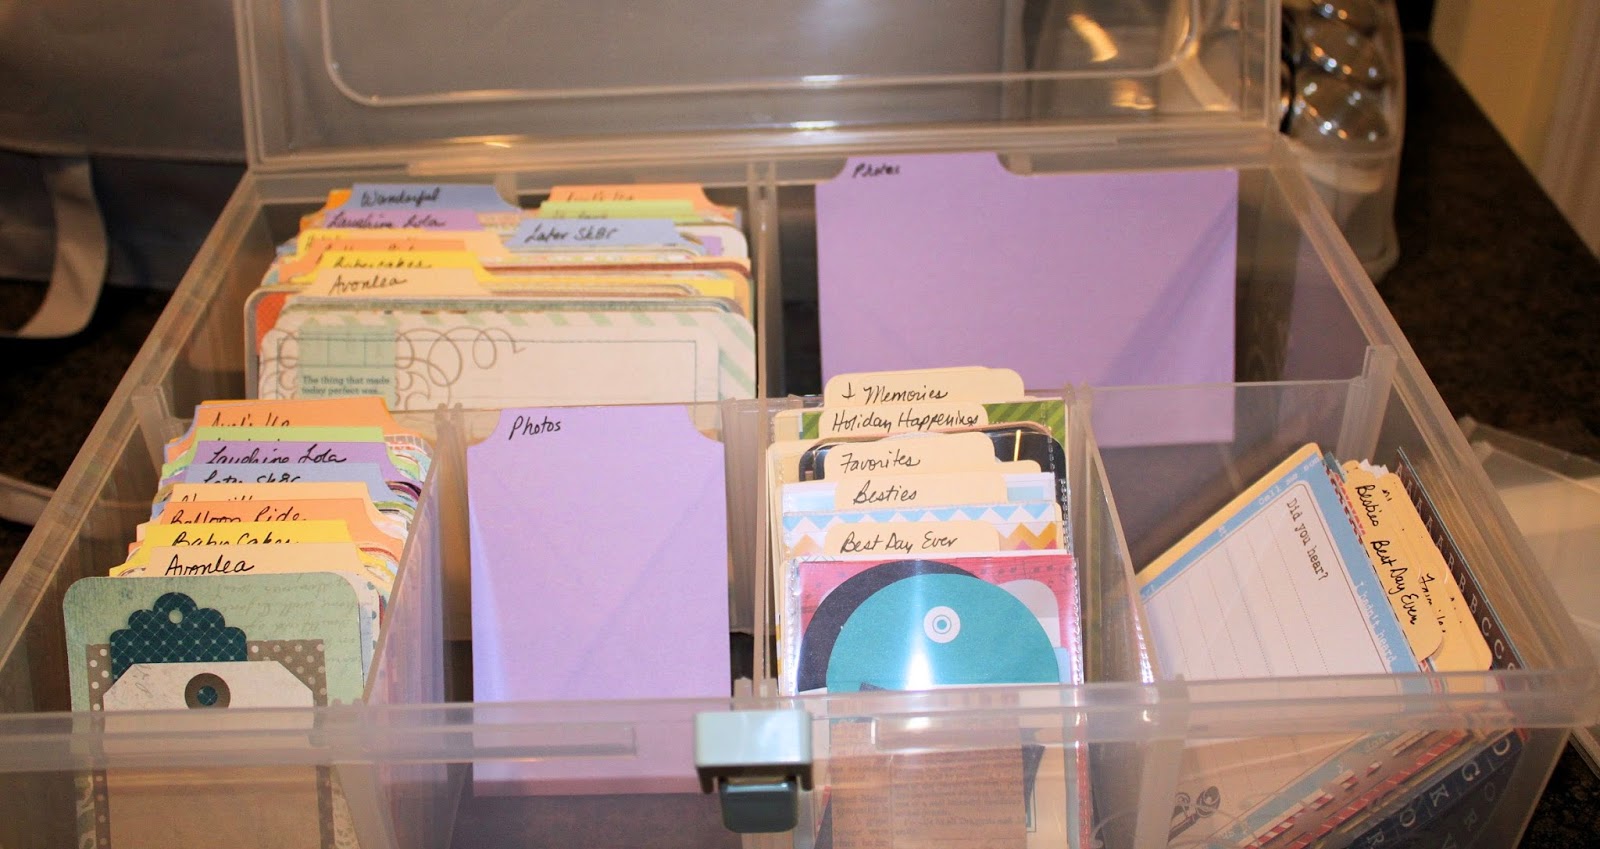
This spring, we installed cabinets in my craft room/office. So I spent much of the summer sorting, purging and organizing all the stuff I’ve collected over the years. I have been separating my craft supplies into piles to keep, give away and trash. Those that I’m keeping need to be assigned containers and a space. It really is a big job and still a work in process, but my stacks are getting smaller. You know how it is, it seems to get worse before it gets better. I excited to finally be getting closer to the “better”!

Last month, I found a new home for some of my scrapbooking papers that I know I’ll never use by donating them to a charity that is close to my heart. It feels good to be released from the guilt of keeping and storing unused things and I’m happy to know that what had become clutter to me will be used by someone else.

Do you have extra crafting supplies you’ll never use? 

Consider donating them to a worthy cause. 

Possible organizations include your local children’s hospital, nursing home, women’s shelters, day cares, library and retirement centers. Be sure to call ahead to see if your excess aligns with their needs. Also, be considerate to volunteers and workers of the organization by sorting out any used or damaged goods and donate only what is appropriate for their needs.

While I’ve been focusing on reducing paper clutter, I realized I also have a lot of electronic clutter. It may not be stealing away precious storage space the same way as the physical stuff, but it is not being used. Wouldn’t it be great to get some of these things out, dust them off and repurpose them?

So today, I’m sharing with you the directions for this twelve card workshop.

CLICK TO DOWNLOAD FREE INSTRUCTIONS

I designed these cards to be made using the Flirty paper and Pun Fun for a workshop last February. Both the paper and the stamp set have now been retired. But the card design will work well with image based stamp sets including our M-sized stamps.

To prove my point, take a look at this set of Surf’s Up cards.

Yep! These use the same basic pattern as the Flirty cards. I switched out the paper and the stamp set (Under the Sea C1500). I also changed the size of the stamping rectangles to match the stamp size and cut the mats for these rectangles with 1/2″ larger length and width. Add a few matching accessories and boom — a new set of cards.

So here’s your assignment: Go to your stash and dust off a stamp set or two with images that are around 1 or 2 inches. Now look through  your paper scraps — I know you’re saving them for something fun — well this is it! Now print the directions and get creative!

Ready for more projects? I have some kits that you may be interested. I love working with kits because you receive all the materials needed for the project so there is no excuse to keep you from getting started. Plus, when you get done there is minimal excess materials that need to be disposed of or stored. That means less clutter to deal with later!

You can check out all of my current kits in my shop at www.showmescrapping.com/shop.

Enjoy!

Rebecca

Posted on

Organize your Picture My Life with Divider tabs – FREE Craft Room File

Did you know that Close To My Heart’s medium organizer is perfect for Picture My Life/Project Life cards?

Here’s a picture of the contents of my dedicated Picture My Life organizer.

I took out a couple of the dividers in the back to make two sections for the 4×6 PML cards on the left and photos on the right (empty until I get them printed). The front sections from left to right are 3×4 PML cards, photos, My Crush 3×4 cards and 4×4 My Crush cards.

I cut all of the dividers on the joining images from Art Philosophy in Cricut Craftroom.

Ready to organize your Picture My Life cards? I’ve uploaded Craftroom files for both the 3×4 and the 4×6 dividers. (Note that I changed the style slightly — for the better — after I cut mine.)

To download the files, click on the link below the Craftroom screen shots below.This first file will cut three 4″x6″ dividers at a time. The dividers will have landscape orientation and fit in a double-wide section of the medium organizer.

Click to download 4×6 Divider file>>

The second file will cut six 3″x4″ dividers at a time. These dividers will have portrait orientation and fit in a single section of the medium organizer.

Click to download 3×4 Divider file>>

REMINDER: In August, when you purchase one of the Picture My Life programs, you can add an additional pack of Memory Protectors for just $3! Click here for more information>>

Happy Organizing!

Rebecca

Posted on

My Pretty Pemberley Chore Chart


My fun, carefree (busy) summer has come to an end. Sigh. While we have been out enjoying the warm (hot!) weather, housework has not been a top priority.


NOW, it is time to get down to business and get things back in order. Since school has started, I’m trying to build routines so I am not doing major crisis cleaning every time there is a chance that someone will step through my door.


Today’s project is just the thing to get me in gear!


This newest addition to my kitchen wall is both functional and decorative. A few years ago, I adapted the Fly Lady routines to my personal space. Since then, I’ve fallen off the wagon, but decided it was time to revive those practices. In the past, I have tried putting my to do lists in a binder or inside the pantry. You’ve heard the saying “Out of sight, out of mind”? Well, that is exactly what happens to my to do lists if they are tucked away. I completely forget what I am supposed to be doing and at the end of the week, the house is a mess.


So this time to ensure that the chores actually get done, I’m putting the list on a prominent wall between my kitchen and breakfast table. Of course, I can only do this if it is pretty! No computer print offs stuck with magnets to the fridge for me. Fortunately, the yellows and blues in the Pemberley paper matches my decor in this area perfectly.


The chart includes six tags stored in a decorateMemory Protector Photo Storage Page. The first five tags are my to-do lists for each day from Monday to Friday. The last tag is the current week’s “Zone”. If you are familiar with Fly Lady, you know that dividing your home into zones is a good way to spread the more detailed cleaning tasks over the month. Go to www.flylady.net for more on how to get your home organized so you can “fly!”


The storage pages are great because they are compatible with dry erase markers. As I complete items on my list, I can check them off. Next week, I will erase the checks, update the zone tag and start all over again.


Most of the stamping is from the Pemberley Workshop on the Go stamp set.The tags, flowers and scroll work are from the Art Philosophy Cricut cartridge.


The extra zone tags are stored in a 12″ x 4″ Memory Protector Flip Flap affixed on the back. How convenient!


 I’ve had a lot of fun planning and making this chore list. Now, I just need to execute and do the chores! We’ll see…


Have a great day,

Rebecca


Posted on

What to do with all this paper?

This summer, I have been working on organizing my office/craft room. This process has made me realize how much stuff I have accumulated over the years. Since joining Close To My Heart in November 2010, I have used their products almost exclusively. So everything else (mostly papers) has just been sitting unused.

I am proud to say that all of my paper now fits in these three file drawers! And there is actually room to spare!

As I opened storage containers, I challenged myself to sort papers into three groups:

1) Papers LOVE and am so glad I found. These are the papers I can’t wait to use!

I further subdivided these by theme, holiday/season or color so that I can easily find and use them. You can find some great ideas for organizing your paper by listening to the “Overwhelmed to Organized” webinars at The Scraprack.

I modified her list of categories and here’s what I came up with:

  • Alphabet/Numbers
  • Sentiments
  • Spring
  • Summer
  • Autumn
  • Winter
  • Backgrounds/Borders/Frames
  • Animals
  • Arts & Crafts
  • Baby
  • Birthday
  • Children
  • Christmas
  • Easter
  • Floral
  • Friends
  • Halloween
  • Heritage/Family
  • Music
  • Ocean/Beach
  • Outdoor
  • Patriotic
  • School
  • Thanksgiving
  • Travel
  • Valentines Day
  • Prints – Bold
  • Prints – Pastels
  • Prints – Brights

Each of these categories is stored in a 12″x12″ folder.

I mentioned that most of my hording has been with paper, but there were a few embellishments that needed to be organized as well. I put these in labeled zip-lock bags and dropped them in the appropriate paper folder.

2) Papers I can’t imagine ever using again. These must leave my house as soon as possible.

3) Papers that would work well for cards only. This group is interesting. What I’ve found is that there are a lot of papers that, while lovely, I can not picture using on a scrapbook page. These papers are just don’t fit my current scrapbook style. Most of these came from those “bargain” paper pads that seem like such a great buy until you realize that you only use about 10% of the papers.

Sample of “cards-only” papers

My first inclination was to include it with the group #2 papers. However, they have an interesting design that would work well for a card. Since I have multiple sheets of most of these, I’m looking forward to some mass card production days in my future.

Posted on

New CTMH Newsletter!

I am very excited to send my customers the new Close To My Heart newsletter. Each month it will have information about the current specials, events and timely articles. Pleaseemail meif you would like to be added to my distribution list.

The inagural April issue includes the following article about making time for your hobby. This is exactly why I joined CTMH. I had a desire to create, but was not finding the time to do it. Isn’t that expression “finding time” funny? When was the last time you had some “time” laying around waiting to be found? I’ve found that I have to be intentional or it never happens.

Time to Get Creative!

Free up some time for your creative outlet

If someone asked you to explain what a hobby is, you’d probably explain it as something you enjoy doing in your free time, right? But nowadays, when jobs, family, school, friends, sporting events, church, and other group activities make so many demands on our time, there are days when it feels like it is all we can do to squeeze in the necessary things like eating, sleeping, showering, and a couple of quick chores around the house. So what do we mean when we talk about supposedly “free” time?

No matter how busy we get, we can always manage to find a few minutes here and there to watch our favorite television shows, or at least check our Facebook updates and Twitter feeds. We can make time for things that feel like breaks in our otherwise hectic schedule. And that is just what we need to do in order to keep up on our crafting.

It is easy to take our creative projects too lightly and write them off as unimportant things that we can get to any time. But when we’re “too busy” to take that precious creative time, we’re depriving ourselves of more than just completed projects—we’re denying ourselves the chance to take a break, change the pace of our day, and exercise our minds in a different way. We need that time and that creative outlet to focus on just one thing for a change, one thing that we have greater control over than the other variables in our lives. That kind of focus and sense of control brings with it a sense of satisfaction that is independent of project completion.

So, instead of waiting for free time to magically come along on that rare lazy Sunday afternoon, free up some time in your busy day to sit down and do the creative work that you love. Even if you give away the completed project, the gift of time and relaxation you’ve given yourself may be even better!

Posted on

Cricut Organization: Art Philosophy Navigation

Today, I’m continuing my Tuesday Cricut Organization series with some navigational hints for the Art Philosophy cartridge. First of all, a big thanks to my fellow blogger and Close To My Heart consultant, Lalia, who gave me a great key to unlock navigation on the CTMH Art Philosophy cartridge. (Here blog is www.craftylalia.blogspot.com if you want to check it out).

If you have read my earlier posts, you know that I have done away with the spiral handbooks that come with the cartridges. Instead, I’ve printed them on letter-sized paper and put them in a binder. (Here’s a link to the post discussing how to do this).

However, the Art Philophy handbook is not available as a pdf. Instead, Close To My Heart issued a Shape Index. It is available on www.CTMH.com under Ideas & Inspiration/Cricut or by clicking here.

The first page of this document contains the base shapes available on the cartridge. These are the images that are printed on the keyboard overlay. The images in grey are available using the shift key.

Each of the remaining six pages show the shapes available using the special feature keys on the left side of the Cricut keyboard: Layer, Decorative Layer, Tag, Card, Font and Font Layer. Each of these pages is also arranged in the order the keys appear on the keyboard overlay.

Now, let’s go back to page one (shown below). There is a pattern to how the shapes are arranged on the keyboard overlay. Take a good look at the black shapes in each column. Do you notice anything?  Lalia has added heading to columns in the image below to help you see the pattern.

Column 1: circles & scallop circles

Column 2: ovals

Column 3:
squares

Column 4 rectangles

Column 5: rectangular labels

Column 6
oval (rounded) labels

Column 7 is a bit of miscellaneous

Column 8:
tabs

Column 9: banners

Column 10: tags

Now that I’ve seen this, I have to wonder how I missed it. But sometimes the obvious has to be pointed out. Next time I’m hunting for a certain shape, I’ll know to focus on the columns. I hope this navigational guide helps you too.

If you have not yet purchased your cartridge, you can pick it up on my shopping website (LINK).

Happy Creating,

Rebecca

Posted on

Cricut Organization: Mat Maintance

This is the third and final post in my series showing you how I organized my Cricut cutting area. Over the holidays, I worked out a new system for storing the cartridges, overlays, handbooks and mats. Check out my prior Tuesday morning posts on how to organize your handbooks and cartridges.

My final note is about what to do about those mats. I used to have a spot on the floor under the table designated to the mats. However, I found that they often didn’t make it to their designated spot. Inevitable, something would get set on top of the sticky surface.

In addition, other things (the dog, for example) sometimes were in that spot. Not a good for something as sticky as Cricut mats. Dog hair on the mats is not conducive to nice clean cuts. (See below for tips for cleaning and maintaining your mats)

My solution is simple, but revolutionary. Hang them on the wall! I used Command hooks by 3M. So if I decide to rearrange my office/craft room, I’ll leave no holes behind.

Tips for cleaning and maintaining your Cricut mats:

1) You know that plastic sheet that comes on top of the mat? Keep it and use it. Every time you finish using your mat, put the sheet back on to protect it from stray particles that are attracted to the stick surface. Since I hung mine on the wall, I simply hang the plastic sheets between the mats rather than actually sticking them.

2) If you don’t have the Cricut spatula, get one. This is an inexpensive tool that is very helpful. You may already use it for scrapping delicate images off the mat to prevent damage. It also can be used to scrap off those tiny pieces of paper (basically paper dust) that are left after you remove your image.

3) If your mat has lost much of it’s stick, it is likely due to having too many minute particles stuck to it. You can prolong the life of your mat by cleaning it with Spritz cleaner. Just spray and wipe off with a paper towel.

Happy Chirping!