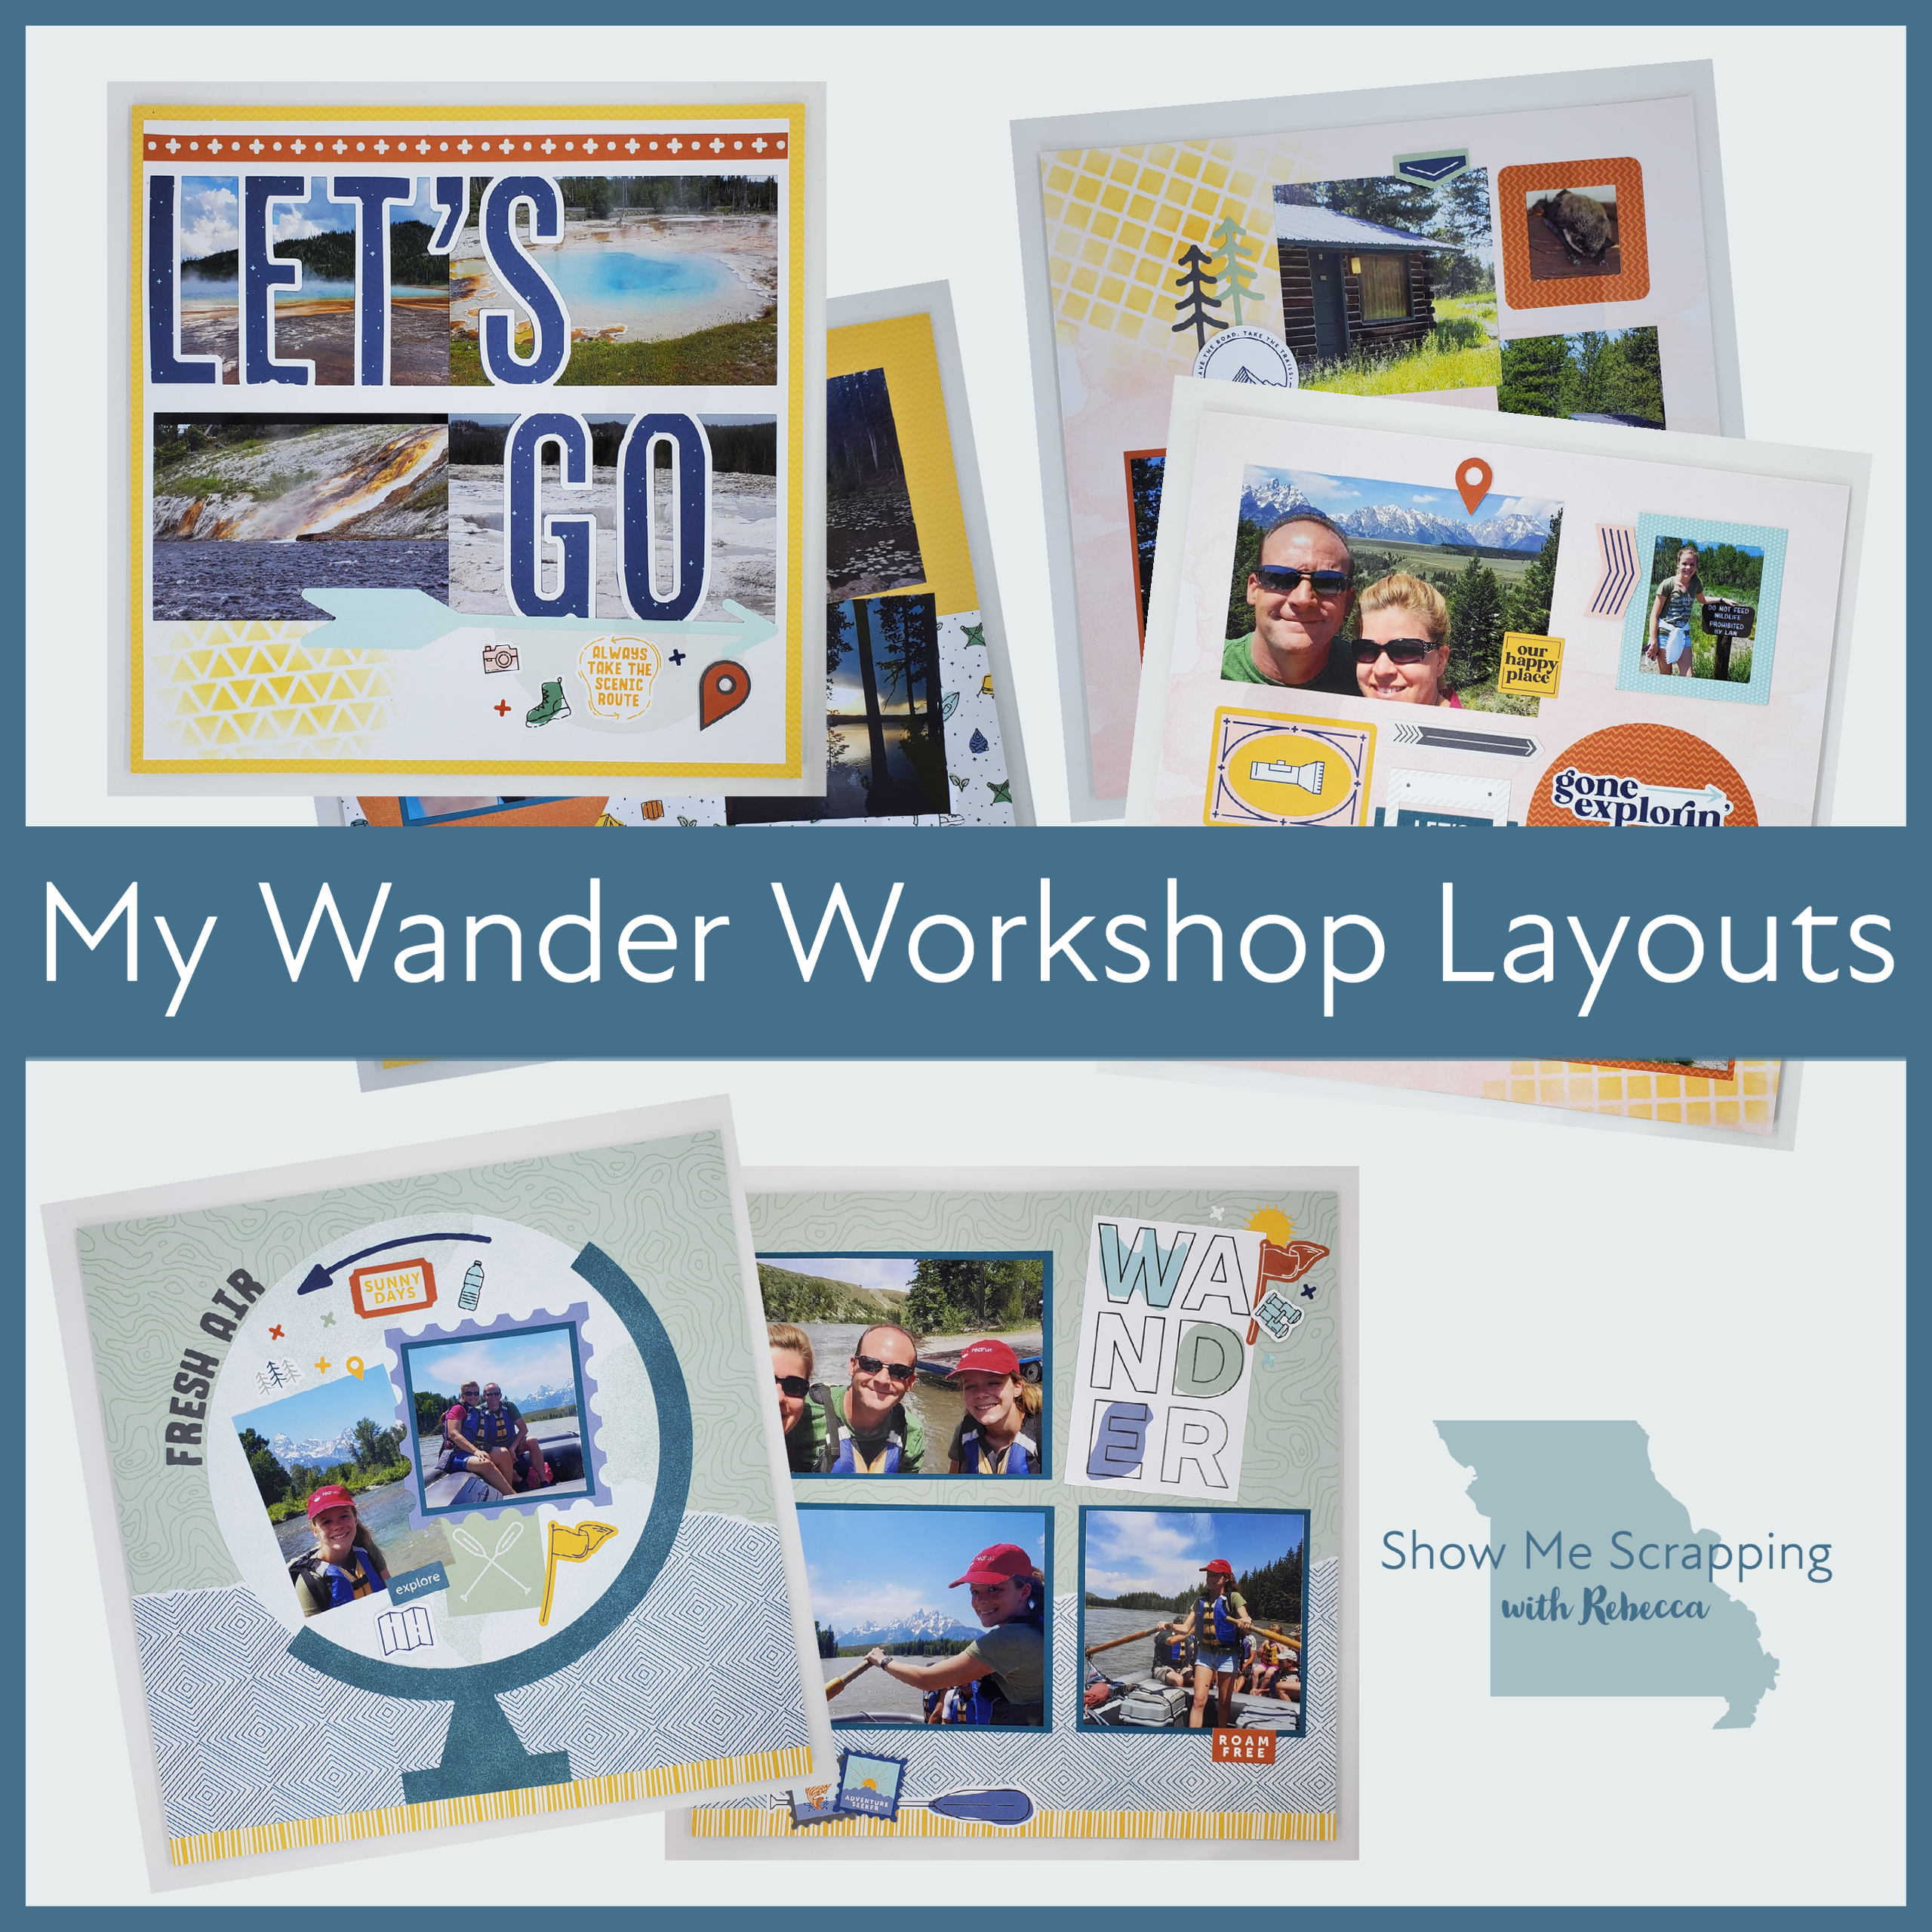
I love the pages I made with the Wander Scrapbooking Workshop. In this post, I’ll show you my the modifications I made to these pages and how I finished them off with my photos from our trip a few years ago — it seems like yesterday, but these photos are from way back in 2017.

One thing I LOVE about these workshops is that you can assemble them exactly like the samples, tweak to fit your pictures or use the pieces to completely do your own thing. I’m a “tweaker”. My layouts are 80-90% like the samples, but I wait until I have my photos to nail everything down. Most often, I rearrange the pieces to fit an extra photo or two. Because of our simple color coordination, I can easily make additional photo mats from cardstock.
Before I show you my pages, let’s take a look at the kit.

The contents include:
- Wander Paper Packet + Sticker Sheet (X7271S)
- Additional cardstock sheets (1 Paprika, 1 Peacock and 1 White Daisy)
- 2 exclusive patterned paper sheets
- 4 Exclusive die-cut sheets
- Wander Die-cuts (X7271E)
- 4 Top-load 12″ × 12″ Memory Protectors™ photo placeholders (optional)
- Photo place holders
- Printed instructions
Here’s a look at the sample pages that are shown in the directions for the kit.

I love these kits because they give me ready-to-assemble pages, but with the freedom to make them my own. This particular kit had lots of fun little icon die-cuts and stickers. As I was deciding which photos to put on which pages, I moved some of them between layouts to better fit the subjects.
For left page of the Let’s Go layout, I choose to start with some scenery photos to introduce the trip. This also worked well since some of the photos are hidden behind the large letters. The right pages are a few photos from our drive to the campground we were staying. It was late, but I convinced my travel mates (hubby & daughter) to stop so I could take a sunset photo and again when we crossed the Continental Divide. However, I didn’t convince them to get out of the car, so I took a selfie in front of that sign.

The second layout shows the cabin we stayed in along with some scenery at the campground and nearby. The sample layout haslots of small photos, but I had already printed my photos full 4×6 size. So I was only able to do tight crops to fit the frames on a couple, but made room for more photos by taking off the Time to Travel flag which didn’t really go with my photos anyway.

My story for the last layout is a float trip we took on the Snake River. There was so much beautiful scenery along the way that I had a really hard time narrowing down my photos. So I settled for putting photos of us in the boat (with some scenery behind us) on the pages.

Don’t worry, the mountains, river and critters we saw along the way are documents. I was able to add 8 additional photos using a Pocket Plus memory protector and a Flip Flip. (I hope CTMH never stops making these two products . I don’t know how I’d scrapbook without them.) To see all of my pages, including how I used the Pocket Plus and Flip Flap to increase the number of photos, click the image below to watch this video from my Facebook page.
This kit includes the materials to make 6 scrapbook pages. In the kit you get a full color printed workshop guide with step-by-step directions. If you’d like more instruction on this kit, Close To My Heart is hosting a virtual workshop on August 24. Details are on the Close To My Heart Facebook page.
I hope this post has given you some ideas about modifying kits and patterns to fit your photos and memories.
Keep creating!
Rebecca
