Posted on

#scrap20 Week 4 Check in: More Thailand Pages

It’s time for the week 4 of the  #scrap20 Page Challenge check in. Through this challenge you can get some pages done, share artwork and earn a chance to win a PRIZE!

This week I finished two more pages from our trip to Thailand in January with Close To My Heart. The pictures on these pages are from the night we arrived in Bangkok. We landed around 10 pm and were checked into our room a little after midnight. You would think that  after traveling about 24 hours we would be exhausted and collapse into the bed, right? Well kinda…our bodies may have been tired, but our brains said it was about noon because of the 12 hour time difference from home. 

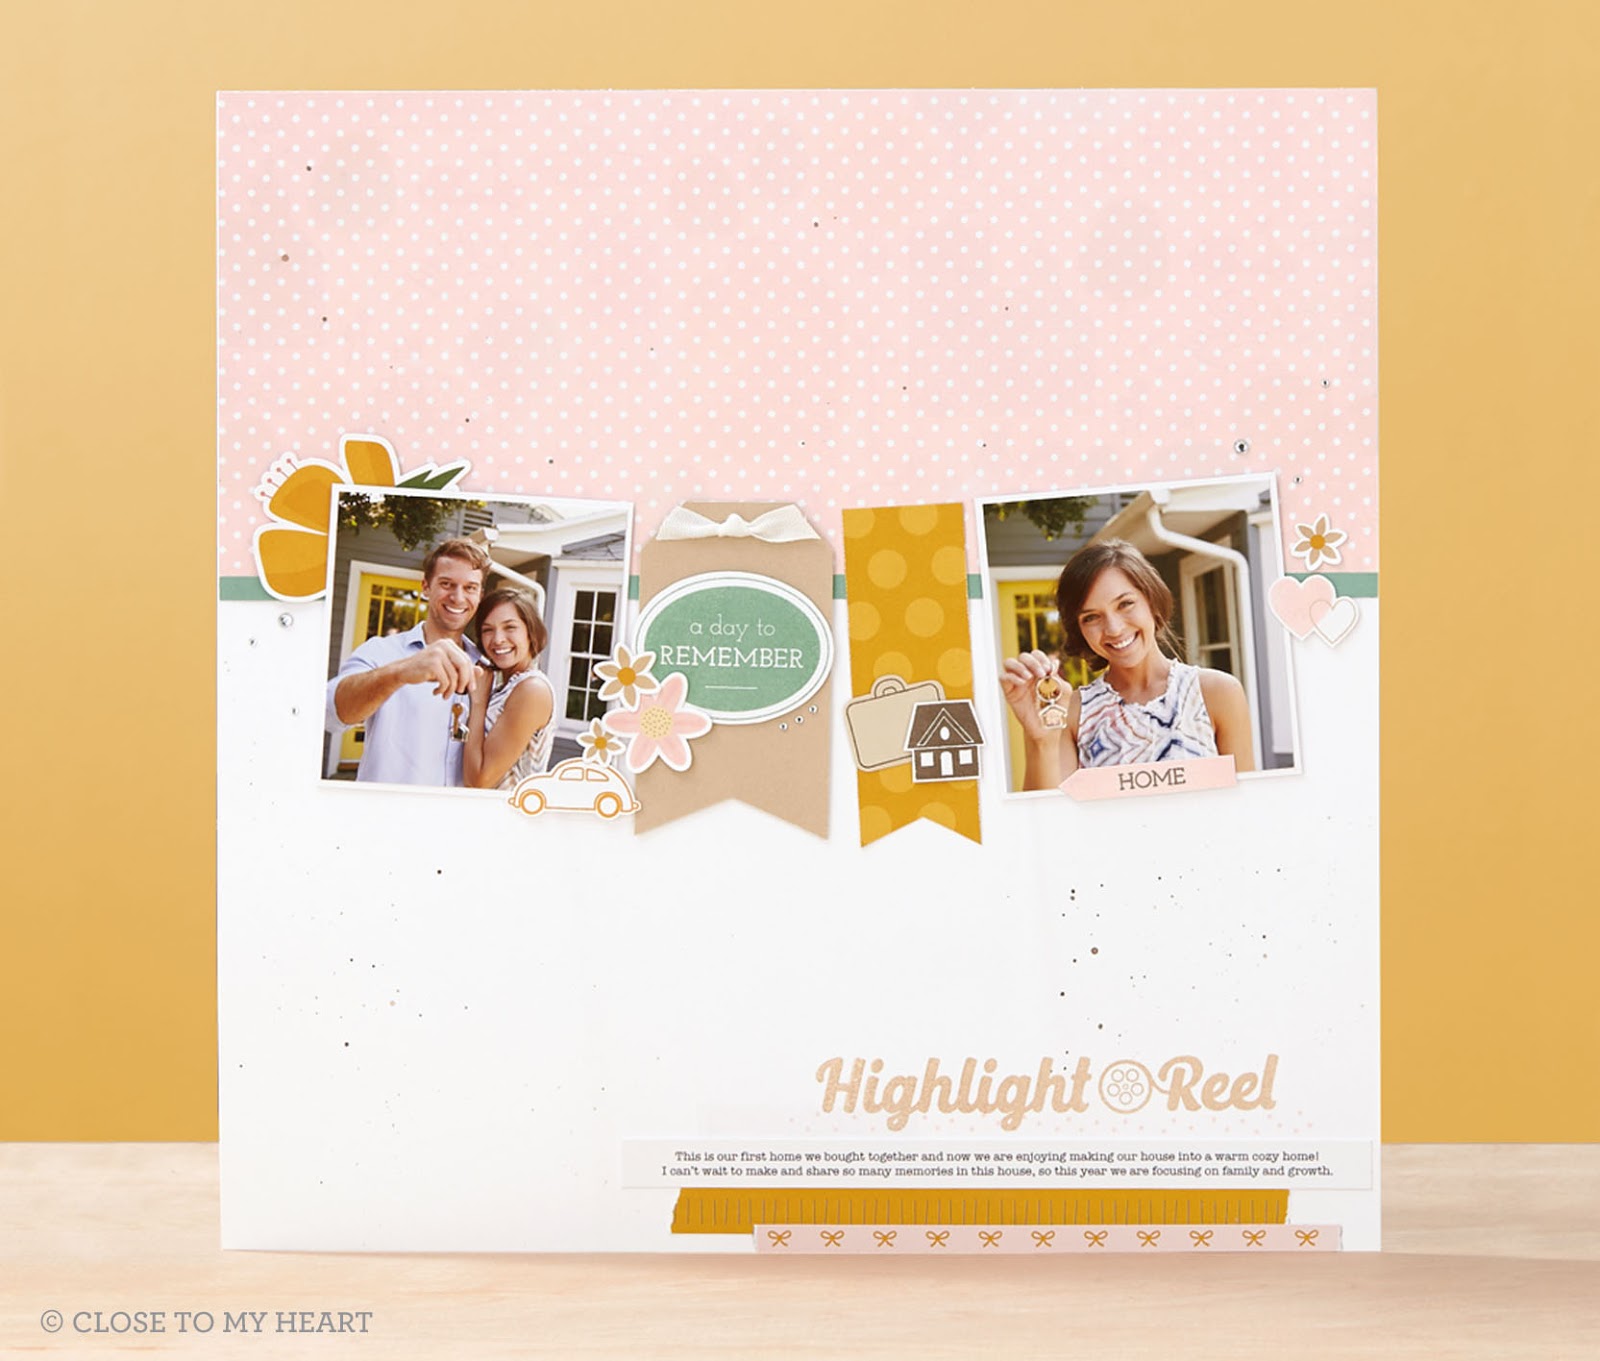
So instead of going to bed, we left our room and explored the beautiful Anantara resort. We checked out the pool, located the spa and breakfast area and wandered over to the dock overlooking the Chao Phraya River. This river is a major transportation alley through the city of Bangkok so during the day, it is busy with river taxi and other boats. But at night, it was tranquil and somewhat magical with the lights from the bridge and the market reflecting on the water.

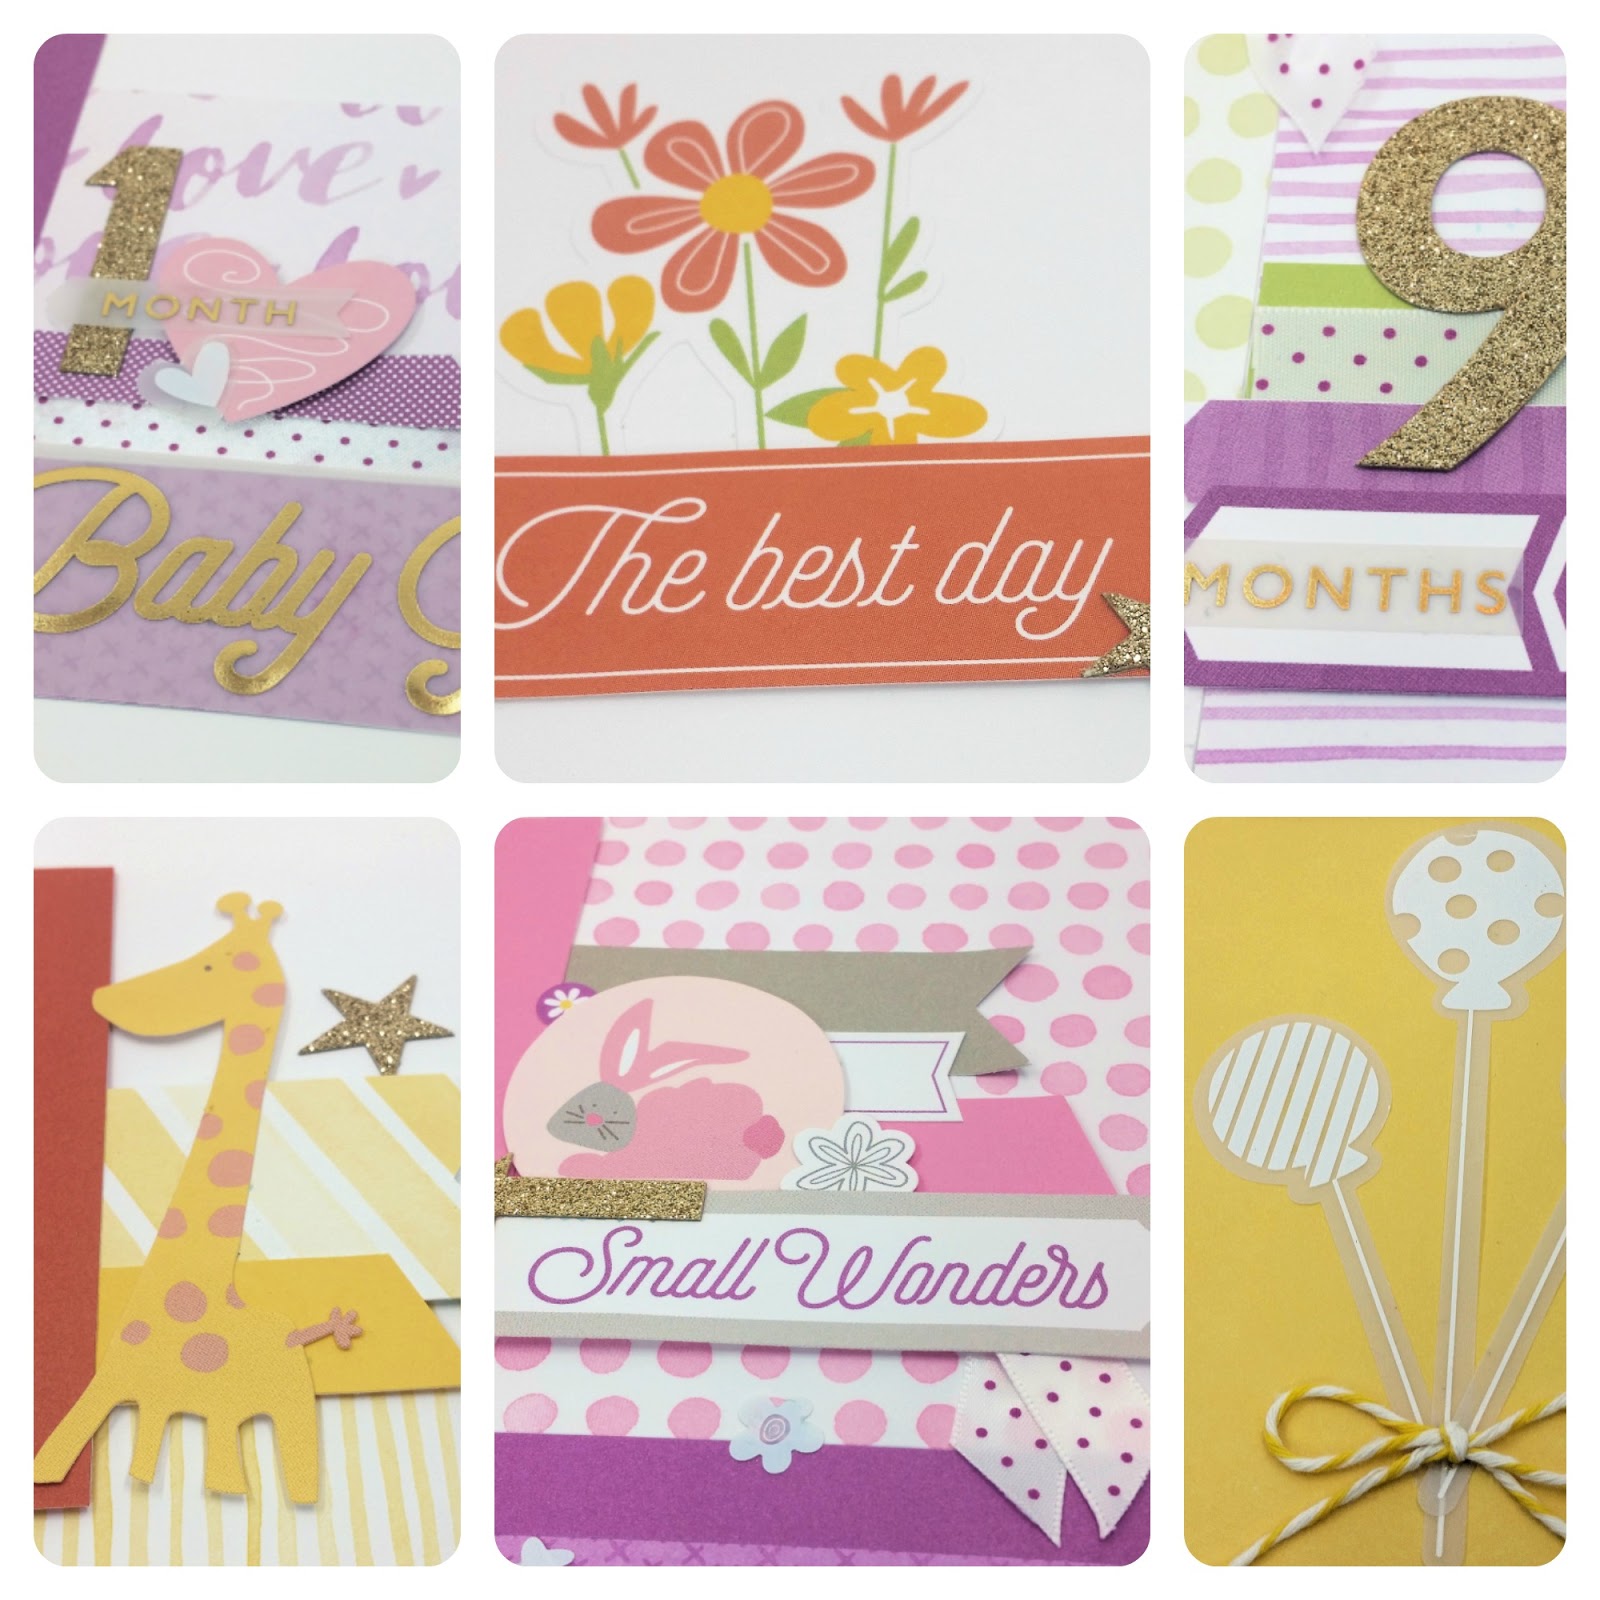
Both of these pages have stamping using the exclusive Thailand stamp set we were given with the album kits, the Splash of Color stamps (love the splashes!) and the Pen Pal alphabetstamp set.

The title “LIGHTS” on the second page was cut from Canary cardstock using the Block Alphabet Thin Cuts. These die cuts are the perfect size for scrapbooking titles and you’ll see letters cut with them throughout this album. I popped them up with 3D Foam tape to add a little more dimension.

This week I nearly finished several more Thailand pages, but the deal with this challenge was that they only count if they are completely done. So that’s all I have for this week.


Tally: My goal for August is to complete 20 pages. I finished 2 this week which brings my total up to 16 pages and I have 4 to go! 


How many pages have you done? Comment your count below before next Friday and you’ll be entered to win a new product bundle from the Holiday Expressions Idea Book! We’ll have one final check-in next Friday (8/31) so be sure to check back in. I’ll do the drawing on Tuesday, 9/4 at theCrafty Girls BINGO night. In the mean time, share your completed pages on social media using the hashtag #scrap20!

Can’t wait to see what you make!

Rebecca

Posted on

Highlight Reel Stamps are Perfect for New Home and More

Just a quick post today to show this New Home layout created by the Close To My Heart art department.

You may recognize the stamping on this layout to be from the July Stamp of the Month, Highlight Reel. Note that you could easily use this same layout for other celebrations by swapping out the stamped images. The title (“Highlight Reel”) and sentiment (“a day to remember”) would work for many occasions.  Let’s take another look at the stamp set: 

Replace the house, suitcase and car with…

… balloons and heart for a birthday layout.

… paw print and heart for a pet adoption layout.

… airplane and suitcase for a travel layout.

… music notes and hearts for a concert layout.

What occasion do you need to scrapbook that would fit this layout design?

Posted on 8 Comments

Whimsy Baby Girl Scrapbooking Scrapook — free workshop download! (better now than never)

Did you ever have great intentions to do something and even do 90% of the work, but then not get back to it? That’s what happened with the scrapbook I’m sharing with you today.

A few months ago, I created a 12 page scrapbook using a half pack of the Whimsy Fundamentalpapers and the Baby Girl Complements. I loved how these products go together! It was so much fun creating this album that I wanted to make another book using the other half of the paper pack and the Baby Boy Complements. I shelved my blog post about the pages I already made because I wanted to present the two books together.

However, in just a few days these products will all retire! Since I believe this is a great project (wouldn’t it make a great new mom gift?), I want to get this posted so now so you’ll have a chance to order the supplies before they are gone.

To make this album, I made use of the numbers 1 through 12 from the complements pack and made a page for each year of the baby’s life. So the first page has room for a photo of the newborn little girl.

I then created a layout for each of the following two months of the baby’s life. For each of these layouts, I choose a color combination that I thought went well together. I used a mix of solid and the patterned fundamental papers.

Once I had the basic pattern for the page laid out, I added coordinating ribbon, stickers and chipboard from the Complements pack. Of course, I also added the gold glittery number for the month.

The final page of the album is for month 12 or 1 year. For this page, I added some balloons to celebrate this special birthday.

If you have more pictures than the space allowed in this album, I have a couple solutions for you! 

Extra Photo Idea #1 – Attach Flip Flaps to your Memory Protector on top of the photo wells. I love this visual created by Close To My Heart to show hwow Flip Flaps can triple the number of photos on your pages. 

Learn more about using Flip Flaps in this poston the Close To My Heart blog. 

Extra Photo Idea #2 – Add some pocket Memory Protectors between the pages. These come in several designs including the new Pocket Plus protectors which are narrower than the full size protectors and allow the outer edge of the layouts to show as you flip through the photo pages. 

Click hereto see all the Memory Protector designs.

Ready to make one? First click on the link below to download the free cutting and assembly directions. Then review the materials list to make sure you order everything you need before these products retire on July 31. Use the links to go directly to the items on my Close To My Heart website.

DOWNLOAD FREE ALBUM DIRECTIONS

Materials

·       
Z3255 Whimsy Fundamentals Paper Packet (UPDATE: Already sold out! However, I have a couple packs in my inventory.Email me to order.)

·       Z3272 Baby Girl Complements

·       
Z3287 Whimsy Ribbon Pack

·       
1385 White Daisy Cardstock (12 sheets for page
bases)

·       X5769 Thistle Cardstock (1 sheet)

·       X5639 Sweet Leaf Cardstock (1 sheet)

·       X5772 CanaryCardstock (1 sheet)

·       X5751 SorbetCardstock (1 sheet)

·       
X5773 Pixie Cardstock (1 sheet)

·       
X5763 Smoothie Cardstock (1 sheet)

·       
X5930 Slate Cardstock (1 sheet)

In addition to the materials listed above, you will need a paper trimmer and detail scissors to complete this workshop. I’d also suggest the following adhesives: tape runner, glue dots, glue pen and 3D foam tape.

I still think these pages could easily be modified to make a Baby Boy album with the remaining papers from the Whimsy Fundamental paper pack. I’ll leave that as a challenge for you since my time is running out. Please contact me if you have any questions about this project.

Keep Creating,

Rebecca

Posted on 2 Comments

Confession Time: I just finished my first album!

I feel like shouting from the rooftop, “My 2010 Family Album is DONE!” I’m thrilled to finally have one finished!!

Technically, this is not my first completed album. I have finished a couple of my daughter (baby & preschool years) and a few trip books. But this 2010 album is my first {completed} annual family album.

I have completed pages that will eventually go in over 10 year’s of incomplete albums. A couple more are like this one was a few hours ago: assembled with over 90% of the work completed but waiting for me to finish a page or two, add journaling (my least favorite part) or other minor tweaks.  This morning I decided “Today is the Day” and finished everything that was outstanding for 2010.

Not perfect, but done!

Most of what I did today was journaling. When it comes to journaling, I am a horrible procrastinator. You know how some people have math test anxiety? Not me, I love math, but the sight of a blank essay book scares me to death! So I tend to put it off journaling because it is so hard to get it perfectly. Today, I decided I’d rather have it done than perfect and incomplete. So I just grabbed my journaling pen and started writing in all those blank boxes the first thing that came to mind.

In order to wrap this album up, I utilized Studio J digital scrapbooking on several pages. These beautiful pages mix perfectly with my traditional paper pages. This title page is from the Year In Review Express Collection, so all I just dropped my pictures in and updated the title and journaling.

I also mixed full layouts with pocket pages. For example, I had several random pictures of things that happened over the summer that didn’t really fit on layouts, but helped tell the story of what we were doing that year. I used the Horizontal Divided Page Protectors (Design 2) to include these pictures in my album. I created the journaling card in the top left pocket in Studio J.

I also used Flip Flaps throughout when I had more pictures than space on my pages. This allowed more room for the titles, journaling, embellishments and just space for everything to breathe 🙂

A stack of 4 ” x 6″ pictures with Flip Flaps
3″ x 3″ Flip Flaps to add a mini-book to my Christmas page

I finished the album off by putting the year in a Label Holder and clipping it to the spine. Now this album truly is shelf-ready.

So, I’ve shared my secret of incomplete albums. Now it is your turn! Do you have unfinished projects waiting for just a few minutes to wrap up? Tell me about it in the comments.

Keep Creating,

Rebecca