Friday, I posted information about the new #scrap20 Challenge. In the background section, I talked about how I am making a concerted effort to set aside more time for my personal projects. To make this happen, I have been working hard the last couple months on my craft room organization.

One challenge I’ve had in trying to get organized is what to do with completed — or nearly completed (see previous post) — layouts until the whole album is done. This was an issue because I was using post-bound albums require assembly to add pages. One solution is to guess at how many pages and go ahead and assemble the album with memory protectors. This allowed me to drop the layouts in as I finished them. But if I guessed the number of pages wrong or want to rearrange the pages, I’d have to unscrew the hinges to make the changes.
My work around was to have boxes in my craft closet labeled with each year. As I completed pages, I just added them to the appropriate box. But this never was really a solution because almost every year is incomplete and these beautiful pages were hidden away out of site. I decided it was time to come out of the closet!
The Real Solution: Change Albums
The surprising answer to my problem came by changing the type of album. By switching to using post albums, I don’t have to wait for all the pages to be complete to put together my book. Because of this, many of my pages were not in albums. Instead I can go ahead and put them in the album as I go. Since these books have the same high quality faux leather look, they serve as both work-in-progress and display albums!

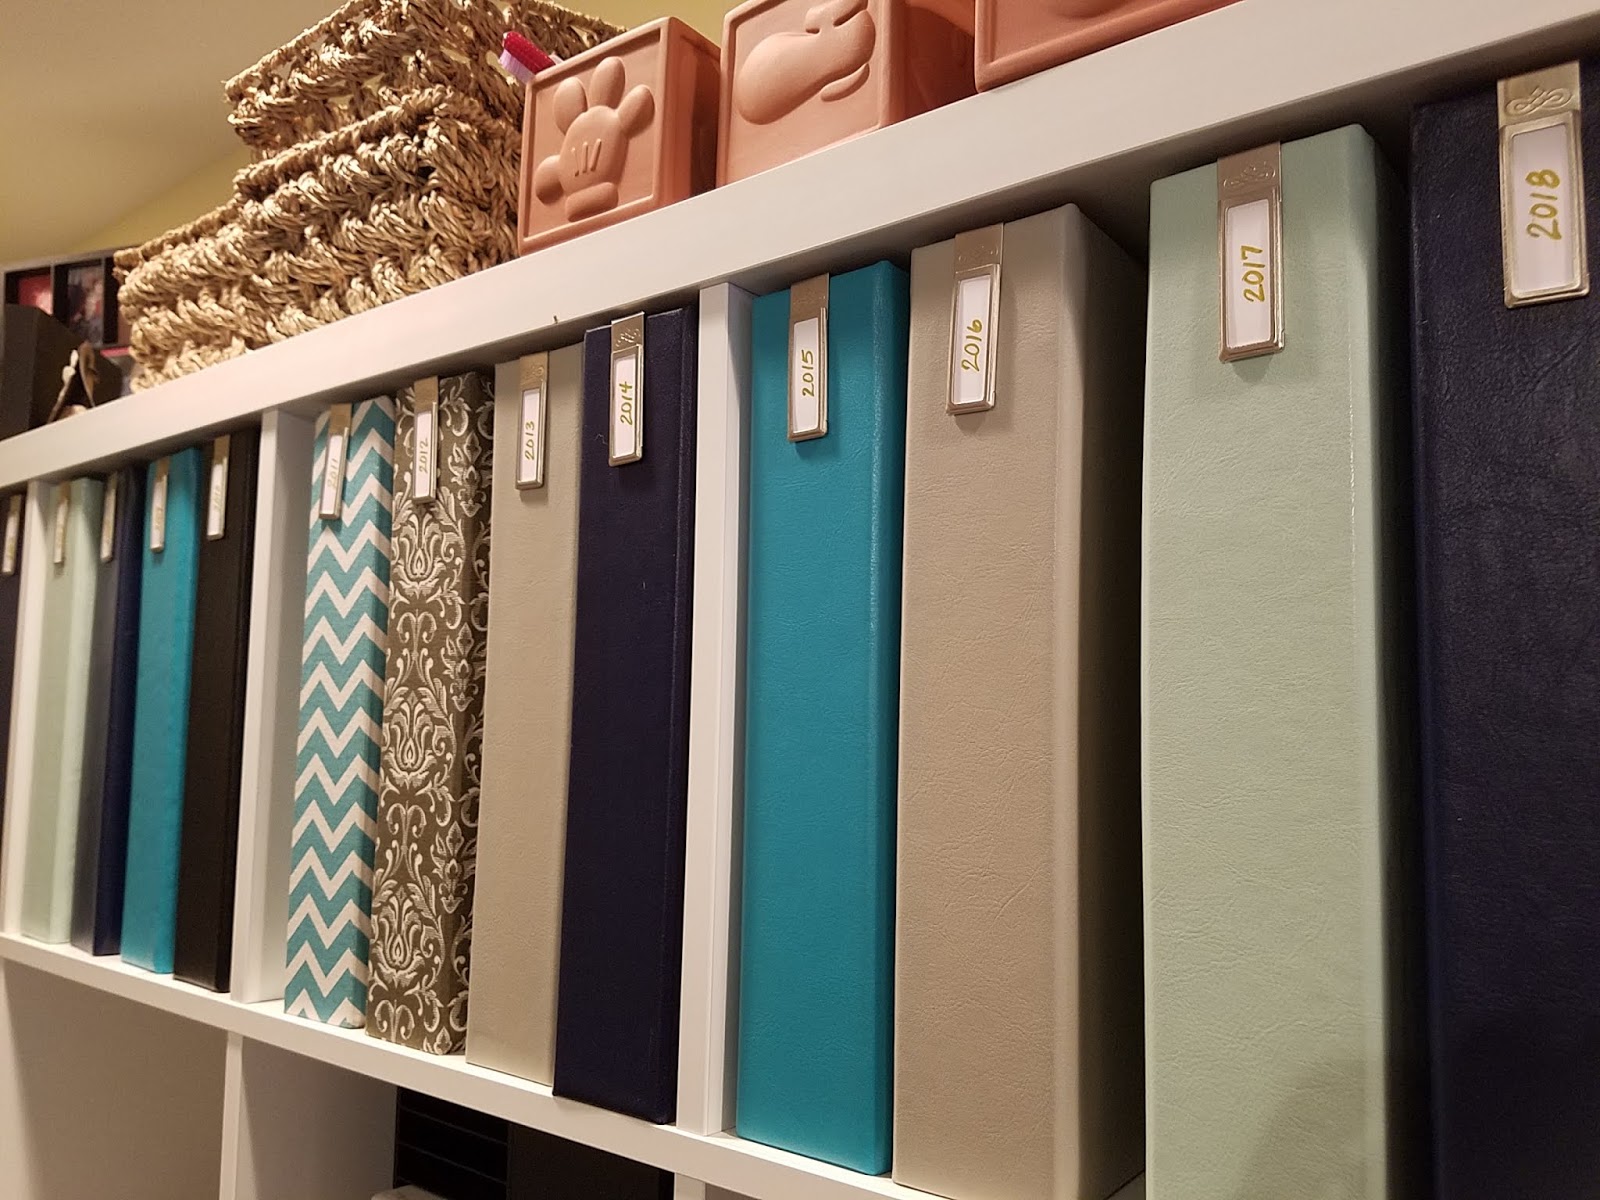
For a couple years, I’ve been thinking about making switching to D-ring albums, but resisted because of the investment I had made in the current albums. A few months ago, I finally did it and I am so happy with the result! I labeled one D-ring album for each year starting in 2000, the year my daughter was born. Then I removed pages from my current completed post albums and slipped the pages from the boxes in the closet into memory protectors and added them to the corresponding year’s album. Then I opened each annual box in the closet and added those pages to additional books.
These albums now reside on the top shelf of my Ikea Kallax shelves in my office. Some of the books are nearly full and others don’t have a single page, but they are uniform and beautiful. Looking at them makes me so happy!
Five Reasons I love this System
- As soon as I finish a layout, it immediately goes in an album and is ready for viewing!
- I can rearrange or insert pages anytime I want. Finding new pictures is no longer an issue. I just scrap them and insert them into the book.
- Each year’s album is the same size and shape, so it gets the same shelf space regardless of how many pages I’ve finished.
- Anytime I want to revisit the memories in the books, I simply pull it off the shelf. None of the pages are hiding in boxes! Everyone in the family has enjoyed browsing them a few times already.
- They look so pretty on my craft room shelf!
Survey Time
The decision of what type of album to use is certainly a matter of opinion. I was definitely in camp post bound until recently, but I’m happy with my switch. What is your preference: post bound or ring albums? I’d love to hear your reasons so please share in the comments to this post.
